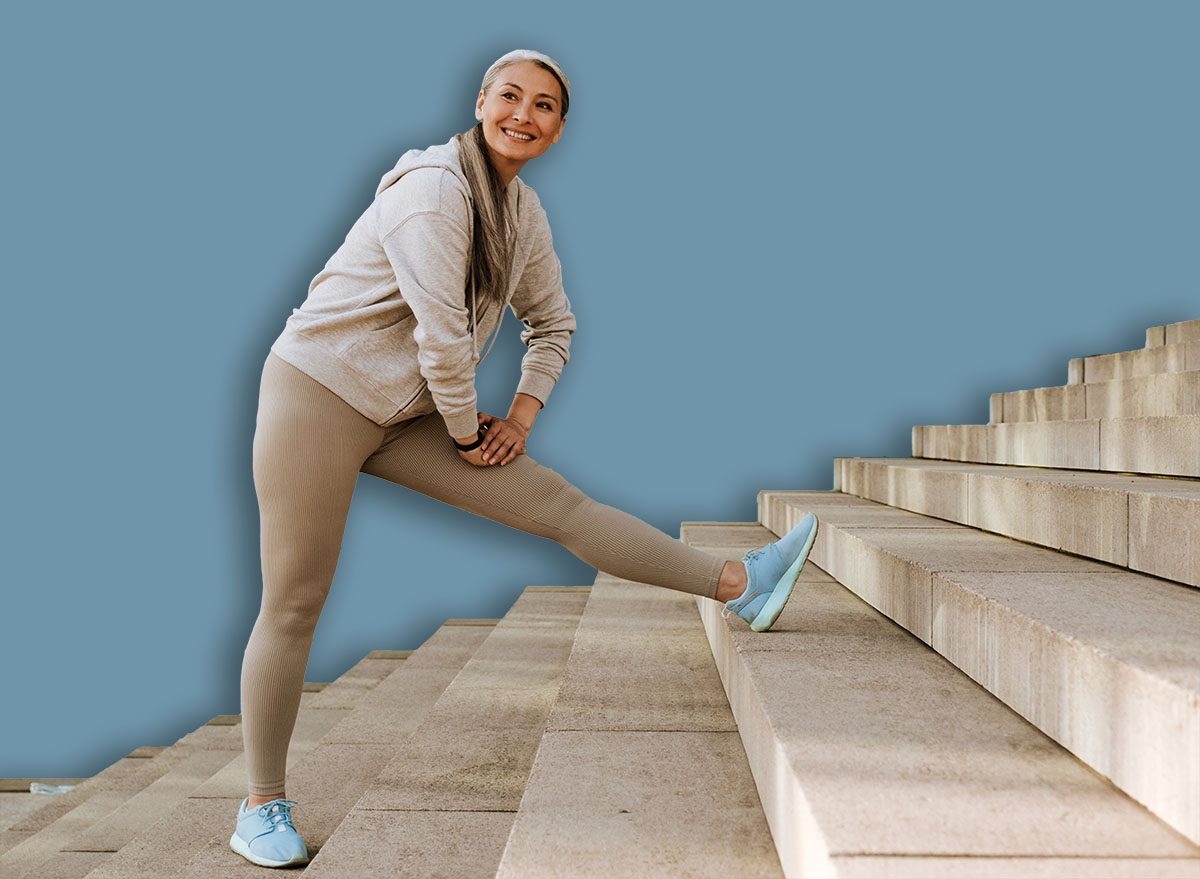
4 Daily Exercises That Make Stairs Feel Easy Again After 60
Stairs are one of the first things to start feeling like an effort, often years before anyone notices the rest of the body slowing down. I’ve spent almost 40 years working as a personal trainer and the last 20 running TRAINFITNESS. The thing most people don’t realize is that stair climbing is a skill, not just a fitness measure, and it responds beautifully to a small amount of the right work done often.
These four daily exercises can help you make stairs feel easy again, in about eight minutes a day, without leaving home.
Why Stairs Get Harder After 60

The biggest issue is asymmetric weakness, often without people realizing. One leg pushes harder than the other, the body learns to lean into the strong side, and the weaker leg gets a little weaker each year. By 60, most people have noticeably less strength on one side and don’t know which one.
Stairs get harder for a few specific reasons. The quads weaken first, which makes pushing the body up onto the next step a real effort. The glutes weaken next, which is what stops you from wobbling sideways as you step up.
And the eccentric strength, the muscles working as they lengthen, fades fastest of all. That’s the system that controls the body coming down.
That’s why going downstairs feels harder than going up for many over 60s. Going up, the muscles shorten under load. Going down, they have to lengthen under load while stopping you from falling. It’s a much harder ask, and it’s the bit nobody trains.
There’s also the confidence side. After one bad stumble or a knee that suddenly gave way, people start gripping the banister and pausing at the top to look down. The hesitation itself makes stairs harder because the legs don’t fire smoothly when the brain isn’t sure.
Why Daily Practice Works Fast

Specificity. Stairs are a repeated single-leg movement, so the training that helps most is repeated single-leg work. A general gym session might build strength, but won’t necessarily teach the legs how to use it on a step.
Frequency is the other half. The legs respond very quickly to short, daily practice on the exact patterns needed. The neural side of the work, where the brain teaches the muscles when to fire, can change in days. Strength gains follow within weeks.
And there’s the confidence effect. Doing a stair pattern in your own home, every day, builds trust in the legs in a way a weekly class never quite manages. Stair climbing has a mental component that most people underestimate.
Step-Up Onto A Low Step
Trains the exact pattern of going up stairs, on one leg at a time. Builds the quad and glute strength on the working leg while teaching the balance system to hold the body steady through the transition.
Muscles Trained: Quads, glutes
How to Do It:
- Use the bottom step of your staircase, or a sturdy step of 4 to 6 inches
- Hold the banister or a wall for balance
- Place one foot flat on the step
- Push through that heel to lift the body up until you’re standing on the step
- Step the working leg back down slowly, under control
- Do 8 to 10 reps on one side, then swap
Avoid These Mistakes:
- Don’t push off the back foot instead of using the working leg
- Don’t let the knee collapse inwards
- Don’t rush the descent, which is where most of the value sits.
Slow Step-Down
This is the move that fixes going down stairs, which is what most people over 60 struggle with most. It trains the quads and glutes to control the body’s weight as it lowers, which is the exact skill the stairs demand.
Muscles Trained: Quads, glutes
How to Do It:
- Stand on the bottom step or a sturdy 4 to 6-inch step
- Hold the banister for balance
- Slowly lower one foot towards the floor, taking 4 to 5 seconds
- Let the heel of the lowering foot lightly tap the floor, but keep your weight on the leg still on the step
- Push back up to standing on the step
- Do 6 to 8 reps on one side, then swap
Avoid These Mistakes:
- Don’t drop fast onto the lower foot, which removes the eccentric work
- Don’t let the working knee buckle inwards
- Don’t hold the banister so tightly; you’re pulling yourself up rather than pushing through the leg.
Sit-To-Stand
Builds general leg strength and rehearses the move closest to stair climbing in daily life. A strong sit-to-stand is the strongest signal we have that someone will keep climbing stairs without trouble into their seventies and beyond.
Muscles Trained: Quads, glutes
How to Do It:
- Sit on a sturdy chair, feet flat on the floor, hip-width apart
- Fold your arms across your chest, or hold them out in front for balance
- Lean slightly forward at the hips
- Push through the heels to stand all the way up
- Sit back down slowly, taking 3 seconds
- Do 10 to 15 reps
Avoid These Mistakes:
- Don’t rock back and use momentum to throw yourself up
- Don’t drop into the chair, which trains nothing on the way down
- Don’t lift the heels at the start, which loads the knees instead of the glutes.
Calf Raise With Chair Support
The calves do most of the push-off work on a stair. Strong calves also stabilize the ankle, which is the joint that has to deal with the small wobbles each step creates. The chair support means you can train them safely without risking a wobble.
Muscles Trained: Calves
How to Do It:
- Stand behind a sturdy chair, hands resting on the back
- Lift the heels off the floor, rising up onto the balls of the feet
- Hold at the top for 1 second
- Lower slowly over 2 seconds, the heel just brushing the floor before the next rep
- Do 15 to 20 reps
Avoid These Mistakes:
- Don’t bounce through the reps without control
- Don’t pull up with the arms, rather than lifting with the calves
- Don’t let the ankles roll outwards at the top.
How To Fit This Into Your Week
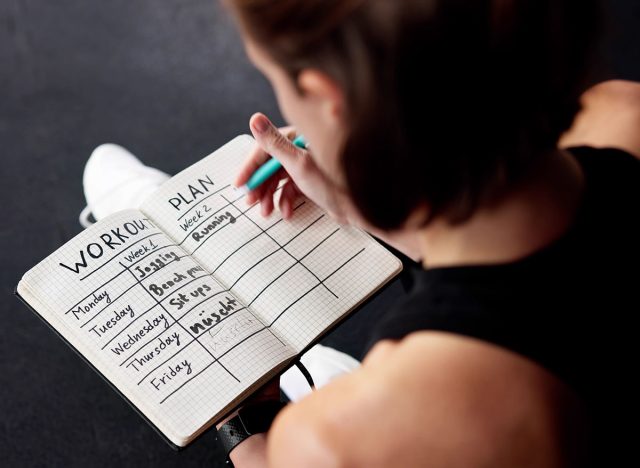
The whole sequence takes around eight minutes. Do it daily if you can, or five days a week as a realistic minimum. The legs are quick to respond and won’t get sore from this kind of work after the first week.
The best time of day is whenever you’ll actually do it. Many of my clients use the staircase pattern first thing, before breakfast, because the staircase is right there and gets used as the gym. Five minutes before you start your day is enough.
If you only have time for two exercises, pick the step-up and the slow step-down. Those two cover the patterns that matter most. The sit-to-stand and calf raise add a meaningful extra dose of leg strength, but the stair patterns are the bit that translates most directly.
Safety Tips And Easy Changes
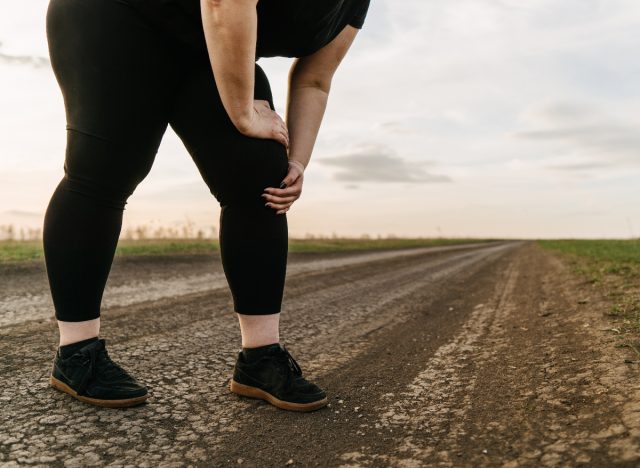
For knee pain, start with the smallest step you can find, even a single inch off the floor in some cases. The lower the step, the less load on the knee. Build the height gradually over weeks as the joint settles. The slow step-down is excellent for most knee pain because it strengthens the muscles that protect the joint, but if a specific knee position causes pain, reduce the depth.
For hip issues, the same principle applies. Reduce the range, slow the tempo, and keep the working knee tracking over the second toe. If a deep step-up pinches the hip, lower the step until it doesn’t.
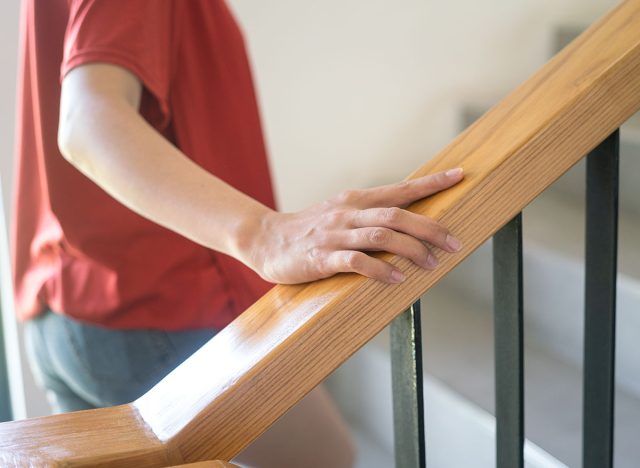
For balance problems, use two hands on the banister or a wall, and have someone with you for the first few sessions if needed. The whole point is to build confidence, not to test it. A fall during a balance exercise is the opposite of what we’re after.
Across all four, sharp pain is the stop signal. A steady muscle effort or a strong stretch is fine. A sharp catch, a sudden giving way, or pain that lingers for hours afterward is the body asking you to back off. Drop the load, the depth, or the speed and try the next day again.
What To Expect In 4 To 6 Weeks
Two weeks in, most people notice they’re not gripping the banister as hard as they used to. The legs are firing more confidently, especially on the way down.
By 4 weeks, the change is bigger. Stairs in the home start to feel like a non-event. Stairs in unfamiliar places, the railway station, or a friend’s house, also feel less of a worry.
By 6 weeks, strength has caught up with the new pattern. The legs feel solid under you, and most clients report that they’re walking faster on the flat too, because their stride is no longer being held back by hesitant hips.
A simple way to check progress is to time yourself going up and down a single flight of stairs at the start, walking at a comfortable pace, holding the banister lightly. Repeat the test at 4 weeks. Most people knock 20 to 30 percent off the time without trying to rush.
You can also count how many times you can stand up from a sturdy chair in 30 seconds without using your hands. That’s a measure most physios use, and it tracks stair climbing strength very closely. Below 10 is a sign of weakness, 12 to 14 is normal for someone in their sixties, and above 15 puts you in the strong category.