4 Daily Exercises That Rebuild Knee Strength Faster Than Resistance Bands After 55
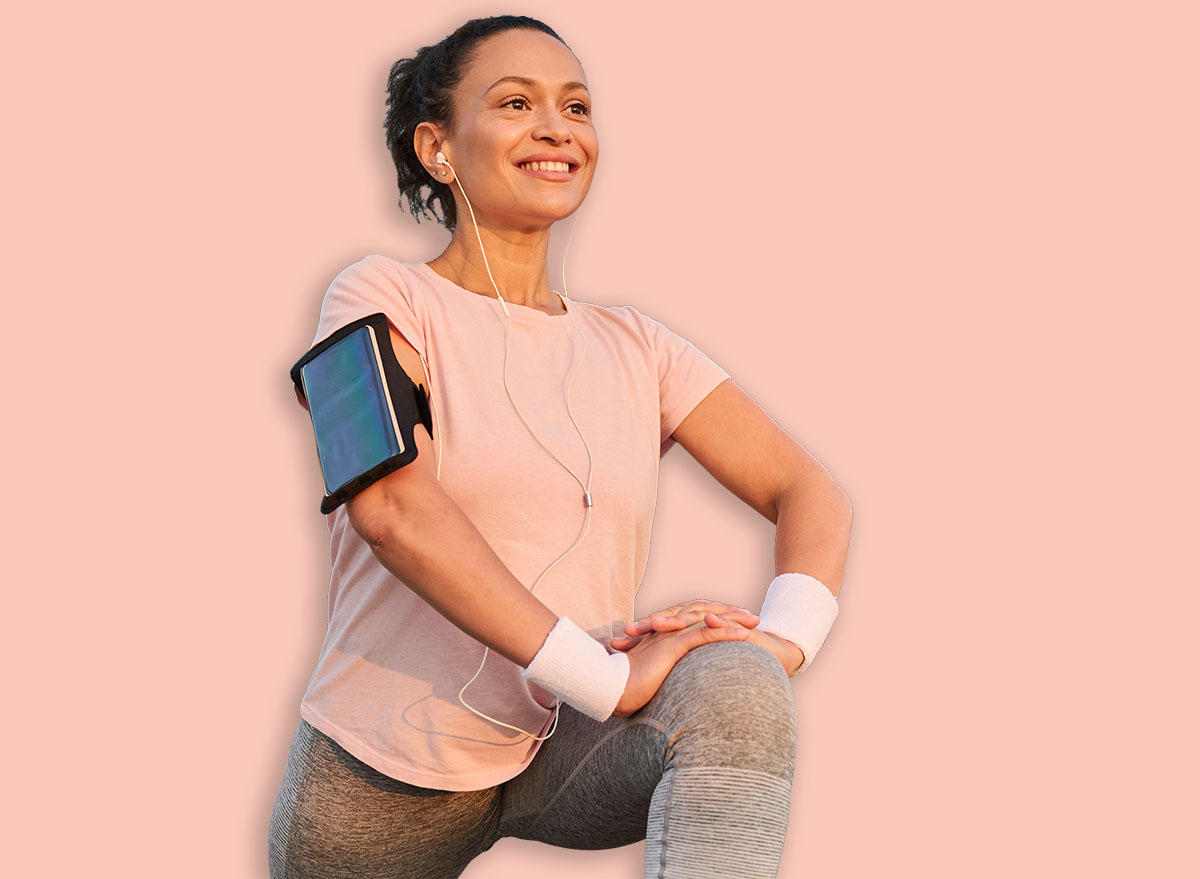
After 55, the knees are often the first thing to go — or at least, that’s how it feels. I’ve been a personal trainer and fitness educator at TRAINFITNESS for 40 years, and the single most common complaint I hear from clients over 55 is some version of the same thing: “My knees just don’t feel stable anymore.” The good news is that most of what’s causing that feeling is reversible. You can rebuild meaningful strength, retrain your balance, and start trusting your knees again in daily life — and you don’t need a gym or any equipment to do it. These four exercises can help you get there.
Why Your Knees Feel Unstable
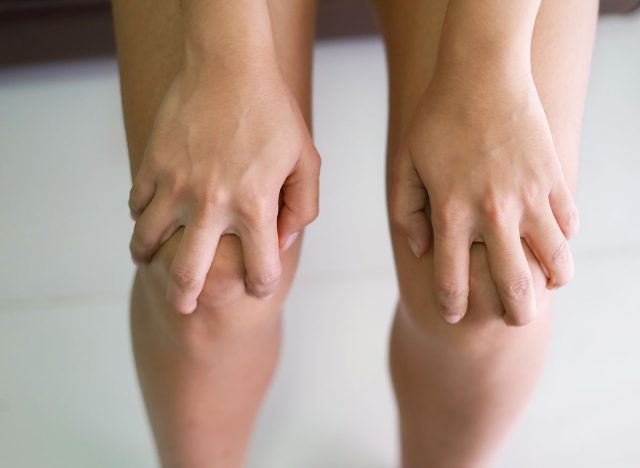
You’re not imagining it. There are real physical changes happening in your knees after 55, and understanding them makes it easier to fix them.
You’re losing quadriceps muscle mass. Your quads are one of the fastest muscle groups to decline with age. We can lose up to 40% of quadriceps strength between the ages of 30 and 80 unless we actively do something about it. These muscles are the main stabilizers of your knee. When they weaken, your knee becomes unstable. That wobble you feel stepping off a curb or going downstairs? That’s your quads not being strong enough to control the movement.
Your proprioception is declining. Your body has proprioceptors — sensors that tell your brain where your joints are in space. After 55, these become less reliable. It takes longer for your brain to get information about what’s happening in your knee, so your muscles can’t react in time to stabilize the joint. That “giving out” feeling isn’t your knee structurally collapsing. It’s nerve impulses taking longer to transmit.
Your cartilage is thinning. The cartilage in your knee joint absorbs shock as you move. When it thins, forces are transmitted more directly to the joint, causing inflammation, pain, and swelling, which causes you to move less, which causes more strength loss. You can see where this goes.
Your movement patterns are changing. When your knee hurts or doesn’t feel stable, you change the way you move without realizing it. Shorter steps, favoring one leg, and avoiding stairs. These adaptations feel protective in the moment, but actually contribute to more strength loss and stiffness over time.
Here’s the key point: most of this is reversible. You can’t grow new cartilage, but you can absolutely regain strength, retrain your proprioception, and fix your movement patterns.
What “Rebuilding Knee Strength” Actually Means
When I talk about rebuilding knee strength, I mean three specific things.
Muscle strength and mass. Your quadriceps, hamstrings, and glutes control your knee. They absorb the forces going through it and manage the movement. The science is clear: people in their 60s, 70s, and 80s can build muscle and strength at the same relative rate as younger adults when they actually train. You won’t gain mass at the same rate as a 25-year-old, but you can still build meaningful, functional strength.
Neuromuscular control. This is the relationship between your brain and the muscles around your knee. When it’s working well, your muscles fire quickly and correctly to stabilize the joint. Training this system improves the speed and accuracy of those signals, which is why regular exercisers have better balance and fewer falls.
Proprioception and joint position sense. Mechanoreceptors in your knee detect movement, pressure, and position. With the right exercises, you can improve their sensitivity and reaction time. This is what gives you that feeling of your knee being more reliable. You’re literally teaching your knee where it is and what it’s doing.
One honest note: you can’t rebuild cartilage, and you can’t repair completely torn ligaments through exercise alone. But here’s what most people don’t appreciate — you can have structural damage in your knee and still have excellent function. Strong muscles and good movement strategies compensate remarkably well for structural issues.
The realistic expectation after 55: you can build enough strength, control, and proprioception to move without pain and trust your knees in daily life. You probably won’t have the knees you had at 25. But you can have knees that work well and don’t hold you back.
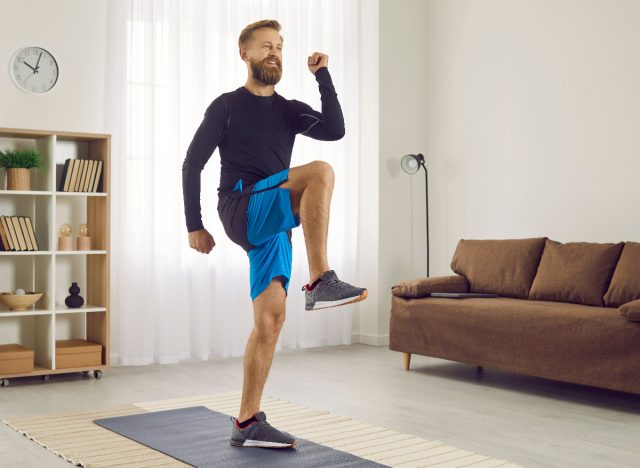
Why Bodyweight Beats Bands

Resistance bands aren’t useless — I use them with clients regularly. But they’re not the complete answer for rebuilding knee strength after 55, and relying on them alone has some real limitations.
Progressive overload is harder to track. One of the main goals of any strength program is to keep getting stronger over time. With bodyweight exercises, progression is clear and measurable — deeper range of motion, slower tempo, harder variations. With resistance bands, how do you quantify the difference between a medium band and a thick one? Most of my clients over 55 need a clear, trackable progression to stay motivated and to see their own improvement. Bands don’t lend themselves well to that.
They don’t train functional movement. Your knee needs to learn to stabilize itself under the demands of real life — standing from a chair, walking downstairs, stepping onto an uneven surface. Bodyweight exercises like squats, step-ups, and single-leg stands replicate those exact movements. Seated band exercises don’t. You might build some quad strength doing leg extensions with a band, but that strength doesn’t automatically transfer to climbing stairs.
They use the wrong force type. When you stand up from a chair or climb stairs, your knee experiences compression forces — your body weight pushing down through the joint. This stimulates muscles, tendons, and bone to adapt and strengthen, and it trains your joint mechanoreceptors to respond. Bands primarily provide tension forces (pulling). The adaptation is different and less transferable to daily activities.
They don’t build coordination. Functional movements require multiple muscle groups and joints working together. A proper squat involves your ankles, knees, hips, and core all coordinating simultaneously. Most band exercises isolate a single joint. That builds some strength but doesn’t build the complex movement patterns your nervous system actually needs.
The most effective approach uses bodyweight functional exercises as the foundation, with bands as a supplementary tool when useful.
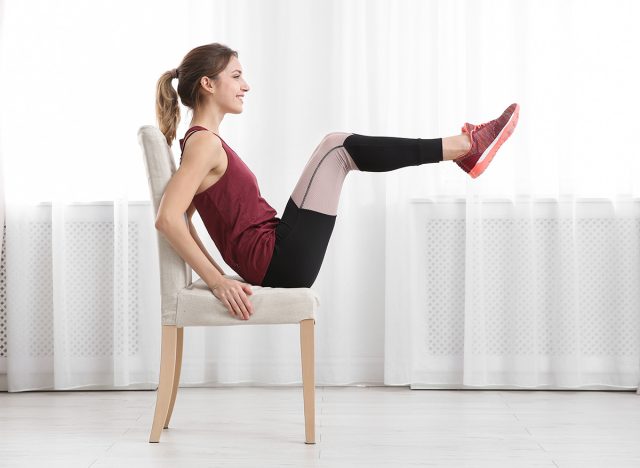
Sit-to-Stand
This is the single most important exercise for knee strength after 55 because it directly mimics a movement you do dozens of times every day. It builds quadriceps strength, trains hip and knee coordination, and improves the exact movement pattern most people over 55 struggle with — getting up from a seated position.
Muscles Trained: Quadriceps, glutes, hamstrings, hip stabilizers
How to Do It:
- Sit on a sturdy chair with feet flat on the floor, hip-width apart, knees roughly aligned over your ankles
- Lean your torso forward slightly (about 10–15 degrees), keeping your spine straight
- Push through your heels and stand up in one smooth motion, taking 3 seconds to rise
- At the top, fully extend your hips and knees
- Take 3 seconds to lower back down with control, lightly touching the chair before immediately standing again
Avoid These Mistakes:
- Don’t use momentum to swing yourself up — you should be able to pause at any point in the movement; if you can’t, you’re going too fast
- Don’t let your knees collapse inward — they should track in line with your toes throughout
- Don’t lean back as you stand — leaning forward loads your quads properly and protects your lower back
Recommended Sets and Reps: 10–12 reps
Easier variation: Use a higher surface (a kitchen stool or stacked cushions). You can use your hands on the armrests or thighs to help — then gradually reduce that assistance as you get stronger.
Harder variation: Use a lower chair or bench. Progress to hovering above the seat without fully sitting between reps — just tap and stand. Eventually work toward a full bodyweight squat without the chair. A 2–3 second pause at the bottom eliminates momentum and increases the challenge.
Step-Ups
Step-ups train single-leg strength, which is critical for knee stability because most daily movements — walking, climbing stairs, stepping over obstacles — happen one leg at a time. This exercise forces each knee to handle your full body weight independently, which builds serious functional strength.
Muscles Trained: Quadriceps, glutes, hamstrings, hip stabilizers
How to Do It:
- Stand facing a sturdy step or box (start at 10–15cm height)
- Place your right foot entirely on the step — your whole foot flat, not just your toes
- Shift your weight onto your right leg and step up, taking 2–3 seconds to rise
- Drive through your right heel and fully extend your knee and hip at the top so you’re standing tall on one leg
- Take 2–3 seconds to step back down with control, landing softly on your left foot
- Complete 8–10 reps on the right leg, then switch
Avoid These Mistakes:
- Don’t push off with the bottom leg — the leg on the step should do all the work; the bottom leg is just along for the ride
- Don’t let your knee cave inward — keep it tracking over your second toe
- Don’t rush — control matters more than speed here
Recommended Sets and Reps: 8–10 reps per leg
Easier variation: Use a lower step — even a thick book or a single stair works. Hold a railing or wall for balance if needed, using as little assistance as possible. A “tap-down” is also a good starting point: step up until your knee is at 90 degrees, tap the top of the step, and lower back down without fully standing.
Harder variation: Use a higher step (20–30cm). Progress to no railing. Add a 2-second pause at the top while balanced on one leg. Eventually hold light weights (even filled water bottles). The ultimate progression is a lateral step-up — standing beside the step and stepping up sideways — which challenges knee stability even further.
Single-Leg Balance
Balance work is proprioceptive training in disguise. When you stand on one leg, every muscle around your knee is making constant micro-adjustments to keep you stable. This trains your neuromuscular system to react quickly and precisely — which is exactly what prevents that “knee giving out” feeling.
Muscles Trained: Quadriceps, glutes, calf muscles, ankle stabilizers, core
How to Do It:
- Stand near a wall or counter for safety
- Lift your left foot a few centimetres off the ground
- Stand on your right leg with a very slight bend in your knee — don’t lock it straight
- Hold for 30 seconds, staying as still as possible (some shaking in the standing leg is normal)
- Switch legs and repeat
- Do 3 sets on each leg
Avoid These Mistakes:
- Don’t lock your knee completely straight — keep a small, soft bend to keep the muscles engaged
- Don’t sway or shift weight around — the goal is stillness, not rocking side to side
- Don’t hold your breath — breathe normally throughout
Recommended Sets and Reps: 3 sets of 30 seconds per leg
Easier variation: Hold onto a wall or counter with one or both hands, reducing the support gradually over time. Even shifting most of your weight onto one leg while the other foot barely touches the floor counts as a starting point.
Harder variation: Close your eyes — this dramatically increases difficulty by removing visual input. Stand on an unstable surface like a folded towel or cushion. Add small movements like turning your head or reaching your arms in different directions while balancing. Progress to single-leg balance with slow knee bends — bending and straightening your standing knee while maintaining balance.
Wall Slides
Wall slides build isometric quadriceps strength while teaching proper knee tracking and alignment. The wall provides support and feedback, making this safer than a freestanding squat while still delivering real strength benefits. This exercise specifically targets the VMO — the teardrop-shaped muscle on the inside of your knee that’s critical for kneecap stability.
Muscles Trained: Quadriceps (especially VMO), glutes, hamstrings
How to Do It:
- Stand with your back against a wall, feet about 30cm from the base and hip-width apart
- Slowly slide down the wall, taking 3–4 seconds, until your knees are bent to roughly 60–90 degrees — don’t go deeper than 90 degrees
- Keep your knees aligned over your ankles, not pushed forward past your toes
- Hold for 10–20 seconds, keeping weight in your heels and your back flat against the wall
- Slide back up, taking 3–4 seconds
- Rest 10 seconds between reps
- Do 5–8 reps
Avoid These Mistakes:
- Don’t slide down too far — most people think they need to get their thighs parallel to the floor, but that’s too deep after 55 and can irritate the joint; stop at 60–90 degrees
- Don’t let your knees fall inward — press them slightly outward throughout the hold
- Don’t hold your breath during the hold — breathe steadily
Recommended Sets and Reps: 5–8 reps with 10-second rest between each
Easier variation: Reduce the depth to 30–45 degrees of knee bend. Shorten the hold to 5–10 seconds. You can also place a small ball or cushion between your knees and squeeze it gently — this activates the inner thigh and helps stabilize the knees.
Harder variation: Increase hold time to 30–45 seconds. Work up to a full 90-degree bend. Add small pulses at the bottom — hold the position and gently pulse up and down 5–10cm for 10 reps. Progress to single-leg wall slides, where one foot is lifted slightly while the other leg supports you.
Soreness vs. Warning Signs
Since these exercises are meant to be done daily, knowing when to push and when to back off is essential. Most people get this wrong — they either push through everything and make things worse, or they rest at the first sign of discomfort and never build strength.
Productive discomfort feels like muscle fatigue or a dull, generalised ache in the muscles around your knee — your quads, hamstrings, or glutes. It typically shows up during or immediately after exercise and eases within an hour or two. Next-day muscle soreness (DOMS) is normal and actually indicates your muscles are adapting. This kind of discomfort is fine to work through, though you might reduce the intensity slightly.
Warning signs feel different:
- Sharp or stabbing pain inside the joint
- Pain that worsens as you continue exercising instead of easing
- Swelling that develops during or right after exercise
- Pain that lingers for hours afterward or interferes with the next day’s activities
- Pain localised to one specific point in the knee (especially on the inside, outside, or behind the kneecap)
On days when your knees are moderately sore but not swollen, modify — don’t stop. Reduce your range of motion, cut volume in half, and slow the tempo down further. These adjustments let you stay consistent without aggravating inflammation.
On days when your knees are swollen or painful to walk on, rest completely from these exercises. Swelling signals inflammation, and loading an inflamed joint makes it worse. Gentle walking on flat ground, seated range-of-motion work, or light ankle pumps are fine. Ice for 15–20 minutes after exercise if your knees feel warm or puffy. Elevate your legs above heart level when possible.
The rule worth remembering: muscle soreness that gets better with movement is fine. Joint pain that gets worse with movement is not.
What to Expect in 4 to 8 Weeks
Here’s a realistic timeline of what consistent work will produce.
Week 1: No visible changes yet, but you’ll feel different. Your knees will feel more stable during basic movements. Standing up from a chair or walking downstairs won’t feel as uncertain. This early shift comes from neuromuscular adaptation — your nervous system is learning to activate the right muscles more efficiently.
Week 2: Functional improvements start showing up. Getting in and out of the car will be easier. Morning stiffness won’t be as bad. You’ll push yourself up from a chair less with your hands.
Week 4: Measurable strength gains. Exercises that felt difficult at the start will feel manageable, and you’ll be progressing to harder variations. Your quads may start to look slightly more defined.
Week 8: Noticeably better stability and confidence in your knees. Activities you were avoiding — longer walks, stairs without a railing, standing for extended periods — will feel more accessible. Research shows 8–12 weeks of consistent strength training can increase quadriceps strength by 20–40% in older adults, which translates to real, daily functional improvement.
Habits That Help (and Hurt) Progress
The exercises matter, but so does what happens around them.
Habits that support progress:
- Protein intake. Aim for 25–35 grams per meal across three meals. Your muscles need amino acids to repair and grow. Without enough protein, strength gains will be minimal regardless of how well you train.
- Daily movement. Walking reinforces good movement patterns and keeps joints mobile. Aim for 6,000–8,000 steps daily if possible.
- Sleep. Your body builds strength during deep sleep — that’s when growth hormone is released and muscle tissue is repaired. Aim for 7–8 hours. At 5–6 hours, progress slows noticeably.
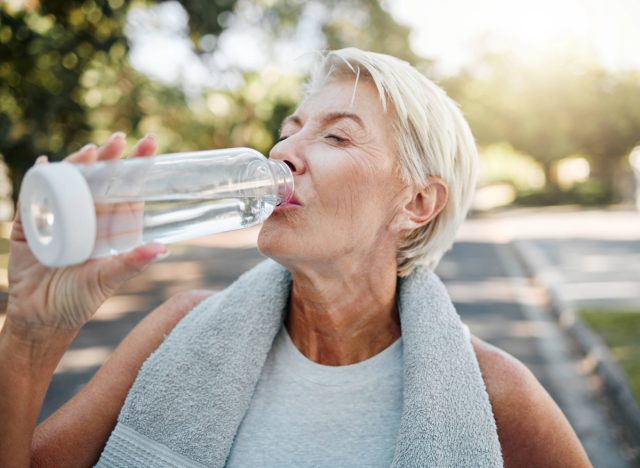
- Hydration. Your cartilage is roughly 80% water. When you’re dehydrated, joints have less cushioning and more friction. A simple check: your urine should be pale yellow, not dark.
Habits that slow progress:
- Prolonged sitting. It stiffens your knees and weakens your quads. If you sit for work, stand up and walk for 2–3 minutes every hour.
- Excess body weight. Every kilogram of extra weight creates 4–6 kilograms of force through your knee when walking. Even modest weight loss of 3–5kg can meaningfully reduce pain and improve function.
- Daily NSAID use. Anti-inflammatory medications mask pain, which can lead to overdoing it. If you’re relying on them regularly to manage knee pain, you may not feel the warning signs that you’re pushing too hard. Use them sparingly and only when genuinely needed.
- Inconsistency. Missing a day or two occasionally is fine. Missing a full week sets you back noticeably. The neural, muscular, and proprioceptive adaptations you’re building all require regular stimulus to hold. Sporadic effort produces sporadic results.
When to See a Doctor First

For the majority of healthy people over 55 with weak, stiff, or mildly sore knees, this program is completely safe and beneficial. That said, some situations warrant a conversation with your GP or physiotherapist before you start.
Check with your surgeon before beginning if you’ve had a total or partial knee replacement. Most people are cleared for modified versions of these exercises after postoperative rehab, but verify first.
Talk to your doctor if you have moderate to severe osteoarthritis with significant cartilage loss. Exercise is generally beneficial for arthritis, but if you’re dealing with bone-on-bone contact or severe joint space narrowing, you may need guidance on modifying the program.
See a physiotherapist if you have a meniscal tear — especially a recent one or one that hasn’t been operated on. Some meniscal tears benefit from strengthening; others require surgery first. Don’t guess.
Get assessed before starting if you’ve torn a knee ligament (ACL, PCL, MCL, or LCL) or have significant joint laxity. Strengthening generally helps compensate for ligament problems, but you need to know the extent of the damage and which exercises are appropriate.
See your doctor if you’re getting regular episodes of unexplained knee swelling. Recurring swelling may indicate inflammatory arthritis, infection, or another underlying issue that needs medical attention before you start loading the joint.
Speak with your rheumatologist if you have any form of inflammatory arthritis (rheumatoid, psoriatic, ankylosing spondylitis). Exercise is typically beneficial, but active flares require a different approach.
Check with your doctor if you take blood thinners or have a bleeding disorder. These aren’t reasons to avoid exercise, but you should know what to look out for and that bruising may occur more easily.
Work with a physiotherapist if you have significant neuropathy or reduced sensation in your feet or legs. Decreased sensation affects proprioception and raises your fall risk, particularly during single-leg exercises.
If you’re in any doubt at all, a quick conversation with your GP or physio is always worth it. They can assess you individually and adjust the program if needed.
- Source: https://pubmed.ncbi.nlm.nih.gov/37875254/
- Source: https://www.sciencedirect.com/science/article/abs/pii/S026800332030276X
- Source: https://pubmed.ncbi.nlm.nih.gov/23893353/
- Source: https://linkinghub.elsevier.com/retrieve/pii/S0531556522003503
- Source: https://pubmed.ncbi.nlm.nih.gov/21514018/
- Source: https://pubmed.ncbi.nlm.nih.gov/34289511/