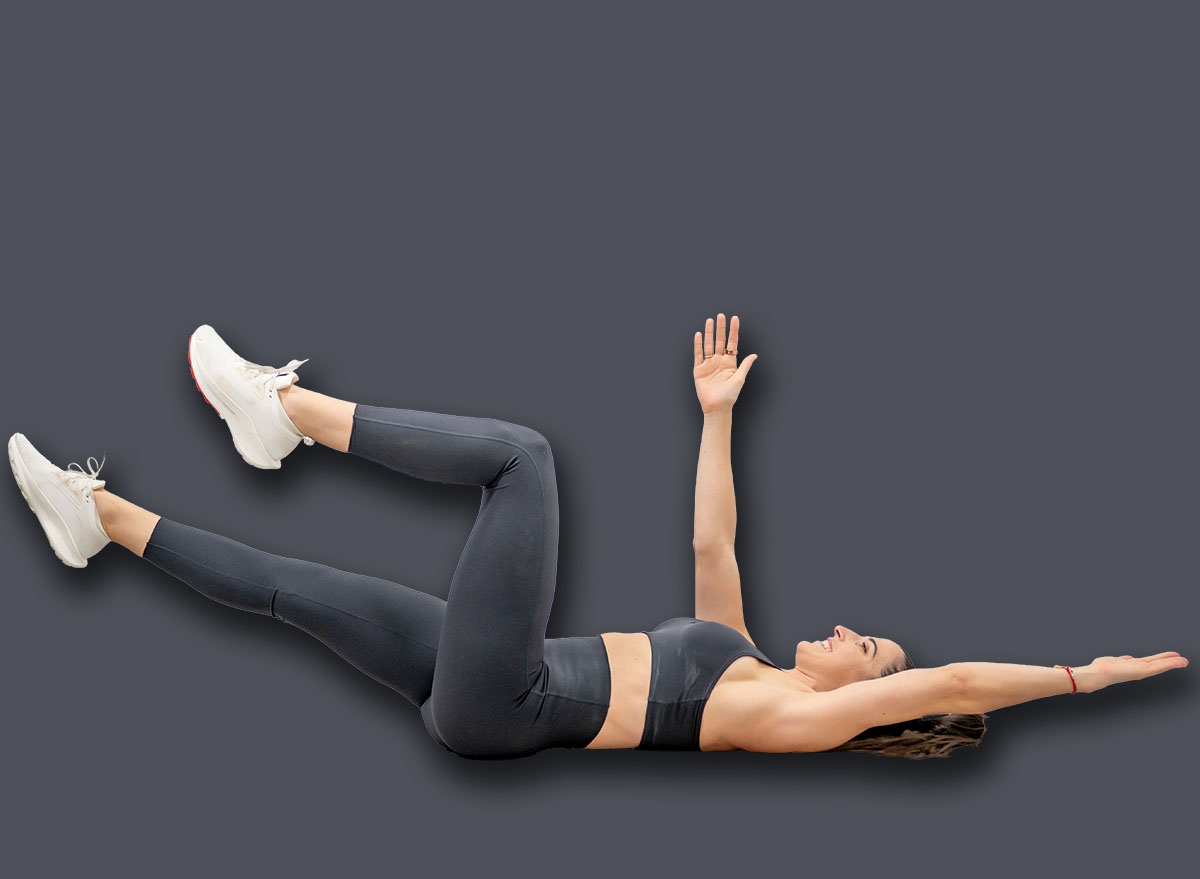
6 Daily Exercises To Melt Lower Belly Fat After 50
Stubborn belly fat after 50 can feel impossible to lose. You might be doing everything right—or so you think—and that lower belly pooch just won’t budge. Here’s the truth: it’s not impossible, but it is harder than when you were younger.
I’ve been a personal trainer for over 35 years, and for the last 20, I have been running the UK’s leading per`sonal training course provider—TRAINFITNESS. One of the most common misconceptions my students and I see is that it’s impossible for older adults to lose belly fat. This is flat out wrong—it’s harder, but it’s far from impossible.
Read on to discover the six best daily exercises to target lower belly fat after 50, plus expert tips on why your body stores fat differently now and how to get real results.
Why Losing Lower Belly Fat Gets Harder After 50

After 50, our hormones are basically working against us. Oestrogen and testosterone drop, which changes where our bodies store fat. Instead of a fairly even distribution, the body starts favouring the midsection—especially the stubborn lower belly area. Men generally start to see this earlier (around their late 40s) while women tend to see it getting worse after menopause.
Our metabolism slows down more than we realise. By 50, most of us have lost 10-15% of our muscle mass compared to our 30s. Muscle burns calories even when we’re doing nothing, meaning if we have less muscle we need fewer calories just to maintain our weight. Surplus calories get stored as fat—and our lower bellies are usually first in line.
Your cortisol levels are likely higher. Stress hormones increase with age, and cortisol specifically signals the body to store fat around the middle. Work pressure, family responsibilities, or poor sleep (which also drops in quality after 50) create the perfect environment for stubborn lower belly fat.
Your body becomes more insulin-resistant. Your cells don’t respond to insulin as well as they used to, which means more of the carbohydrates you eat get converted to fat rather than being used for energy. This insulin resistance particularly affects fat storage around your abdomen.
The visceral fat that surrounds your organs becomes more prevalent. This isn’t just the fat you can pinch—it’s deeper, harder to shift, and comes with serious health risks. It’s metabolically active, releasing inflammatory compounds that make it even harder to lose.
Why Your Workout Needs To Change After 50
Your recovery time increases with age. When you’re younger, you can hammer your core 6 days a week and bounce back from it, but after 50, your tissues need a lot more time to repair themselves. You need your exercises to deliver results, not trash your body in the process.
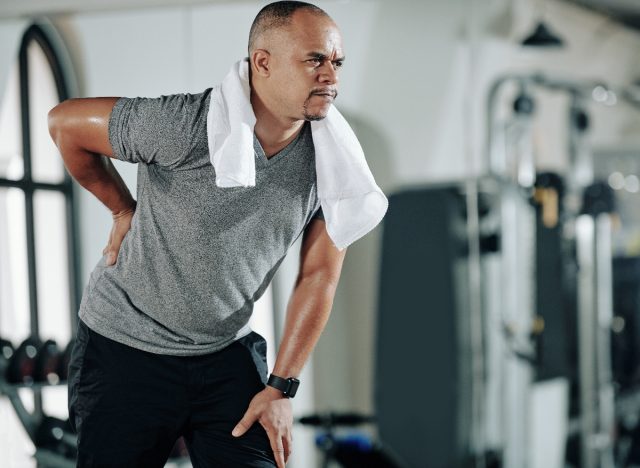
You’ve also got to look after your spine—years of sitting, past injuries, and some natural wear and tear mean your lower back is at risk of getting messed up. Exercises that younger people do without thinking twice, like those sit-ups or aggressive twisting movements, can actually cause some serious problems for you. Every exercise you choose needs to be thought out with spinal safety as the top priority.
And at the same time, you’re fighting against muscle loss. Younger adults can focus on just fat loss, but after 50, you’re caught in a real battle to not only maintain, but even build back, some of the muscle mass you’re losing, while trying to lose fat at the same time. This means that your exercise selection needs to target building strength and stability alongside burning calories. Traditional “cardio” approaches just don’t work anymore.
Your balance and coordination have been affected, too. Exercises that require quick movements or wobbly positions are to be avoided—you need movements that will challenge your body without putting you at risk of going over and falling or losing control. Your safety is just as important as getting results from your exercise.
Most of us are also dealing with joint issues. The usual suspects are the knees, hips, and shoulders—after 50, there’s a fair chance that one of them is giving us grief. Exercises need to work around those limitations while still being effective. It’s not about finding the easiest exercises; it’s about finding movements that our bodies can manage to do regularly without pain.
Dead Bug
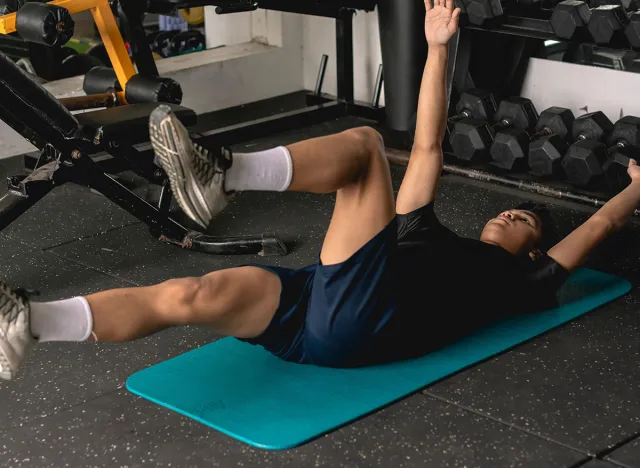
The dead bug is a great exercise for the tummy as it targets the muscles that hold the lower belly in. It forces our deep core muscles to stabilise our spines while the limbs move. It’s the opposite of a sit-up—instead of flexing the spine repeatedly (which can cause issues), we keep it rock solid while creating movement elsewhere.
How To Do It:
- Lie on your back with your arms straight up toward the ceiling and your knees bent at 90 degrees, shins parallel to the floor.
- Press your lower back flat against the floor—there should be no gap underneath.
- Slowly lower your right arm overhead while straightening your left leg, hovering it a few inches off the ground.
- Your lower back must stay pressed down the entire time.
- Return to start and repeat on the opposite side. That’s one rep.
Mistakes To Avoid:
The biggest mistake is letting your lower back arch off the floor. The second your back lifts, you’ve lost the core engagement and you’re just waving your arms and legs around. Move slowly enough that you can keep that back glued down. Another common error is holding your breath—you need to breathe steadily throughout the movement.
Modifications For Beginners:
If the full movement is too challenging, start by just lowering one arm overhead while keeping both feet on the floor. Once you’ve mastered that, try extending just your legs while keeping your arms still. Only combine both movements when you can do each one perfectly while keeping your back flat.
Plank (Forearm or Hands)

Planks work because they create tension throughout your entire core without any spinal movement at all. Your deep abdominal muscles have to fire constantly to keep your body in a straight line, and your lower abs specifically are working to prevent your hips from sagging. It’s one of the safest and most effective core exercises you can do.
How To Do It:
- Start on your forearms and toes, with your elbows directly under your shoulders.
- Your body should form a straight line from your head to your heels—don’t let your hips drop or push your bottom up in the air.
- Pull your belly button toward your spine and squeeze your glutes.
- Hold this position while breathing normally. Start with 20-30 seconds and build up from there.
Mistakes To Avoid:
Most people let their hips drop toward the floor, which completely removes the challenge from your core and dumps all the stress into your lower back. Film yourself from the side if you can—you’ll be shocked at how different your position looks compared to what it feels like. Another mistake is holding your breath or letting your shoulders creep up toward your ears.
Modifications For Beginners:
If you struggle with a full plank, you can drop to your knees—but make sure you maintain the straight line from your head through to your knees. Don’t sit back on your heels—your body should still be working. You can also try doing an incline plank with your hands on a bench, sturdy table, or even the bottom step of your stairs—this reduces the load significantly.
Bird Dog
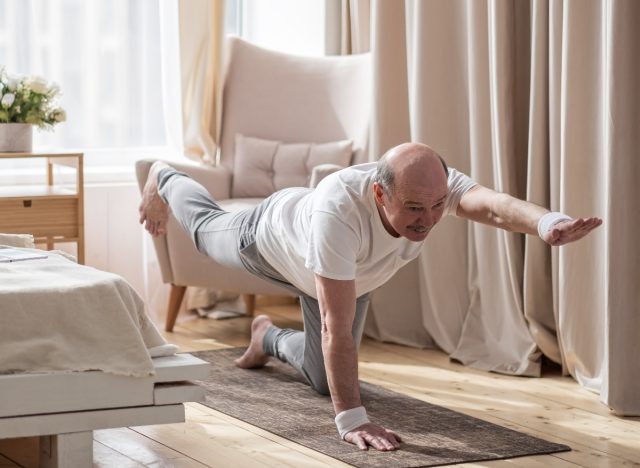
This exercise builds core stability while improving balance and coordination—all things that decline after 50. It forces both sides of your body to work independently, which exposes and corrects imbalances. The anti-rotation component specifically targets your obliques and deep core muscles that wrap around your waist.
How To Do It:
- Start on your hands and knees with your hands directly under your shoulders and knees under your hips.
- Keep your back flat and your core tight.
- Slowly extend your right arm straight out in front while extending your left leg straight back behind you.
- Your arm, torso, and leg should form a straight line.
- Hold for 2-3 seconds, then return to start. Repeat on the opposite side.
Mistakes To Avoid:
The most common mistake is rushing through the movement and wobbling all over the place. This isn’t about speed—it’s about control. Another error is letting your hips rotate or your back arch as you extend your limbs. Your shoulders and hips should stay square to the floor throughout the entire movement. Many people also look up, which cranks their neck—keep your gaze at the floor.
Modifications For Beginners:
If you’re struggling with balance, start by just lifting one arm without moving your legs. Once that’s stable, try just extending one leg. Only combine the movements when you can do each one without any wobbling or rotating.
Standing Pallof Press
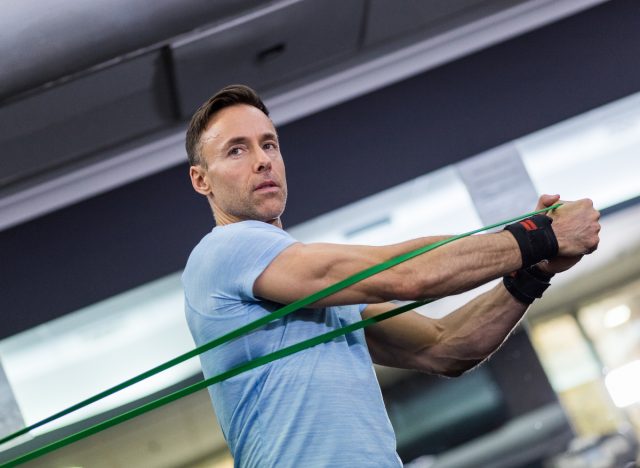
This is an anti-rotation exercise that absolutely hammers your obliques and deep core muscles. Your body desperately wants to rotate toward the resistance, and your core has to work incredibly hard to prevent that from happening. It builds functional strength that translates directly to everyday movements and helps create that defined waistline.
How To Do It:
- Stand sideways to a resistance band or cable machine anchored at chest height.
- Hold the handle with both hands at your chest, feet shoulder-width apart, knees slightly bent. The band should be taut.
- Press your hands straight out in front of your chest, fighting the pull of the band that’s trying to rotate you sideways.
- Hold for 2-3 seconds, then return to your chest. Complete all reps on one side, then switch.
Mistakes To Avoid:
Most people use too much resistance and end up rotating their entire body toward the anchor point. The exercise is about NOT rotating—if you can’t keep your shoulders and hips square, the resistance is too heavy. Another mistake is bending or rotating your arms—the press should be straight out from your chest, not up, down, or sideways.
Modifications For Beginners:
If you don’t have a band or cable machine, you can do this exercise holding a dumbbell or even a water bottle. The key is maintaining that anti-rotation position. You can also reduce the challenge by stepping closer to the anchor point or using less resistance.
Glute Bridge
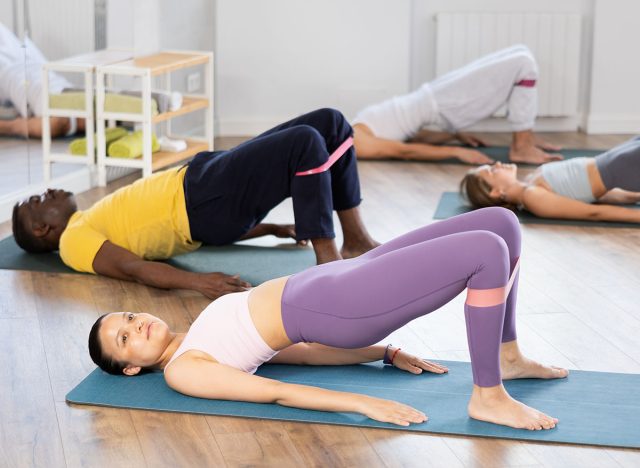
Glute bridge doesn’t sound like the most logical exercise for targeting our bellies—but most people over 50s have weak, inactive glutes from years of sitting. When our glutes do not fire properly, our lower backs and hip flexors take over. This pulls our pelvis out of alignment and makes our lower stomach stick out. If we have strong glutes, it equals better posture and a flatter stomach.
How To Do It:
- Lie on your back with your knees bent and feet flat on the floor, hip-width apart, close to your bottom. Arms by your sides.
- Press through your heels and squeeze your glutes to lift your hips up until your body forms a straight line from your shoulders to your knees.
- Your lower back should not be arching.
- Hold at the top for 2-3 seconds, squeezing your glutes hard, then lower back down with control.
Mistakes To Avoid:
The biggest mistake is arching your lower back to get higher, which completely defeats the purpose and can cause back pain. The height doesn’t matter—the glute squeeze does. Another error is pushing through your toes instead of your heels, which shifts the work into your quads and hip flexors. Many people also rush through the movement without holding at the top.
Modifications For Beginners:
If you can’t feel the glutes in action, you can try using a small resistance band around your thighs (just above the knee) and pressing out against it while you raise your bum. This forces the glutes to engage. You can also try starting with smaller movements—if your form is correct, even lifting just a few inches is fine.
Farmer’s Carry
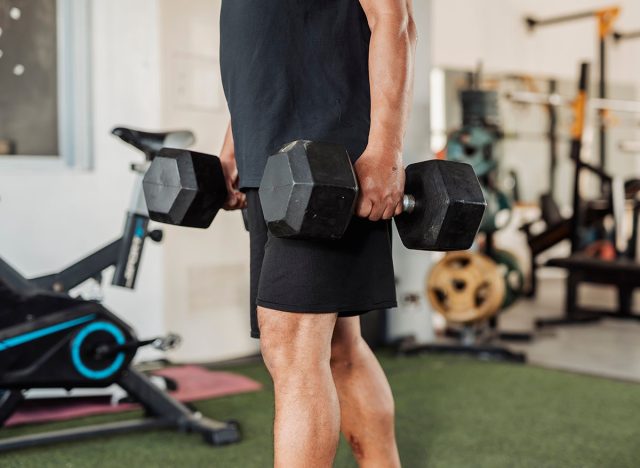
This is one of the most functional exercises you can do. Carrying heavy things is a real-life movement, and doing it properly requires your entire core to stabilise your spine against the load. It builds genuine strength, burns serious calories, and improves your posture—all of which help reduce lower belly fat. Plus it’s harder to do wrong than most core exercises.
How To Do It:
- Pick up a moderately heavy weight in each hand—dumbbells, kettlebells, or even heavy shopping bags work.
- Stand tall with your shoulders back and down, core tight.
- Walk forward with controlled steps, maintaining perfect posture.
- Don’t lean to either side or let your shoulders round forward.
- Walk for 30-40 seconds or about 20-30 metres, then carefully set the weights down.
Mistakes To Avoid:
The most common mistake is using weights that are too heavy, which causes you to lean, hunch forward, or walk strangely. Your posture should look the same as if you weren’t carrying anything—if it doesn’t, the weight is too heavy. Another error is taking tiny, shuffling steps—walk normally with purpose. Many people also forget to breathe, which spikes blood pressure unnecessarily.
Modifications For Beginners:
If you don’t have weights, start with shopping bags partially filled with books or water bottles. Even light weights done correctly will challenge your core. You can also start with just one weight (a suitcase carry), which is actually harder because your core has to work to prevent you leaning sideways.
How Often You Should Do These Exercises
Three times per week is the sweet spot. This gives you enough stimulus to create change without preventing proper recovery. Your core muscles need time to repair and strengthen between sessions—more isn’t always better, especially after 50. Space these sessions out across the week, something like Monday, Wednesday, Friday.
Each session should last 20-30 minutes maximum. You’re not trying to destroy yourself here. Quality matters far more than quantity. I’d rather you do three perfect rounds of these exercises than grind through six sloppy ones.
Here’s how to structure each session: do 2-3 sets of each exercise with 30-45 seconds rest between sets. For exercises like planks and farmer’s carries, hold for 20-30 seconds to start. For the others, aim for 8-12 controlled repetitions per side. Start at the lower end of these ranges and build up gradually.
If you prefer, the exercises can be performed as a circuit. Move from one exercise to the next with minimal rest, then rest for a couple of minutes before starting the next round. This keeps your heart rate up and adds a metabolic component to the training.
Don’t do these exercises on consecutive days. Your core muscles work during almost every movement you do throughout the day, so they’re never truly resting. They need at least one full day between focused training sessions to recover properly.
What Results You Can Expect After 4 to 6 Weeks
After two weeks, your posture will probably start to improve significantly. You’ll find yourself standing up straighter without even thinking about it—your lower back will feel way more stable too, and all those little niggles that used to catch you out—getting out of bed, bending down to pick something up—will become easier again. Don’t expect to see many visible changes just yet, but that’s not the point—it’s just the start of where you’re headed.
After four weeks of consistent effort, your clothes should start to get a bit looser in all the right places. You might not even notice that much in the mirror yet, but you’ll be surprised at how easily your trousers slide on in the mornings. People who see you all the time may not even notice a difference, but that friend you haven’t seen in a month might just think to themselves, “Wow, you look a bit slimmer.” And they’d be right—your core has genuinely gotten stronger. You’ll notice it in the little things—carrying the groceries home or standing on your feet all day at work.
At the 6-week mark, you should start to see some real changes in your waistline—most people will lose about an inch to two inches of padding around the middle if they’ve also been looking after what they eat. That lower belly area will definitely start to look flatter, and you might even start to see a bit of definition up top. But the thing that will really surprise you is how much more solid your core feels. When you engage it, you’ll be like, “Yes, this is correct,” and you’ll have way more control over your movements—it will feel like night and day.
One super important thing to remember is that if you’re only doing these exercises and you don’t make any other changes, your results will be limited. Fat cannot be spot-reduced no matter how many core exercises you do. They will build muscles underneath your fat, improve posture, and burn some calories, but if you have a bad diet and are not moving much outside your exercise sessions, then you won’t lose a lot of fat from your tummy.
If you do this exercise program while paying even basic attention to what you eat (cutting back on processed foods, moderating portions, eating more protein) and add some regular walking, your results will improve massively. Visible changes in how your stomach looks and 2-3 inches off your waist would be a completely reasonable expectation.
To get the best results, you need to frame the exercises as part of a bigger picture. They aren’t a magic solution. If you combine them with sleeping better, managing your stress, staying generally active and making gradual improvements to what you eat then you’ll be in a really good place and working towards getting healthier overall.