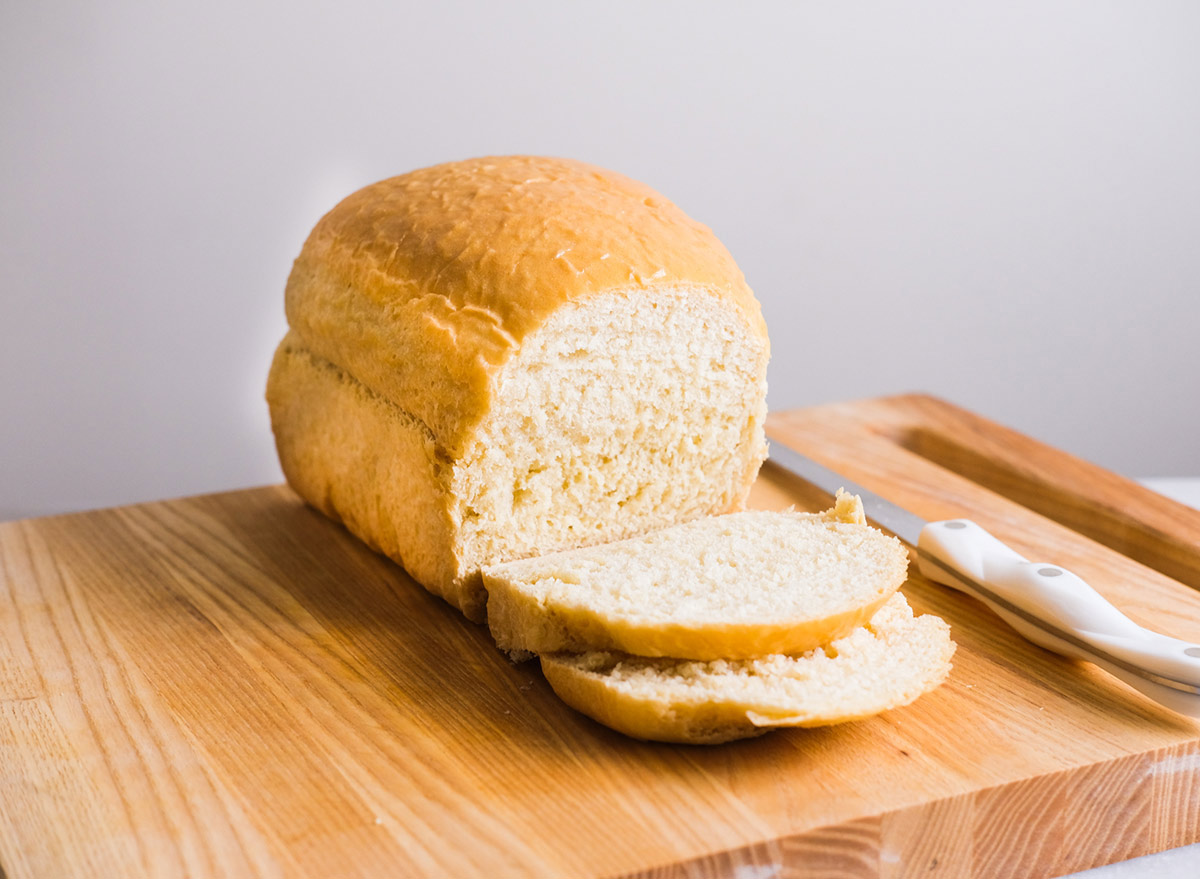
Here’s How to Make The Easiest Basic Sandwich Bread

Is the store out of your favorite type of sandwich bread? While it may be a bummer that you can’t just buy the bread you want, the good news is that you can easily make sandwich bread at home. Thanks to this incredibly easy basic sandwich bread recipe, you can have a warm loaf of bread ready to enjoy in just a few hours!
How to make the perfect loaf of sandwich bread
Working with yeast can seem intimidating, but don’t let it scare you. There are a few key things to note so you can make the best loaf possible.
Rising bread is called the “proofing” stage, and yes, you can actually overproof your bread. If you leave it too long to rise, it will likely fall into a weird shape when baking. If the dough starts to expand over the lines of your loaf pan or bowl, punch it down again and reshape, letting it rise. It will be fine for a second rise, but you don’t want to keep doing this, or the yeast won’t be as successful when baking.
Having a thermometer on hand makes baking bread a much smoother process. It’s easier to determine if the water/milk mixture is at the right temperature for your yeast to properly bloom (110 to 115 degrees Fahrenheit) and to determine if your bread is fully cooked (205 degrees Fahrenheit). Here’s a basic thermometer you can get.
Practice makes perfect! Baking bread takes practice, so don’t get discouraged if things don’t go well your first time around. Plus, think of all the delicious sandwich recipes you can make once you have your bread.
Here is an easy step-by-step tutorial for you to follow!
Ingredients
1 cup water, lukewarm (around 110 to 115 degrees)
1/4 cup milk
1 packet active dry yeast (about 2 1/4 tsp)
1 1/2 Tbsp sugar
2 Tbsp butter, at room temperature
1 tsp salt
3 cups flour
How to Make It
- Heat up the milk in the microwave for 30 seconds. Mix the lukewarm water into the milk. The mixture shouldn’t feel hot. Do the pinky test: if you can’t feel a thing (hot or cold) it’s probably good.
- Move the milk to a large mixing bowl and add the sugar and packet of active dry yeast. Stir and let it sit for 10 minutes, leaving time for the yeast to bloom. If the yeast does not get puffy and look the same, your milk mixture was probably too hot, so try again with fresh ingredients.
- Add the butter, salt, and 1 cup of flour to the milk mixture. If you can, mix using a stand mixer with the flat beater. Mix until smooth, about 1 to 2 minutes. If you don’t have a stand mixer, mix using a rubber spatula by hand.
- Remove the flat beater and add the dough hook. Sprinkle in the other 2 cups of flour, and knead for 5 to 6 minutes, or until the dough is smooth and elastic. Again, if you don’t have a stand mixer, sprinkle in the flour and knead yourself with clean hands. The dough should all stick together into a nice dough ball by the end.
- Move the dough to a clean, large mixing bowl, lightly greased with canola oil or butter. You can do so by adding a small amount of the butter or oil to a paper towel and wiping down the bowl. Cover with a kitchen towel and leave the dough to rise for 1 1/2 hours. The dough is ready when it has doubled in size.
- Grease a 9 x 5” loaf pan with butter or oil, similar to how you did for the bowl.
- After rising, punch down the dough with clean hands. Flour a clean surface and move the dough to the surface.
- Take four corners of the dough and pinch them together in the center, making an oval loaf shape. Move the dough to the greased loaf pan, the pinched side facing down.
- Cover and leave it to rise for 30 more minutes. While rising, preheat the oven to 350 degrees.
The loaf should have doubled in size again after rising. Once finished, bake in the oven for 50 to 60 minutes, or until the internal temperature of the bread reads 205 degrees. - When finished baking, let the bread cool slightly in the pan loaf. If desired, lightly spread butter or honey on top of the hot loaf to make it shiny.
- After a few minutes, remove the loaf from the pan to fully cool. But that doesn’t mean you have to wait to dig into hot, delicious bread.
RELATED: Sign up for our newsletter to get daily recipes and food news in your inbox!


