4 Daily Standing Exercises That Keep Your Back Pain-Free After 60


Back pain in adults over 60 usually starts somewhere other than the back. Hip flexors that have shortened from decades of sitting pull on the lower back with every step, and weak glutes leave the back doing work it wasn’t built for. I’ve been a personal trainer for four decades, and for over 25 years I’ve been running TRAINFITNESS, the UK’s leading provider of personal training courses. Four daily standing exercises can change that inside a month.
Where Back Pain Starts

The pattern I see is remarkably consistent. Most back pain in over 60s starts somewhere other than the back itself. Hip flexors that have been folded shut for decades of sitting tug on the front of the pelvis, which tips forward and hollows the lower back. That hollow position squeezes the discs at the back of the spine, which the body then reads as pain.
The glutes are the other half of the story. After enough hours of sitting on them, the brain stops recruiting them, and the lower back muscles pick up the slack. Every time you stand up, walk, or lift something, the back is doing work the glutes should be doing. Over months and years, this fatigues the back muscles and leaves them constantly aching.
There’s also the thoracic spine, the middle section of the back between the shoulder blades. This is the part that has stiffened the most from sitting, and when it can’t rotate or extend, the lower back tries to compensate by moving further than it should. Loose upper back, happy lower back.
Underneath all of that is the loss of the deep muscles that hold the spine steady while the body moves. These fade without any warning after 50, and without them, every reach, twist, and lift lands on the passive structures of the spine rather than being held by muscle.
Why Standing Exercises Work

Standing is where most people actually hurt their backs. You bend to pick up a shoe. You reach for something on a high shelf. You turn to grab a mug on the worktop. All of these are standing movements, and the body needs training in the position it’s going to be tested in.
Standing exercises also load the spine with a good amount of the body’s own weight, which is what tells the muscles they need to work. Floor exercises take gravity out of the equation, which is useful for some things, but not for teaching the standing patterns that matter in daily life.
There’s also the practical side. Standing exercises need no equipment, no floor space beyond an arm’s length, no getting down and up off the floor. This is a routine that fits into the middle of the day, between the kettle boiling and the tea being ready. That’s the level of friction that makes it happen every day.
Standing Hip Hinge
This teaches the body to bend at the hips rather than at the lower back, which is the single most protective movement pattern for the spine. Every time you pick something up off the floor, this is the pattern that should be firing. Grooving it standing, with no load, sets the body up to do it correctly under load.
How to Do It:
- Stand tall with feet hip-width apart, soft bend in the knees
- Place your hands on the front of your thighs
- Push the hips backward, sliding the hands down the thighs towards the knees
- Keep the chest tall and the spine long
- Stop when you feel a steady stretch in the hamstrings
- Squeeze the glutes and stand back up
Avoid These Mistakes:
- Don’t round your lower back to reach further down. Keep the spine long throughout. If you can only get your hands halfway down the thighs before the back wants to round, that’s your range for now, and it will get further within weeks.
Sets and Reps: 12 to 15 reps.
Standing Single-Leg Hip Extension
This wakes up the glutes, which is what stops the lower back from doing double duty. Strong glutes are the single biggest predictor of a pain-free back in this age group, and this move loads them directly in a way that spares the spine.
How to Do It:
- Stand behind a sturdy chair, both hands lightly on the back
- Stand tall with a soft bend in the supporting knee
- Keeping the working leg straight, sweep it backward, squeezing the glute at the top
- Only go as far as you can without arching the lower back
- Lower with control
Avoid These Mistakes:
- Don’t arch your lower back to swing the leg further behind you. The range is small, and the squeeze is everything. Two inches with a strong glute squeeze beats a foot with the back doing the work.
Sets and Reps: 10 reps on one side, then swap.
Standing Thoracic Rotation
This frees up the middle of the back, the part that has stiffened most from sitting. When the upper back can rotate, the lower back is spared from having to. This is one of the most useful moves for anyone whose back aches after a long car journey or a day at a desk.
How to Do It:
- Stand tall, feet hip-width apart
- Clasp your hands together at chest height, elbows out to the sides
- Rotate slowly to the right, leading with the chest, not the head
- Feel the twist happening in the middle of the back, not the lower back or the neck
- Return to center
- Rotate to the left
Avoid These Mistakes:
- Don’t swing your hips as you rotate. It takes the work out of the mid-back. Keep the hips facing forward and let only the ribs turn.
Sets and Reps: 10 rotations per side
Form Tip: If it feels like a much smaller movement than you thought, that’s correct.
Standing March With Reach
This trains the deep muscles of the trunk that hold the spine steady while the arms and legs move. It’s exactly the muscle pattern that protects the back in daily life, when you’re carrying a bag or reaching across the body for something.
How to Do It:
- Stand tall with feet hip-width apart
- Lift the right knee to hip height while reaching the left arm straight overhead
- Keep the trunk tall and steady, not wobbling side to side
- Lower and swap sides
Avoid These Mistakes:
- Don’t rush the movement, or it becomes a march rather than a control exercise. Slow it right down.
Sets and Reps: 20 reps total, 10 each side
Form Tip: The value is in the trunk holding steady while the limbs move, not in getting the knees high.
How Often to Do This
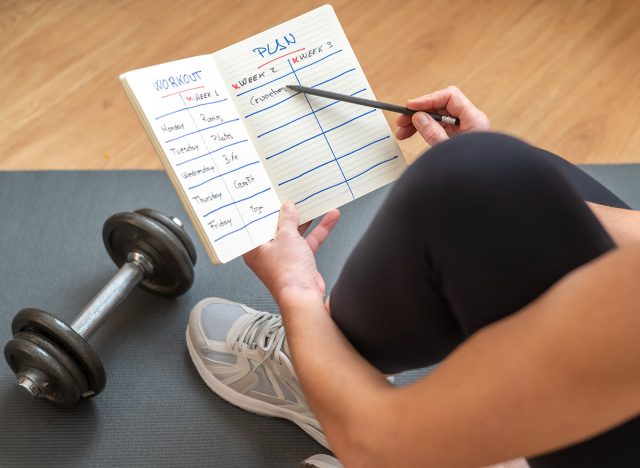
The four exercises take about 10 minutes done back to back. Do them once a day, ideally at the same time each day so they become routine rather than a decision.
Six or seven days a week is what I recommend. The loading is light enough that the body handles daily work without any risk of overtraining. Missing a day is fine, but the pattern needs to become a habit before it starts to change how your back feels.
The best time is usually in the morning, before the day has a chance to stiffen you up. But any time works. Some clients do them during a mid-morning tea break, others do them right before dinner. Whatever slot you can hold reliably is the right one.
After the first month, add a second round of each exercise. Or slow the tempo on the hip hinge and hip extension to double the training stimulus. The exercises stay the same. The dose gets bigger.
What to Expect

Within the first fortnight, most people notice their back is grumbling less at the end of the day. That’s the glutes starting to fire and share the load, which takes the pressure off the muscles that have been overworking.
By 4 weeks, the change is real. Long walks feel easier. Standing at the sink to do the washing up stops being uncomfortable. Getting out of the car after a long journey isn’t the ordeal it was.
By 6 to 8 weeks, most people report that the constant background ache has stopped. Not always completely, but enough that they’ve stopped thinking about their back multiple times a day. This is the point where they realize they’ve been in low-grade pain for years without knowing it.
Long-term, the routine is what keeps the back working properly for the rest of your life. Ten minutes a day is small change for the difference between a back that lets you live your life and one that dictates it.