4 Simple Exercises That Restore Ankle Strength Faster Than Balance Exercises After 65
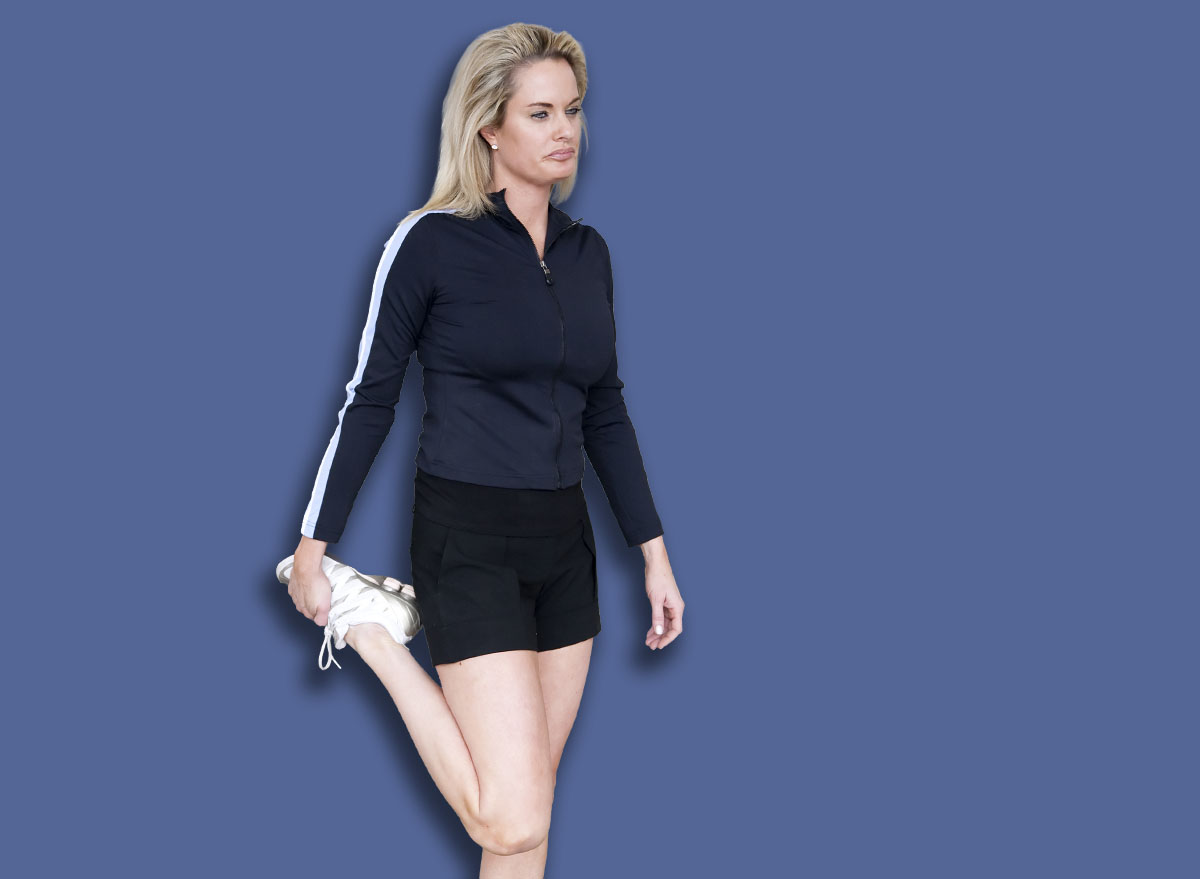
Your ankles are the unsung heroes of every step you take, but after 65, they start losing the strength and stability that kept you confident on your feet for decades. Most people assume balance exercises are the answer, but there’s a better approach that targets the specific muscles and mechanisms your ankles actually need.
The loss of ankle function typically stems from two main culprits: simple disuse and poorly rehabbed old injuries. When you sit too much and don’t walk, jog, or jump enough, your ankle muscles weaken from lack of stimulation. Add in decades of ankle sprains, strains, and breaks that never got proper rehab, and you’ve got a recipe for compensatory movement patterns that make things worse over time. These four exercises can help you rebuild that strength without fancy equipment or a gym membership.
What Happens When You Lose Ankle Strength

Disuse is the primary problem. You’re simply not giving your ankles the variety of movements they need—running, jogging, jumping, spinning, twisting. As we age, these dynamic movements become less frequent, and the ankle muscles atrophy as a result.
The second issue is improper rehab from old injuries. Anytime you sprain an ankle, strain a ligament, tear a ligament, or break a bone, you need to rehab each individual ligament as well as the dermatomes and myotomes that help innervate it. A dermatome is the sensory part where you feel sensations in your foot and ankle. The myotomes are the muscular innervation—where the nerves come out to make the actual muscles fire.
Once you’ve had these injuries, scar tissue builds up and limits your range of motion. This creates compensatory movements. Maybe you don’t bend your ankle enough, so you bend your knee more. Or you can’t load the outside of your ankle, so you shift your weight to the opposite side. These dysfunctions in your gait pattern lead to even more disuse of the ankle joint, further decreasing neural tone and muscle tone.
Why Balance Training Isn’t Enough

Balance training has its place, but it doesn’t adequately strengthen the peroneal muscles or the tibialis anterior muscles, which are largely responsible for ankle stability and motion. You get some benefit, but you definitely get more bang for your buck by directly strength training these muscles rather than trying to incorporate them through balancing alone.
Balance training also doesn’t address the reduced toe-off mechanism, or what’s called the windlass mechanism. Every time you take a step, you push through your big toe. As you push through, the big toe extends about 60 degrees, which pulls a little sesamoid bone (like your kneecap, but under your big toe) forward and allows you to push off efficiently. Balance training doesn’t do much for this crucial mechanism—you have to train it specifically.
Additionally, balance work doesn’t adequately strengthen the anterior tibialis muscle, which bends the ankle back (dorsal flexion). Without this strength, you start dragging your foot and tripping. You also lose strength in all the intrinsic muscles of the foot. Most of these require specific strength training that balance exercises simply don’t provide.
How This Program Works
Frequency: Do all four exercises three to five times per week. Each session, perform them as a circuit—60 seconds per exercise, moving right into the next one. Complete two to three sets per session.
What to Expect in 4-8 Weeks:
- Better ankle strength
- Decreased fatigue when walking (everything becomes more efficient)
- Increased gait confidence and competence—improved ability to navigate stairs and step off ledges
- Decreased stumbling, tripping, and falling
Red Flags to Stop Immediately:
- Increase in pain
- Any sharp pain
- Increase in swelling or redness
- Numbness or tingling
Note: Muscle fatigue during the exercise is fine—in fact, it’s good. Pain is not.
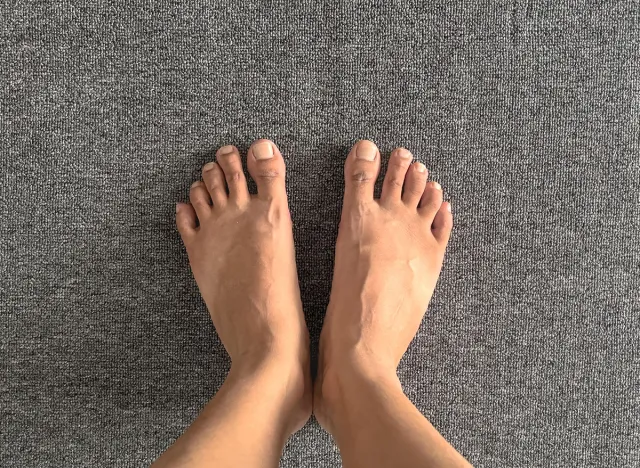
Peroneal Stance
The peroneal muscle is largely responsible for lateral ankle stability. It runs down behind the ankle and hooks underneath. Functionally, it bends your ankle out (eversion), but we’re going to put it in its lengthened position to strengthen it because most sprains happen in that position.
Muscles Trained: Peroneal muscles, tibialis anterior
How to Do It (Phase 1):
- Stand on a mat or soft surface
- Roll one foot at a time onto its outer edge
- Keep most of your weight on your big toe
- Hold this position for 30 seconds
- Switch sides
- Keep your knee bent while lightly loading the ankle
Progression to Phase 2:
- Grab a chair for support
- Take the same rolled position on both feet
- Come up slightly, with most weight in your hands on the chair
- Lightly load the tissue in your feet
- Hold for 30-60 seconds
Progression to Phase 3:
- Set up in the same position
- Come up higher on your feet
- Hold for 30 seconds
- Straighten your knees as you get stronger
- Eventually work up to holding the full position for 30-60 seconds
Form Tip: You should feel a big stretch through the tibialis, but you’re using this position to strengthen the peroneal muscle to fight excessive rolling of the ankle.
Toe Walking
This exercise strengthens all the intrinsic muscles of the foot, the calves, the gastrocs, and especially the Achilles tendon. It directly trains the windlass mechanism, helping you get up on that big toe so the sesamoid bone moves forward for a more efficient gait pattern. This is what gives people that “spring in their step”—it drives force into the glute and up through the low back to create an efficient gait pattern. It’s an S1, S2 dermatome, meaning the nerves come out of the top part of the sacrum and run all the way down to feed these muscles.
Muscles Trained: Intrinsic foot muscles, calves, gastrocnemius, Achilles tendon
How to Do It:
- Come up onto your toes as far as possible
- Keep a slight bend in your knees (or straighten them for more calf work)
- Progression 1: Walk forward for 60 seconds
- Progression 2: Walk backward for 60 seconds
- Progression 3: Walk laterally in one direction for 60 seconds
- Progression 4: Walk laterally in the other direction for 60 seconds
- Use a dowel, wall, or partner’s hand for balance if needed
Form Tip: Stay up on your toes the entire time. Straight knees engage the calves more, while bent knees shift some emphasis while still working the foot muscles.
Heel Walking
The calcaneus (heel bone) is the most proprioceptive-dense bone in the lower body. This means most of the information that comes to your brain from your foot comes from the heel. The heel is an L4-L5 dermatome, so the nerves come out of the spine in the lower back region. This exercise dramatically improves proprioception and balance while strengthening the ankle. You’ll feel significant work in the tibialis anterior muscle.
Muscles Trained: Tibialis anterior, proprioceptive system
How to Do It:
- Lift your toes and forefoot off the ground
- Walk forward on your heels for 60 seconds
- Walk backward on your heels for 60 seconds
- Walk laterally in one direction on your heels for 60 seconds
- Walk laterally in the other direction on your heels for 60 seconds
Form Tip: Keep your toes pulled up toward your shin throughout the movement to maintain the proper position and maximize tibialis anterior activation.
Tibialis Raises
The tibialis anterior runs across the front part of the shin and bends the ankle back (dorsal flexion). This prevents you from dragging your foot and tripping. These muscles are innervated from L4-L5 nerve roots.
Muscles Trained: Tibialis anterior
How to Do It (Standard Version):
- Stand with support from a chair if needed for balance
- Keep your heels on the ground
- Lift your feet (toes and forefoot) off the ground
- Lower and repeat for 60 seconds
- For more challenge, release the chair support
How to Do It (Wall Version):
- Put your back against a wall
- Walk your feet out in front about two feet
- Lift your toes and forefoot while heels stay planted
- Lower and repeat
- Walk your feet closer to the wall for more difficulty
Form Tip: Pair these foot and ankle exercises with the appropriate ELDOA exercises for their nerve root. This way you’re not only strengthening the muscle, but you’re helping create space in the spine for better neurological flow into the area you’re working.