17 Grilling Mistakes That Are Ruining Your BBQ
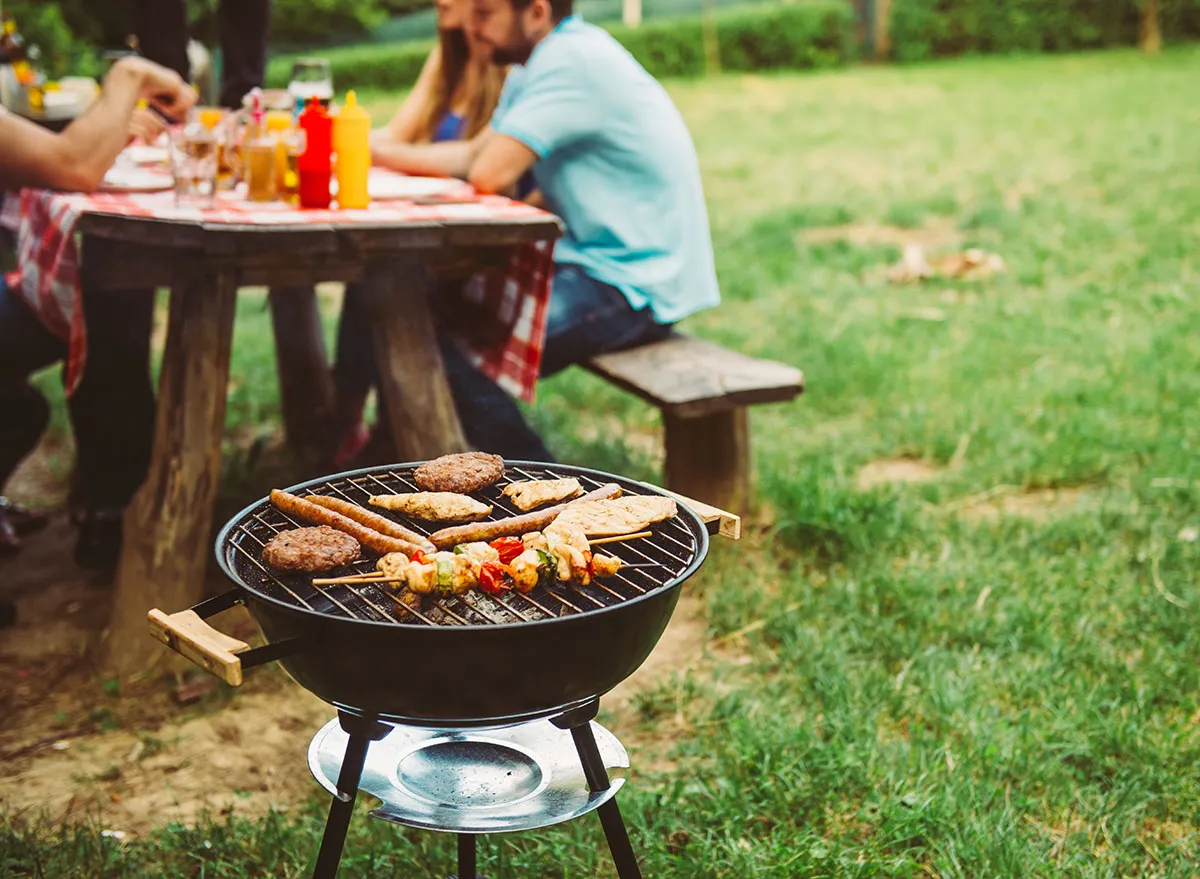
Most of us own grills—7 out of 10 Americans do actually, according to the data from the Hearth, Patio, and Barbecue Association—but do most of us know how to use them properly? Well, sorry to disappoint, but no, probably not, and there’s a good chance you’re unintentionally making these common grilling mistakes often, at least according to the culinary experts we spoke with.
Whether it’s grilling food prep, tool choice, safety strategies, or grill cleaning, we’re here to help you extinguish these errors from your barbecue routine ASAP. We even consulted grilling experts, including grill master Meathead Goldwyn of AmazingRibs.com, and author of Meathead: The Science of Great Barbecue and Grilling, for the most common cookout mistakes and tips to make your next barbecue truly memorable, for all the right reasons.
Mistake: Cooking on dirty grates.
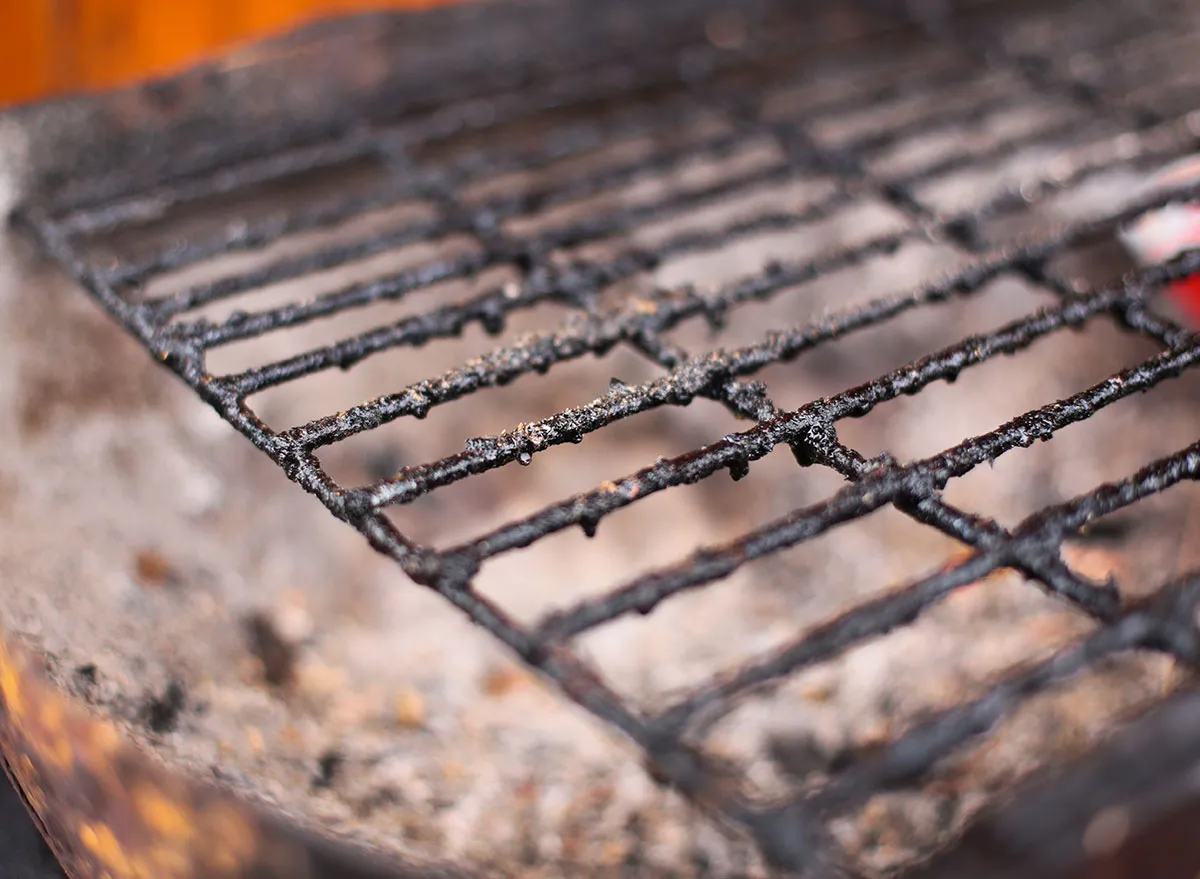
Make like Mr. Clean and keep your grill as tidy as possible, being sure to clean your grates, topside and underside, each time before you light up.
“Use a grill brush [or a pair of tongs gripping a ball of foil] to give the grates a good scrub,” says Morgan Bolling, senior editor at Cook’s Country Magazine (a part of America’s Test Kitchen) in Boston, Massachusetts. “Then wipe the grates down with vegetable oil before adding food.”
Not only can grimy grates impart “off” flavors into your food, but they can also increase stick risk—which is especially important with delicate proteins like fish, she adds.
Make it easier to clean before cooking by tidying up after cooking. After the flame is extinguished but before the grates completely cool off, use a grill brush to dislodge any particles from the grates. Clean with soap and water, rinse, allow to dry, then store safely once it’s completely cool.
And for a cheap, safe grill scraper that won’t leave metal bristles on your grates to get into your burgers, wad up a piece of aluminum foil.
Mistake: Overlooking important prep steps.
Before you add anything to the grill, keep these flavor-boosting and quality-improving tips in mind from Tyson Holzheimer, a chef instructor at Auguste Escoffier School of Culinary Arts in Denver, Colorado:
- Remove meat from your fridge about 30 minutes before cooking to allow it to get closer to room temperature before cooking
- Pre-cook starchy or dense vegetables, such as potatoes, beets, carrots, and fennel (blanching works well)
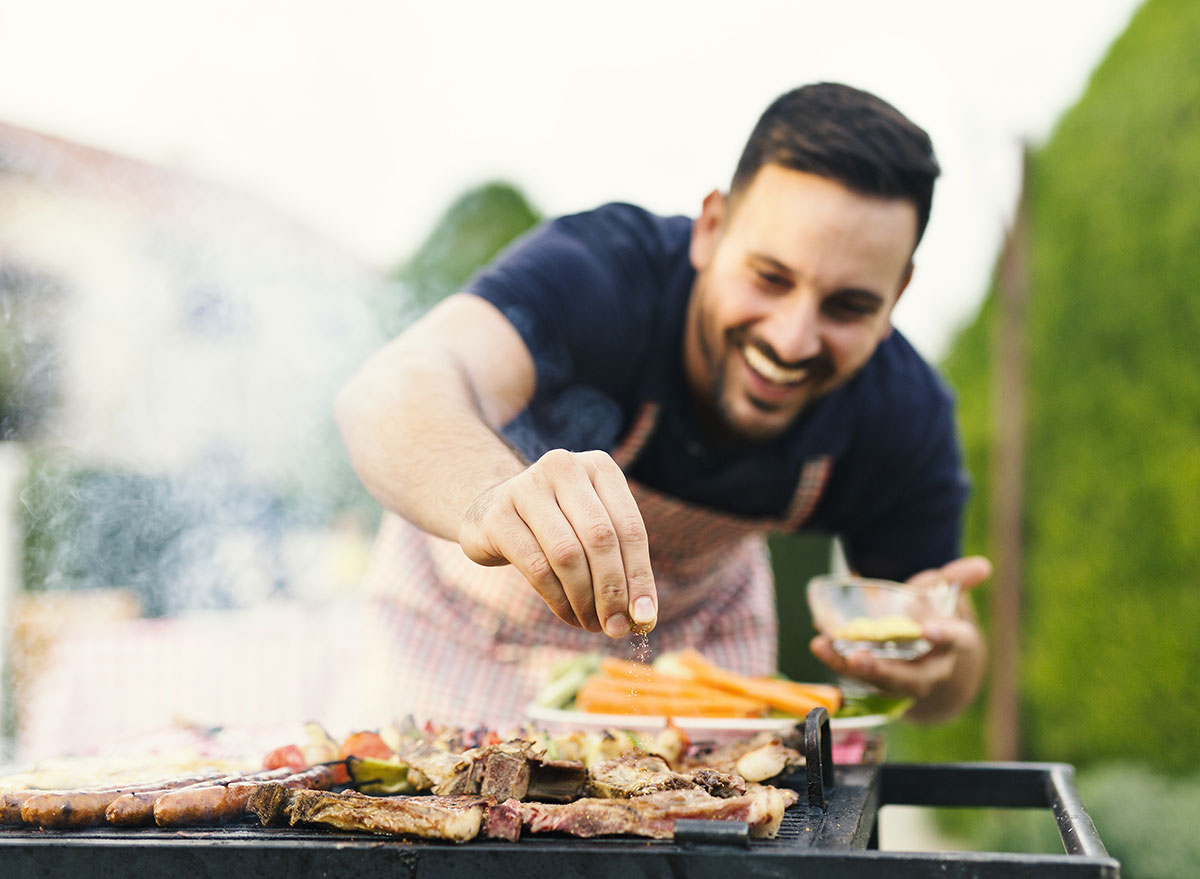
- Salt food before grilling
Mistake: Guessing when your food is cooked.

One of the most important turkey roasting tools is also essential when it comes to your barbecue.
“You can’t tell if meat is fully cooked and safe by cutting into it or touching it,” says Meathead. “That’s a good way to send Grandma to the hospital.” And that’s why you’re want to invest in a thermometer as a way to prevent ever under or overcooking your meal.
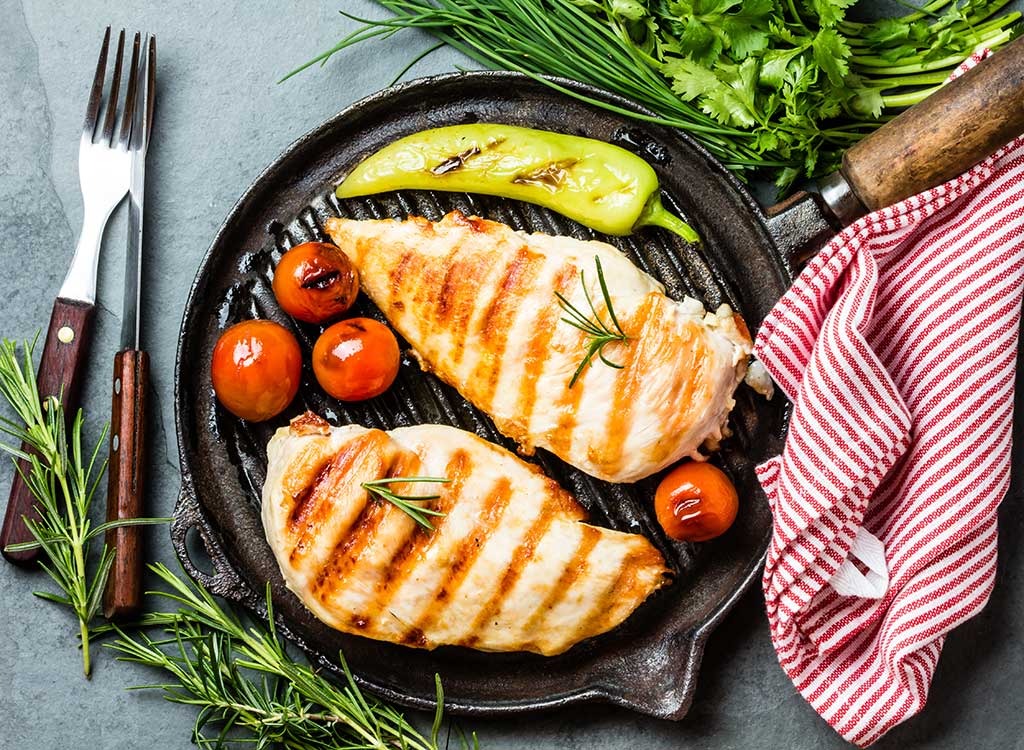
“Use a thermometer when cooking meat. It’s the most foolproof way to avoid both undercooking and overcooking proteins (overcooking often results in drying out lean proteins like chicken breasts and pork chops),” Bolling says. “When using a meat thermometer, clean it in between uses if the meat has not reached a safe internal temperature.”
Holzheimer says this is especially important when it comes to chicken.
“If it doesn’t hit 165 degrees, leave it on the grill!” he says.
Mistake: Adding food too quickly after lighting.
Take a breather after you light the grill flame, Bolling recommends.
“Preheat your grill thoroughly. Allow a charcoal grill to sit covered 5 minutes after adding the charcoal or a gas grill to sit covered on high heat before adding food. If your grill isn’t hot, food is more likely to stick to it,” she says.
Mistake: Slicing veggies too thin.
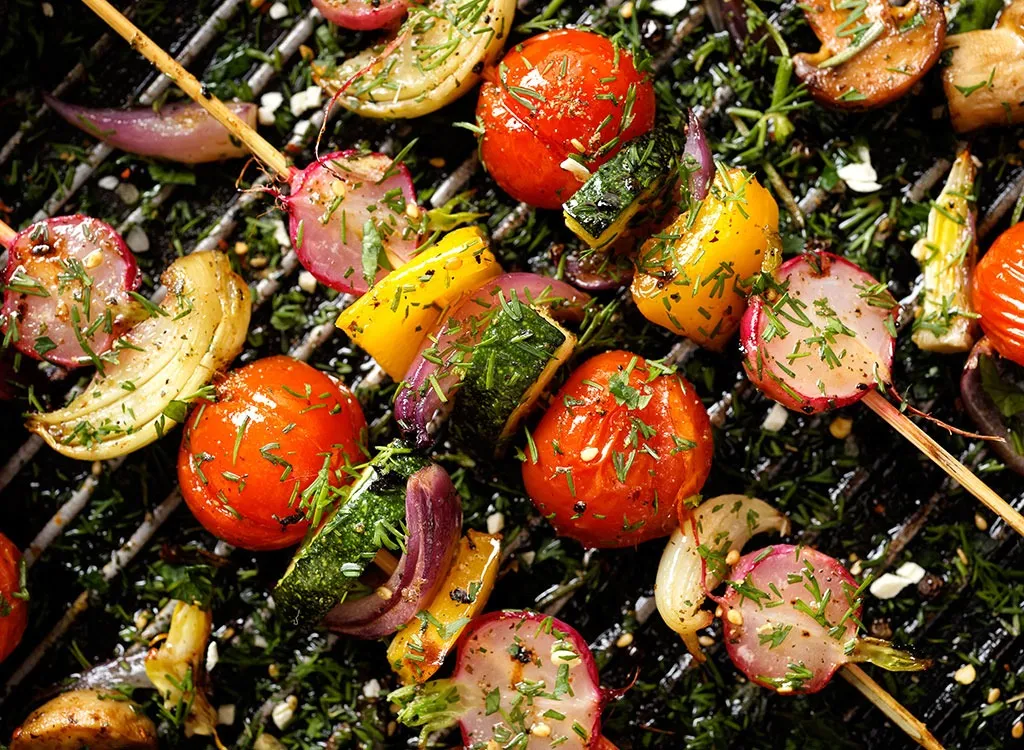
When it comes to grilled recipes, a slim calorie count is good. A too-slim ingredient, though, is not.
“Be strategic in how you cut vegetables for grilling. It’s all about maximizing their surface area to increase browning while cutting shapes that discourage them from falling apart or slipping through the grill grates,” Bolling says. “For example, in our cookbook, Vegetables Illustrated, we suggest grilling eggplant or zucchini that have been cut into rounds or long planks, so they get plenty of char but are big enough they won’t fall through the grates of your grill.”
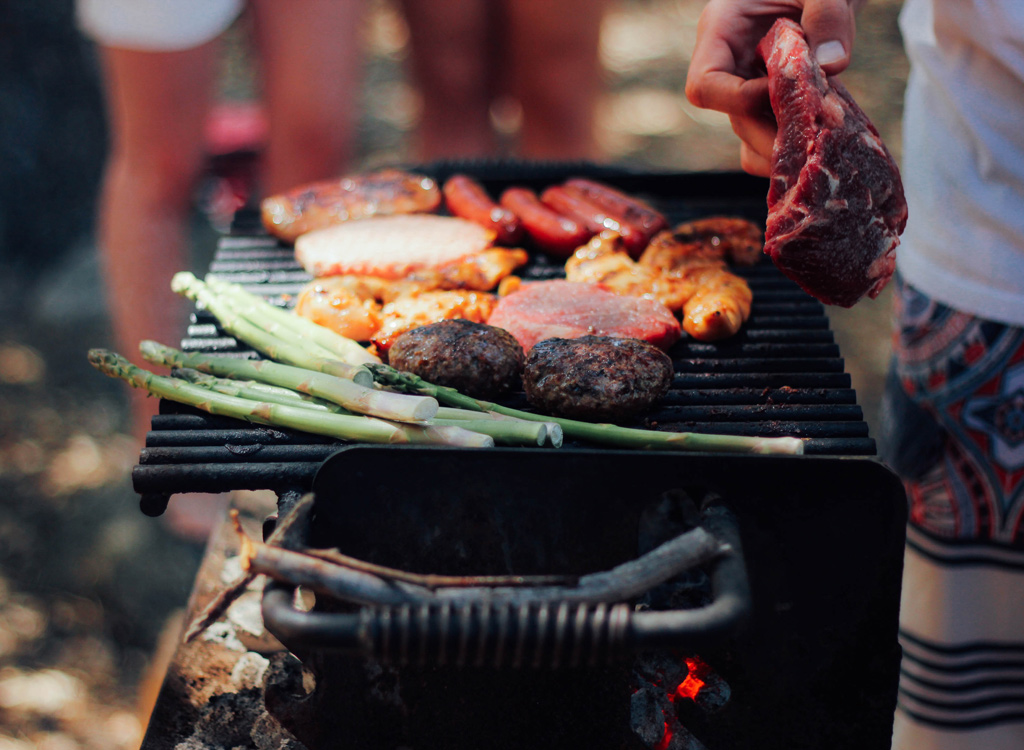
Mistake: Leaving too much fat on meat.
On the other end of the spectrum, don’t leave your ingredients too fatty, either.
It’s a myth that melting fat moisturizes the meat. “It doesn’t penetrate,” says Meathead.
However, it does drip onto the fire, causing flare-ups that deposit soot on the meat. Trim the thick layer of fat on beef brisket, pork shoulder, leg of lamb, or prime rib before grilling.
“Trim excess fat from poultry and other meats before they hit the grill. Fat will render as meat cooks and can drip down into the flames, causing flare-ups,” Bolling says. “Flare-ups can make food taste acrid and burnt.”
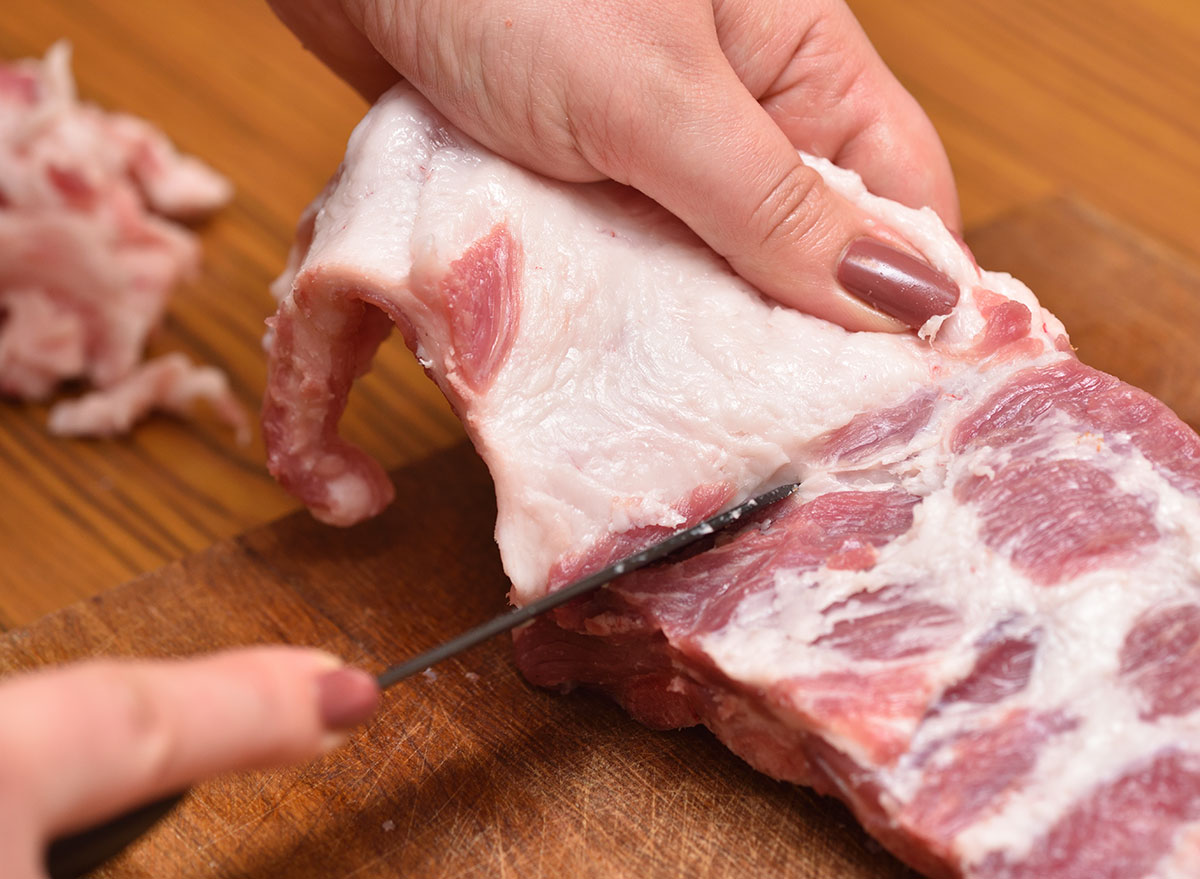
Mistake: Tossing chops on whole.
Cut your chops before you chop to it and add ’em to the grill—but just a bit.
“Pork chops—especially chops that are one-inch or thinner—have a tendency to curl as they cook. When exposed to the high heat of the grill, the ring of fat and connective tissue that surrounds the exterior tightens, causing the meat to buckle and curl,” Bolling says.
To prevent this, cut a couple of slits about two inches apart through the fat and connective tissue on each chop before grilling.
Mistake: Putting fish directly on the grates.
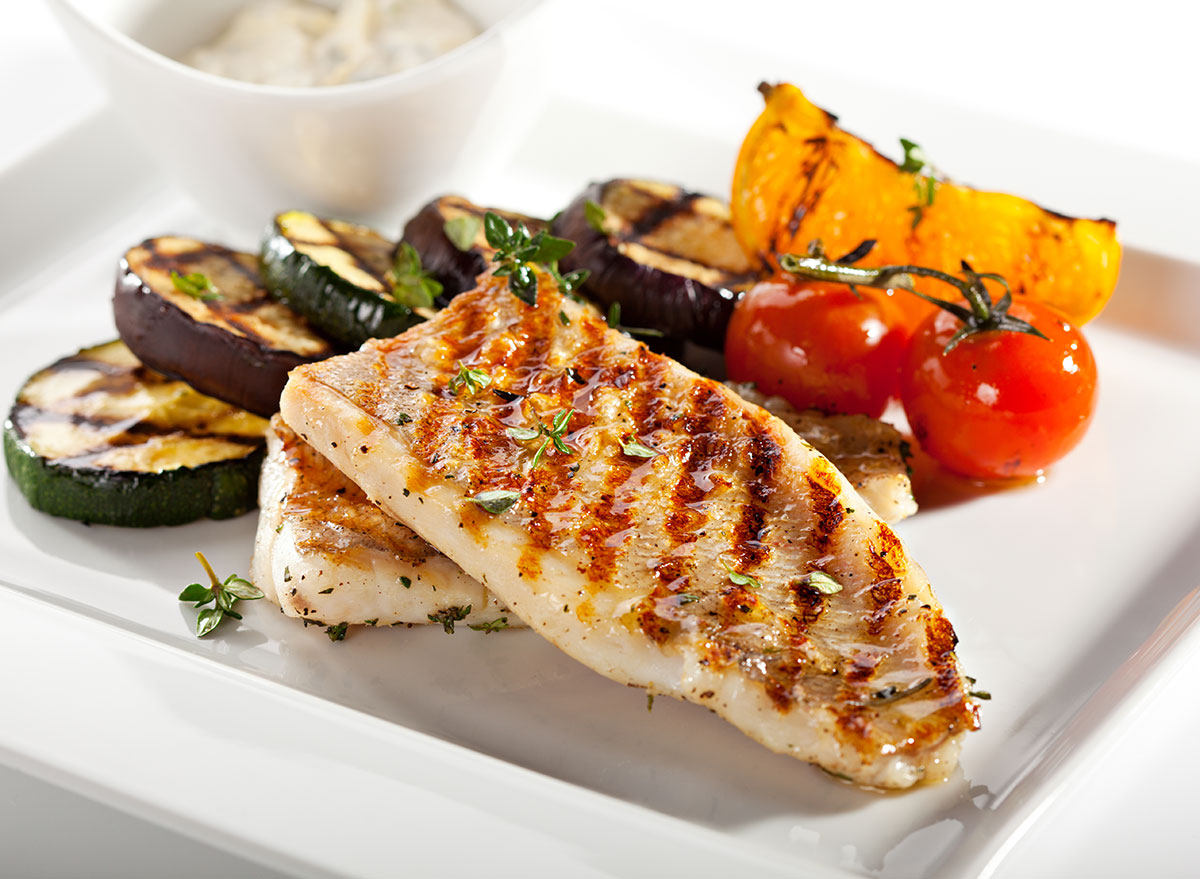
The delicate flesh of fish sticks to hot grills, making it difficult to flip fillets and steaks. Cedar planks work great for keeping fish from sticking, but they can get expensive. Instead, place your fish on a layer of sliced oranges or lemons. The fish will cook nicely without sticking and may pick up some nice flavor from the fruit.
Mistake: Starting with lighter fluid.

Just because dad did it doesn’t make it right. Unless you want your meal to smell like a gas tank, don’t use lighter fluid.
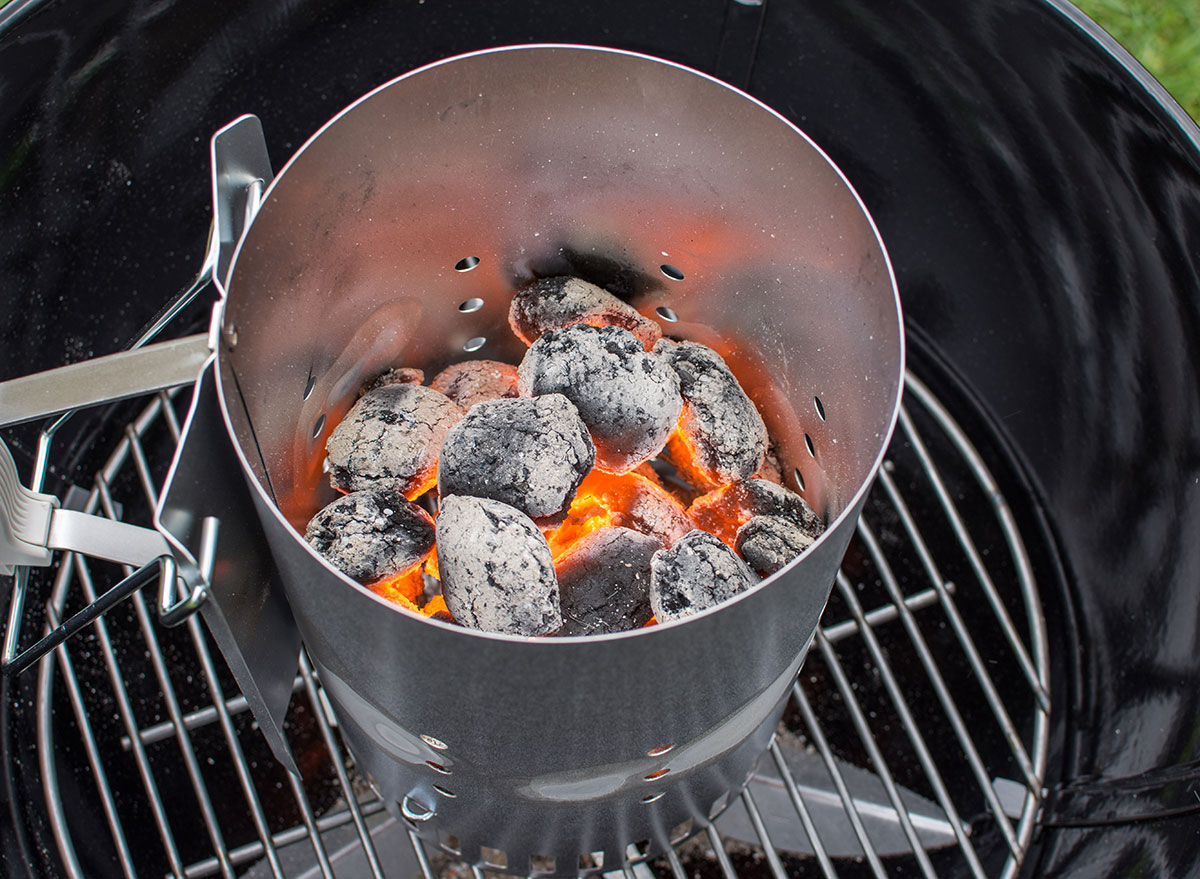
“Don’t use lighter fluid—it will impart a petrol flavor to the food that takes away from the natural smokiness of the charcoal,” says Mike Simmons, chef/partner of Café Marie-Jeanne, in Chicago, Illinois. “Instead, try a chimney starter. It makes a beautiful fire that allows you to get a great flavor.”
So how does this work? Well, you start the charcoal using a charcoal chimney and stuff newspaper in the bottom. Then, fill the metal cylinder with charcoal on top. Light the paper and in 10 minutes, dump your red-hot coals into your grill.
Mistake: Thinking charcoal briquettes are your only option.
In other tool news, Simmons suggests lump hardwood charcoal instead of those common charcoal briquettes you may have seen from Santa as a kiddo.
“Hardwood lump coal makes for a hotter fire at first that’s great for quick sears for seafood or peppers with a long slow smolder that’s great for lower temp cooks like a whole chicken or pork loin,” he says.
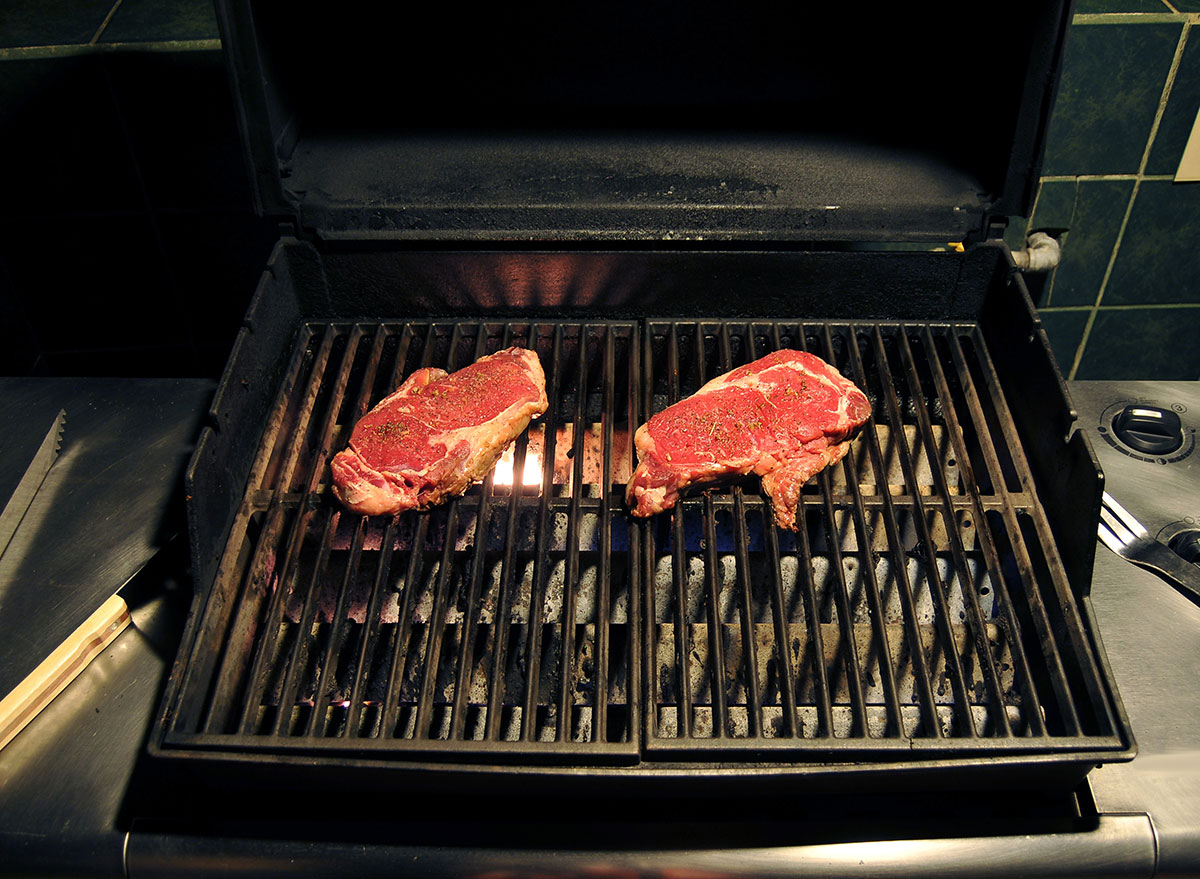
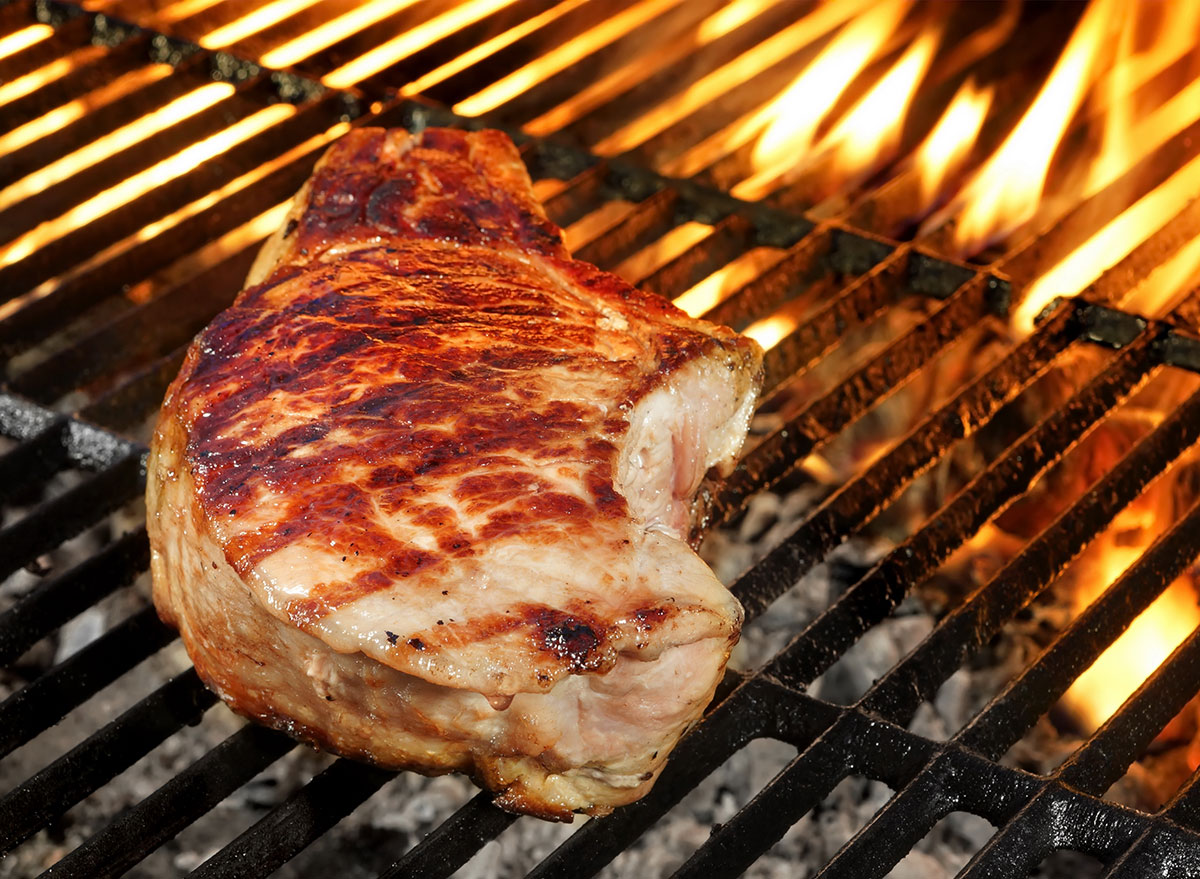
Mistake: Searing your chicken and steak to lock in juices.
Sorry to disappoint, but Dad was wrong here. Searing thick cuts of meat doesn’t “lock in the juices.” Cooking hot and fast will carbonize the surface of thick cuts of beef and pork before the heat gets to the center. The fatty skin of chicken breast will char and blacken before the inside is cooked.
To avoid this, use a technique called the “reverse sear,” says Meathead, where you cook over low heat slowly at first, then sear over high heat quickly when the interior is already cooked. It’s the best way to get that crispy dark-brown crust known scientifically as the Maillard reaction without drying out the meat.
Mistake: Taking your eyes off the prize.
Try not to get distracted by the drink cooler or your Instagram feed while you’re cooking up some food.
“Don’t walk away or get too distracted while grilling,” Holzheimer says. ” And if you’re searing steaks, you may want to leave the lid open so they don’t steam and overcook. Just crank it up and keep your focus on the meat until it reaches an internal temperature of 130 degrees.”
Mistake: Allowing the temperature to fluctuate wildly.

The heat is on, so it’s best to keep it that way.
“Always aim to maintain a consistent heat, if possible. Start the coals easy enough and let them burn down to a glowing smolder,” Simmons says. “If you’re having an all-day event, add a few coals here and there, and the grill will be ready to cook all day and night.”
Or, for a pleasant smoky element, toss on a couple of small chunks on every other reheat round.
Mistake: Believing your grill can only grill.
Speaking of smoke, it’s a hidden talent of your grill.
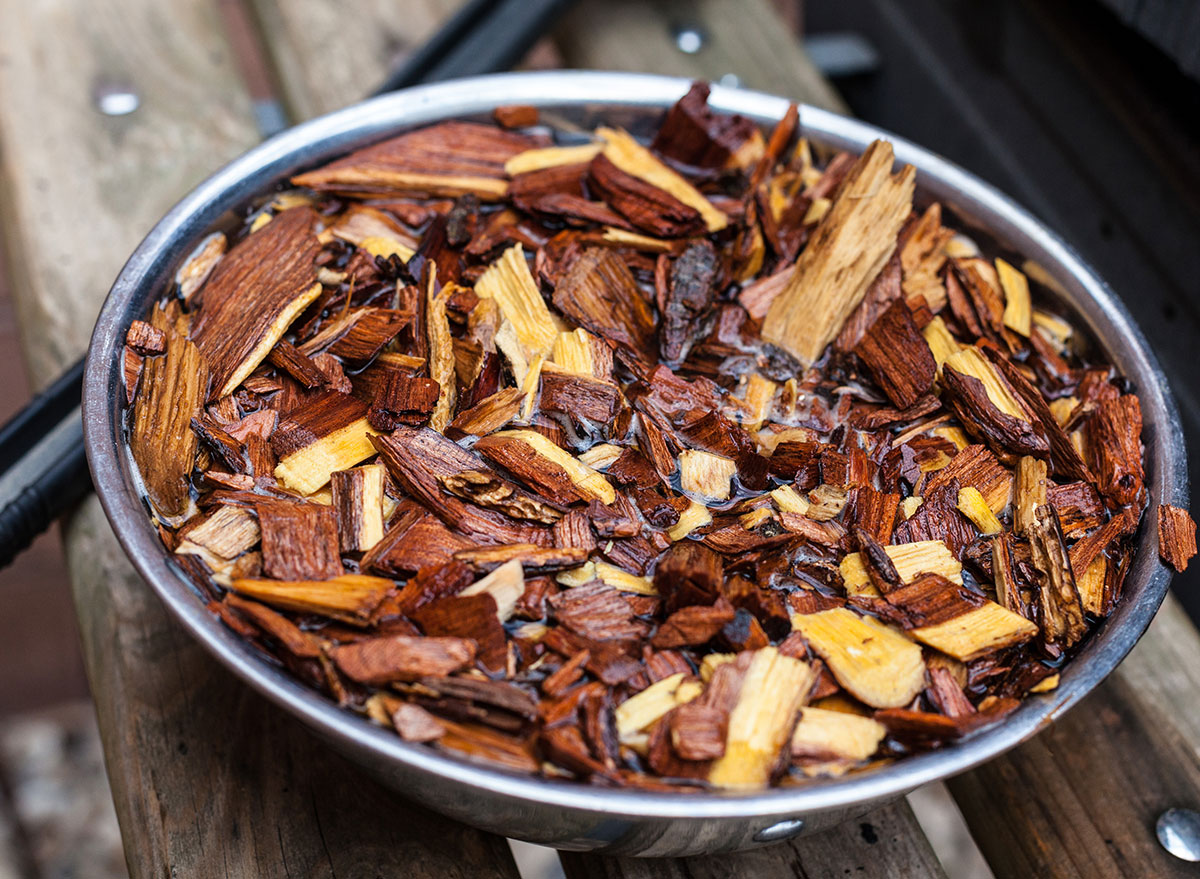
“It can be fun to play around with smoking on your grill,” Bolling says. “Adding wood chips to your grill imparts a deep, smoky flavor to your food. In the test kitchen, we use wood in two different forms: chips and chunks. We often default to hickory wood, which is widely available and not overpowering. In either case, the wood needs to soak in water for at least one hour before being added to the grill in order to maintain a slow smolder rather than a quick burn.”
After soaking, nestle the soaked chips into the pile of charcoal, set the cooking grate in place, and cover the grill for five minutes. Once the grill is hot, clean it and start cooking, Bolling suggests.
“If you have a gas grill, you’ll want to use grill chips. Soak the chips for 15 minutes, drain them, and place them inside a foil packet with holes cut into it for ventilation. Place the aluminum packet over the primary burner, light the grill, cover it, and wait until the chips start smoking heavily, around 15 minutes or so, before adding food,” she says.
Mistake: Mixing your raw meats.
Just like in your kitchen, food safety steps are important while cooking outside. When you’re transporting uncooked meat out to the grill, bring a clean plate to use when you take cooked food off the grill. Be sure you’re using one tool for raw meat and another for cooked meat, too.
“Be careful to avoid cross-contamination when grilling raw meats. Dedicate a utensil for raw meat, label that utensil, and give it its own landing place. Once the exterior of the meat is cooked, switch to a clean utensil. It’s okay if the interior of the meat is slightly underdone; it can’t contaminate the exterior as it finishes cooking unless the utensil punctures the meat, like with a carving fork,” Bolling says.
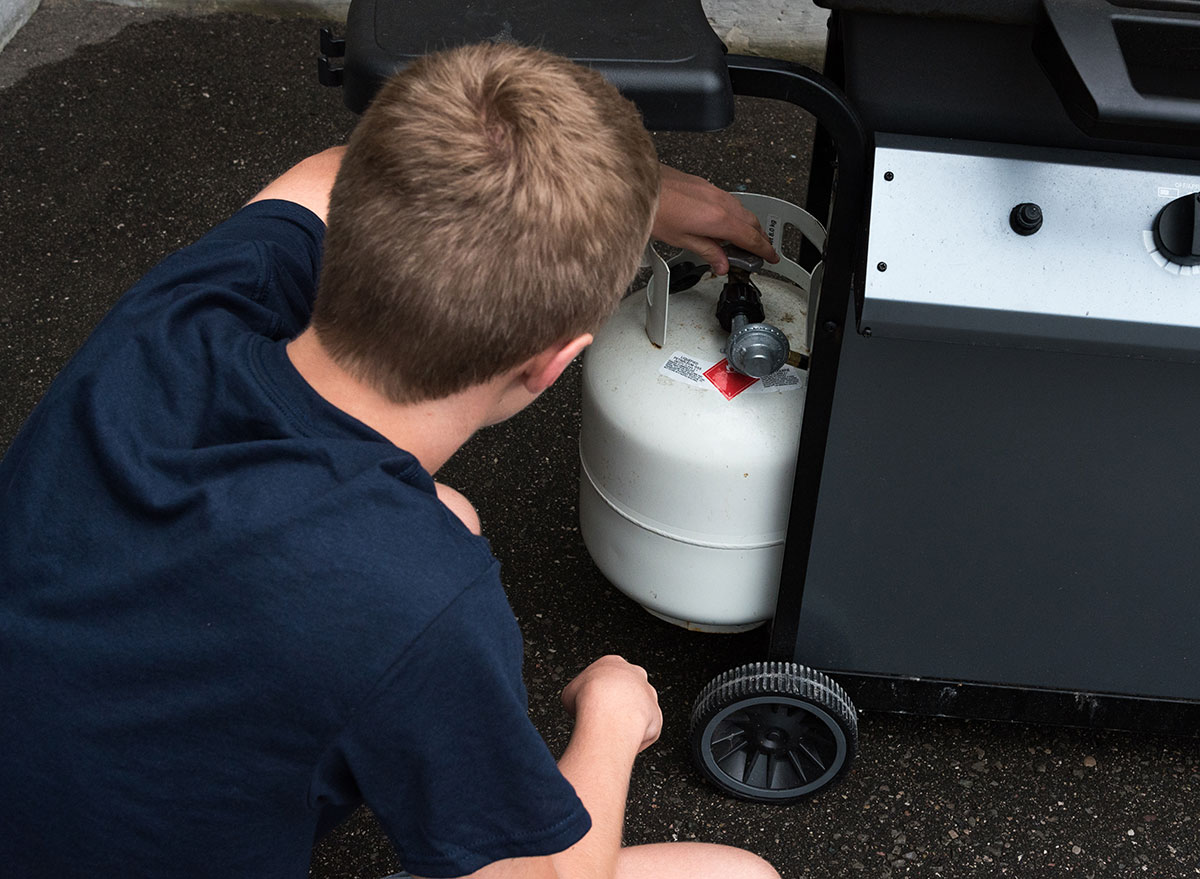
Mistake: Running out of propane.
Nothing is worse than having to run out for propane halfway through your barbecue. Don’t just think to trust that rusty gauge! Instead, pour a pitcher hot water over the top of your propane tank and then run your hand along the side of the tank. You’ll feel warm metal until you reach the liquid propane level when you’ll feel cold. And that’s how you can determine if you have enough gas to get you.
Pro tip: Keep a full backup tank.
Mistake: Storing your supplies improperly.
Once you’ve cooked on, cleaned, and cooled your grill, store it safely. Charcoal grills are just fine in your garage or on your porch. Gas grill tanks though should never, ever be stored inside.
“Propane tanks should never be stored in a closed space as they can leak,” Bolling says. “Ideally, they should be stored in a covered but open space raised off of the ground. If you have a screened-in porch, this would be an ideal spot. If not, they are fine to be left outside. Don’t cover them with a tarp and don’t leave them in [the] grass, as it can lead to rust build up, which causes leaking. Try positioning them on raised bricks or pieces of wood under an awning if possible.”