20 Blender Mistakes We’ve All Been Guilty Of
Perhaps you’ve had the same blender for years and you’re eyeing a new one to upgrade, or you’re finally looking to get a blender for whipping up healthy smoothies and homemade salad dressings and sauces. Either way—even if you’re a smoothie superstar—you’re likely making some common blender mistakes and forgetting some of the important features that can make all the difference.
We turned to a few blender buffs for their best tricks to maximize your gadget (and minimize your effort using it). Learn about the blender mistakes everyone makes, and see how you can make the most of this multipurpose machine.
You invest in a wimpy machine

If you’re going to get a blender, you’ll want to make sure you’re getting a good one. Blenders are made up of three main parts, says Tess Masters, author of The Blender Girl: a motor, a blade, and a container. Properly designed appliances will cause these three parts to work together to vortex ingredients toward the blade to blend quickly and easily. Look for high-quality machines that have these three components made with sturdy materials, so your machine can last.
Masters herself uses KitchenAid high-speed blenders because they pack a lot of power at the blade to blend fast, smooth, and efficiently, and because the die-cast metal base also offers stability.
You think you have to spend hundreds to get a good blender

Quality doesn’t have to come at a budget-breaking price, according to Morgan Bolling, senior editor for Cook’s Country Magazine (a part of America’s Test Kitchen) in Boston, Massachusetts.
“There’s a big range in what you can do in your blender based on the money you’re willing to spend. Here in the test kitchen, we love the Vitamix 5200, which is able to crush ice in seconds, slowly incorporate oil to make homemade mayonnaise, make ultra-smooth almond butter, and turn out fine smoothies (even with a fibrous ingredient like kale). Plus, it has a 7-year warranty,” she says.
With that in mind, she notes that there are much cheaper models that are still solid for daily use.
“In our testing, they often weren’t able to puree kale, a notoriously hard smoothie ingredient, as fine in kale smoothies, nor could they get almond butter as creamy, but we had really great results with the KitchenAid 5-Speed Diamond Blender, which costs $100. It’s a very good blender, especially if you’re mainly using it for traditional uses like milkshakes, smoothies, soups, and sauces,” Bolling says.
You reserve it for edible items only

One common blender mistake is not realizing you can use it for so much more than just mixing together things to enjoy in the kitchen. There are tons of non-edible blender things you can make, too! Masters likes to use her blender to make items to use all around the house, including the bathroom and laundry room. Pinterest is packed with recipes for homemade skincare products (such as masks, lotions, and hair treatments) and cleaning solutions (including laundry detergents and bathroom cleaners) that you can stir up in a cinch with a blender.
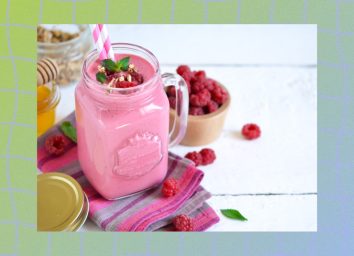
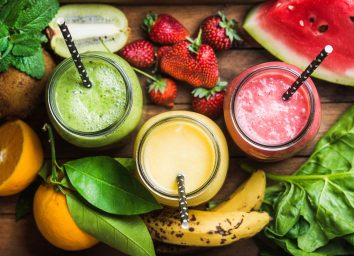
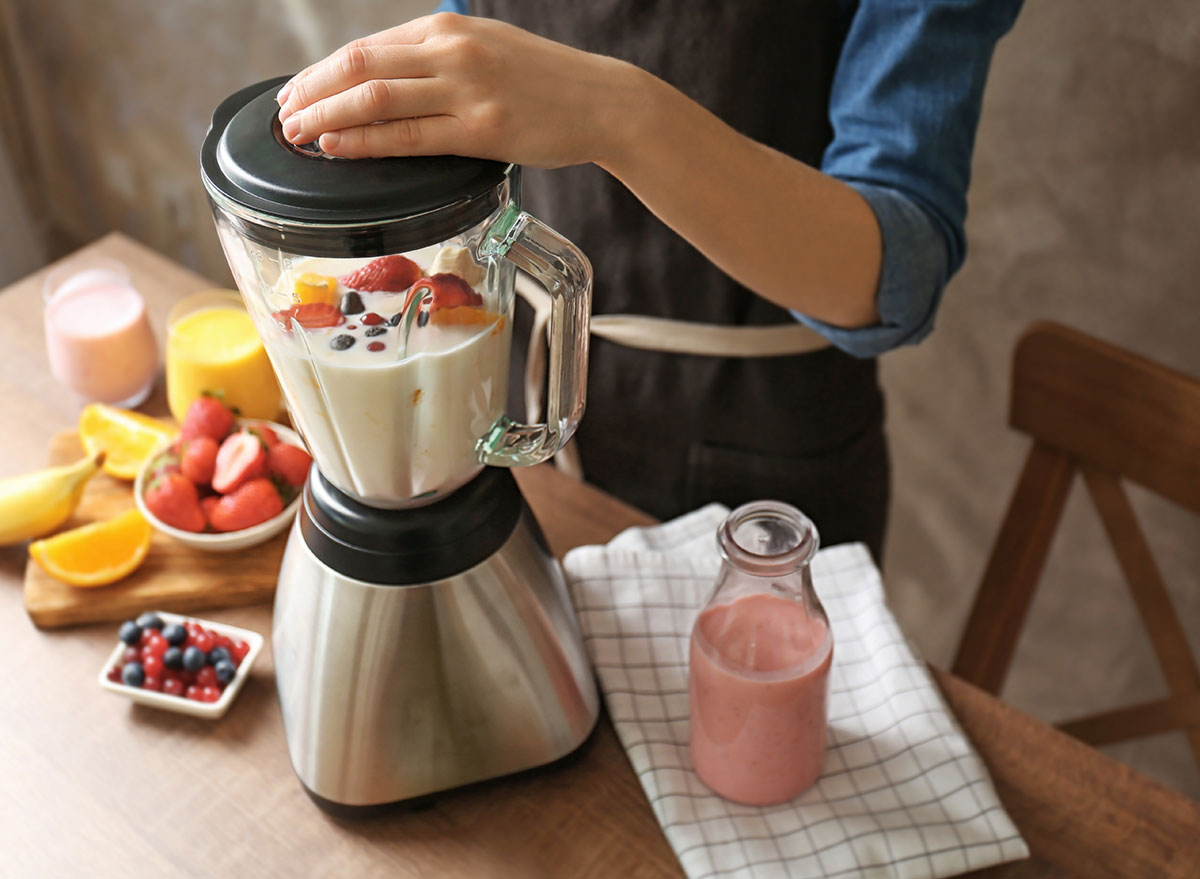
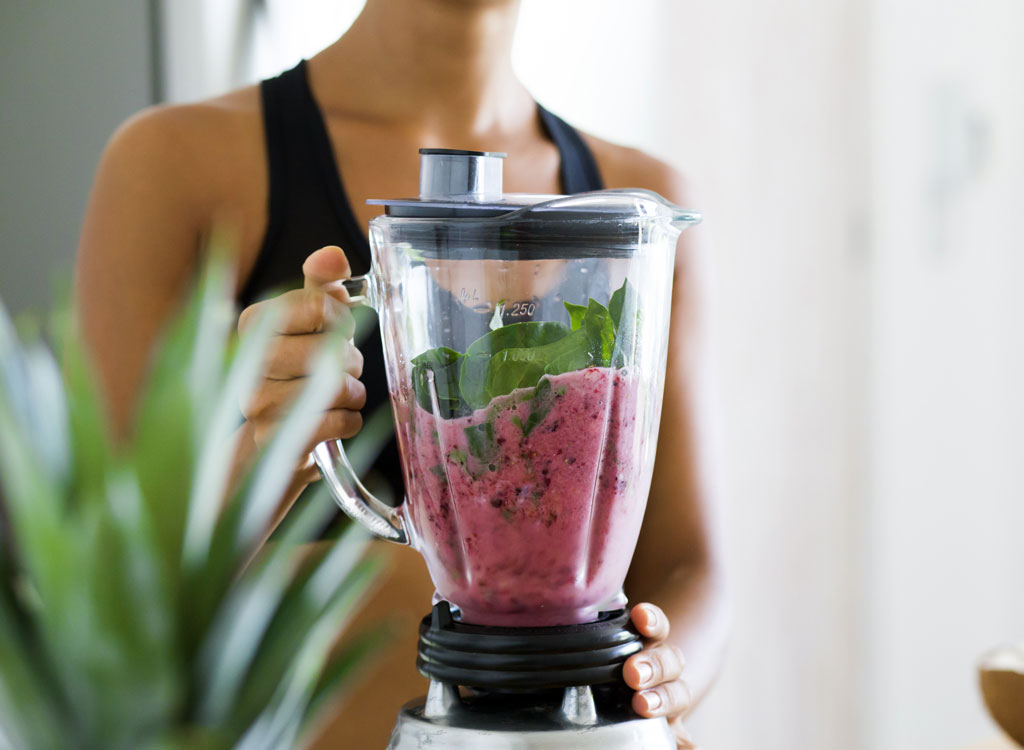
You use it to spin up smoothies alone
We love enjoying blended smoothies, but when it comes to food, this versatile appliance is good for so much more than just things you can sip from a straw.
“In the test kitchen, we’ve used blenders to grind seeds and spices, make hollandaise and mayonnaise, and crush ice. The small base of a blender helps it grind seeds and spices more efficiently than a food processor,” Bolling says.
Keep it handy for smoother-than-ever batters for crepes and cheesecakes, and for cookies and mousses, too, suggests Rebecca Miller Ffrench, author of The Ultimate Blender Cookbook, food writer, and founder of The Upstate Table in Phoenicia, New York.
You ignore its green qualities

You better be-leaf it: Extra fruit and vegetable scraps (think: carrot tops, wilted romaine, and bruised apple pieces) that you don’t plan to eat should also go in the blender. Masters has become, well, a master at composting, thanks to her blender and its ability to give the composting process a head start.
You forget other crucial tools of the trade
Besides the three essential components (a motor, a blade, and a container), Masters advises to take stock of the quality of the jar pad (the piece that cushions the container on the base) and the tamper (the stick-shaped part that assists with pushing ingredients toward the blade). The jar pad should be made of sturdy plastic, and the tamper should have a spatula attached to guide ingredients easily while the machine is running.
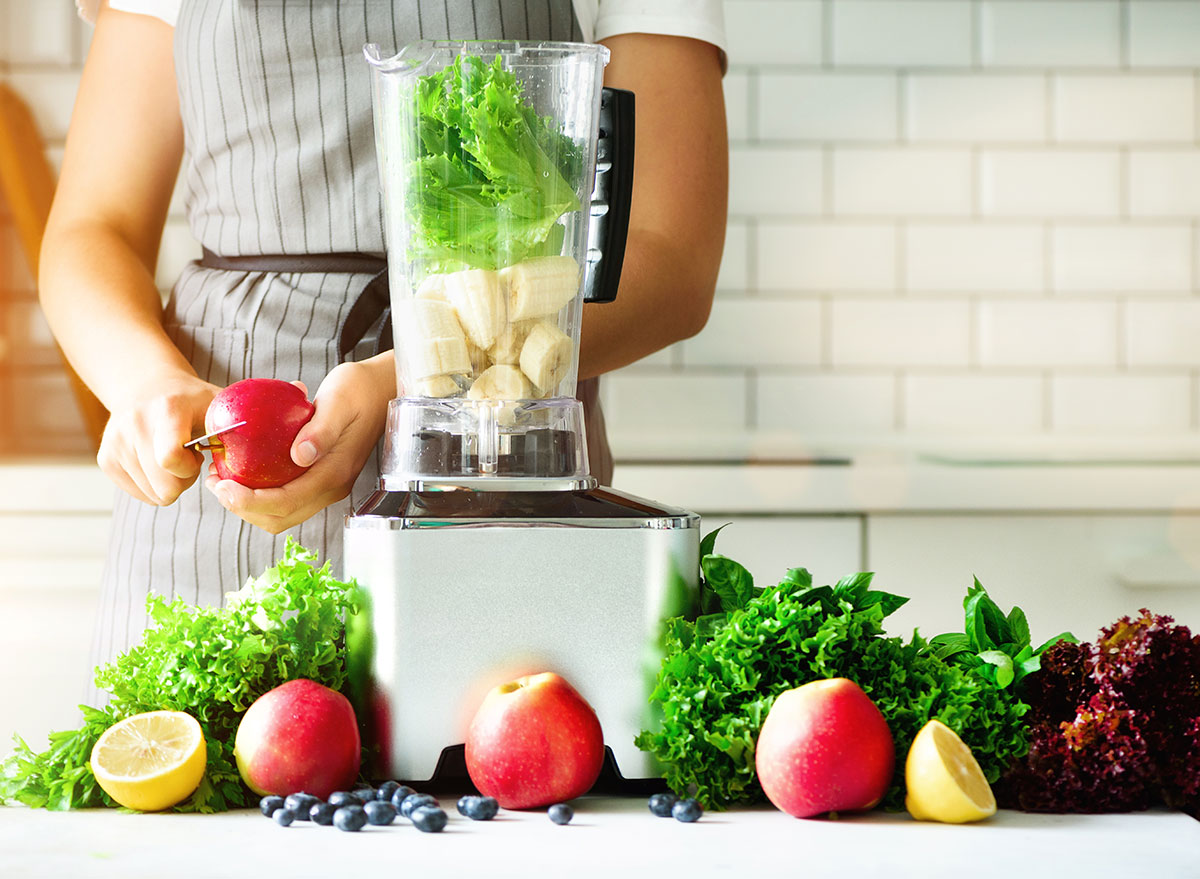
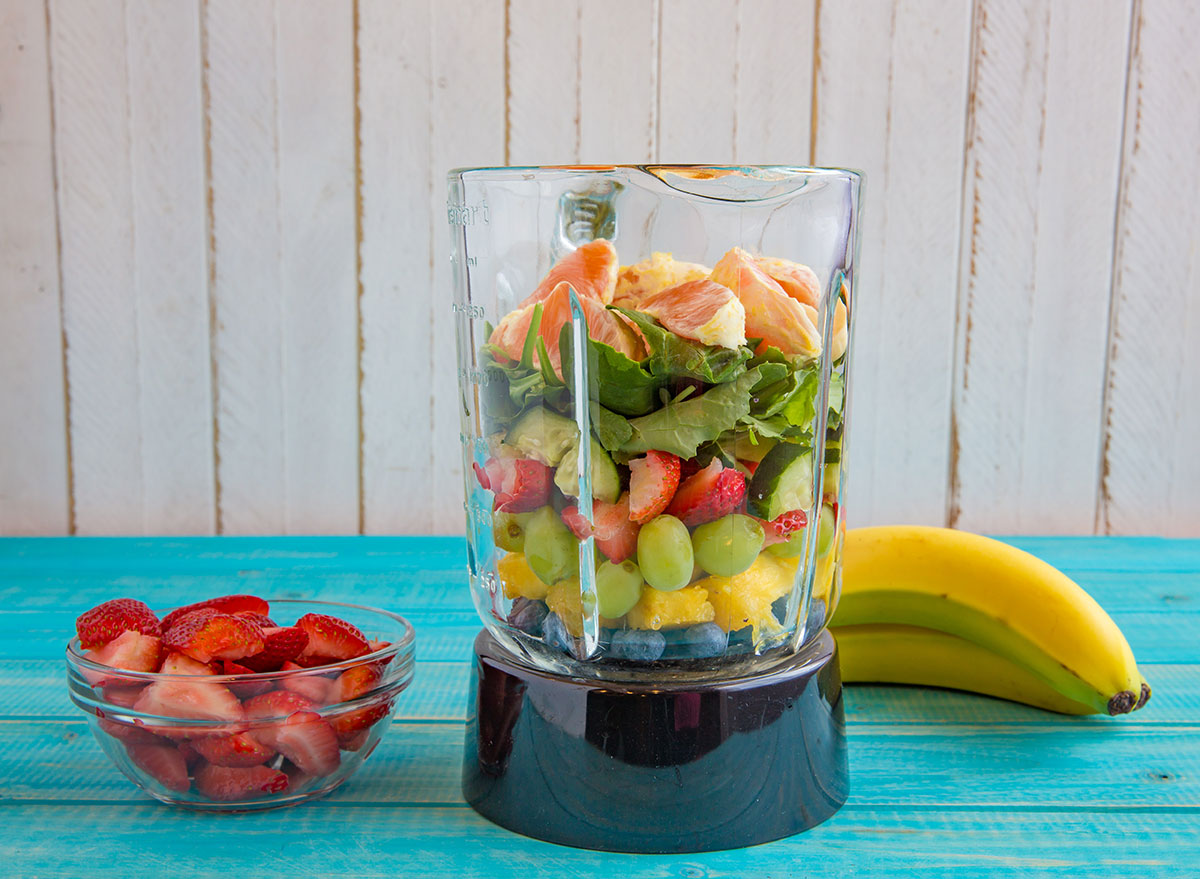
Your order is all off
For optimal blending speed and ease, add ingredients to your blender in this order: liquids, powders, solids, and frozen.
“Pouring liquids in first allows the blades to move easily when you turn the machine on,” Masters says.” Add powdered ingredients next so they don’t stick to the lid, then pile on soft foods, like bananas and cucumbers, followed by hard foods, such as frozen fruits and raw vegetables.”
Last of all is frozen fruit or ice—the heaviest of all ingredients—to press the other ingredients down toward to blade.
Got a blender that’s made for individual smoothies or drinks? “Since you fill the container and place it inverted onto the motor for an individual-portion blender, reverse the order,” she says.
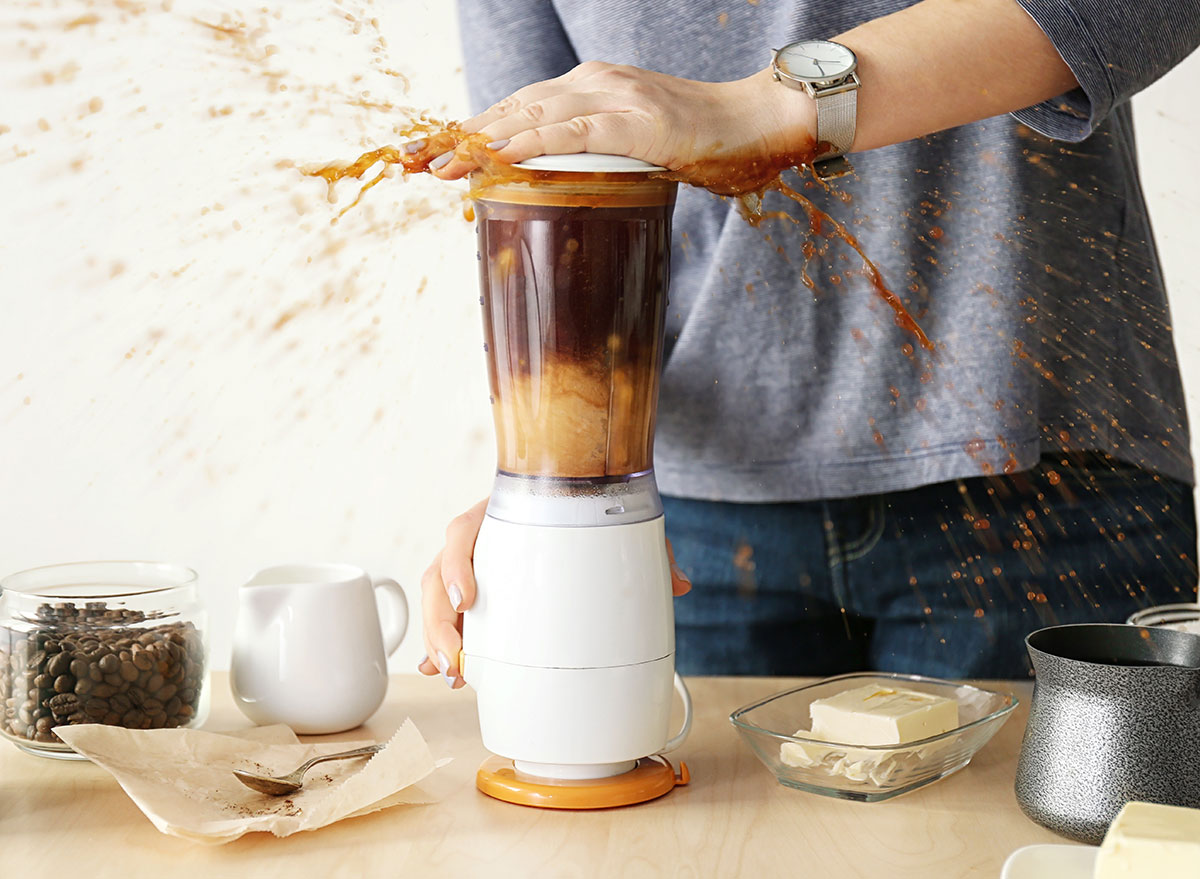
You fill it to the very top
Just like humans, blenders perform best with a little breathing room, and a big blender mistake is thinking you can fill the container all the way up to the top.
“Don’t fill a blender bowl to a brim, especially when blending hot things like creamy soup! Hot things create steam, and if you try to process a full blender bowl of hot soup, the lid is likely to shoot off, giving you a mess of hot soup all over yourself and kitchen,” Bolling says.
Avoid the ouch by processing hot ingredients in batches and staying below the capacity line on the container.
You go from 0 to 100 too quickly
It’s also wise to take your time.
“Start on low and work your way up to medium, then high. This reduces wear and tear on the motor, and blends everything better,” Masters says.
This is especially important for recipes like nut milks, that start with mostly solids that need to turn liquid.
“Instantly blasting sprays a lot onto the lid and sides of the container,” she explains. “That means your recipe will require more scraping, or you’ll be leaving chunky bits in the mix.”
You start whole
Slice vegetables, mincing and grating the most fibrous of the bunch (such as carrots, ginger, and celery), to help them incorporate easier and to make your appliance’s job easier.
“Food measures more accurately in small pieces, too, and you can add tiny amounts to taste as the recipe comes together,” Masters says.
Your lid is loose

Don’t just set and forget; add that lid with some power to avoid a flying lid (and a food tornado all around your kitchen), Masters says.
If you can, invest in an appliance with a well-crafted lid that includes a removable center cap to assist with tampering and streaming in the final recipe components.
“Hollandaise and mayonnaise rely on being able to slowly drizzle in oil or melted butter while mixing to emulsify into a sauce. Having a feeding hole in the top of blender lids allows you to slowly drizzle while the blender is running,” Bolling says.
You overlook its mise en place mastery
Give your chef’s knife the night off.
“To chop vegetables such as cabbage or carrots lightning-quick, put the vegetables in the blender, fill it three-quarters full with water, and pulse until the pieces are the size you need,” Ffrench says.
Pour the resulting mixture through a sieve or colander, and chop right along to the next step in your recipe. Genius!
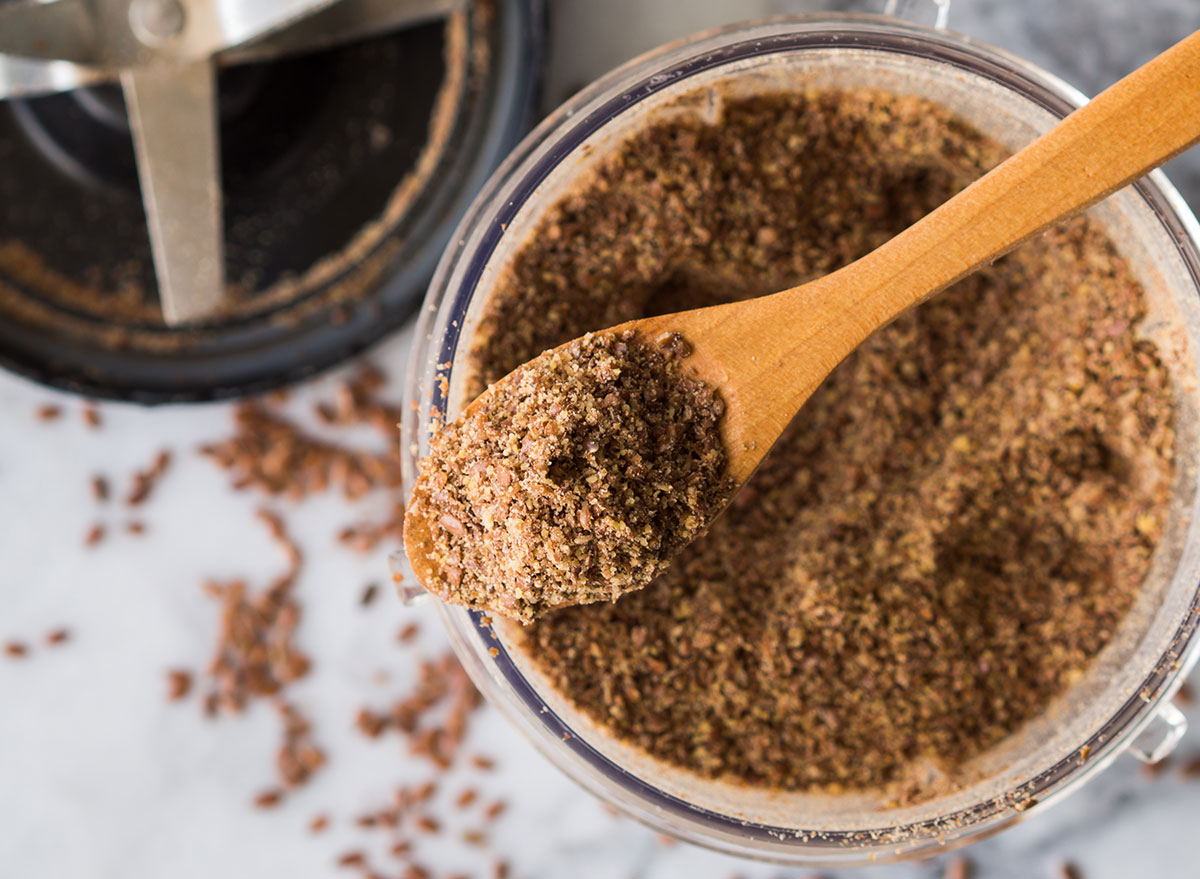
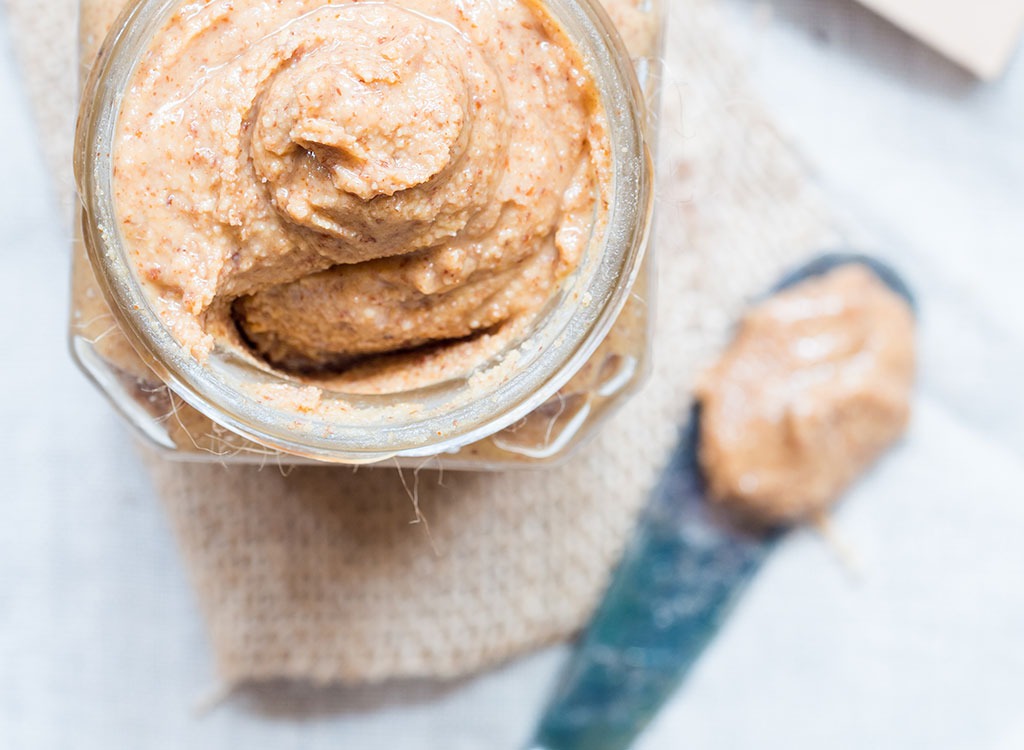
You pass by the power of the pulse
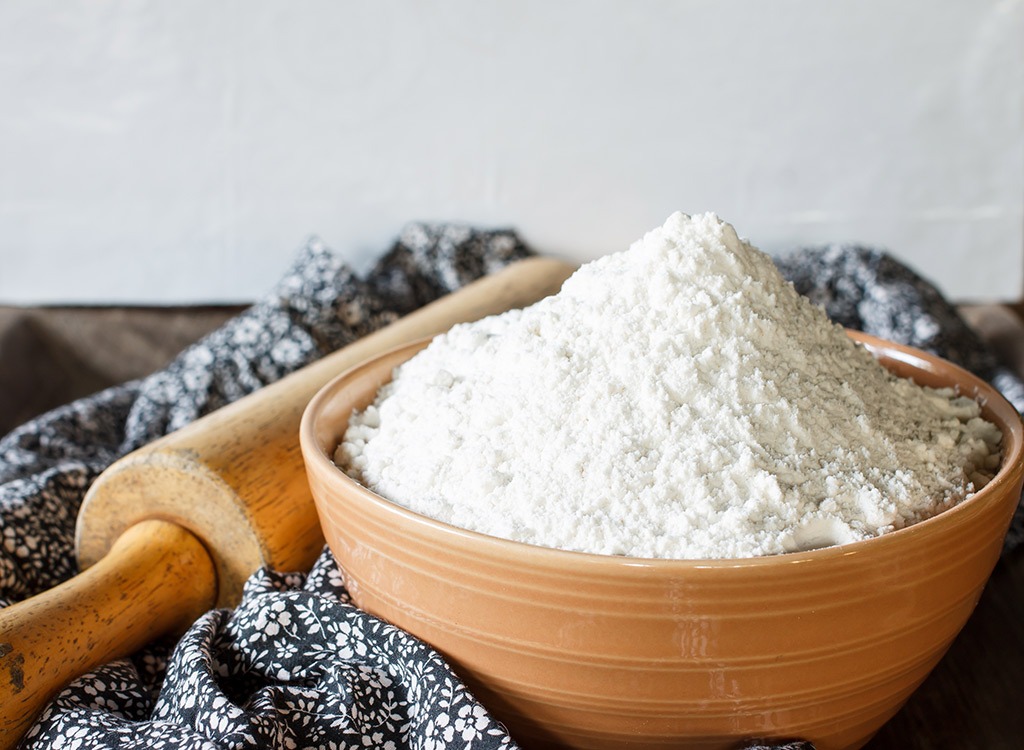
The stops and starts are where the magic happen.
“Simply pulse oats or nuts in the processor until finely ground, and you’ve got flour,” Bolling says.
Ffrench pulses her way to finely-ground coffee and powdered sugar (start with granulated), too. Just be careful with the timing: “The most powerful blenders are so strong that they cause friction and can actually cook things, which is great when making a soup, but not so preferable when making nut flours. A few seconds too long, and flour turns into butters,” Ffrench says. “Often, it takes just a few pulses to grind things. You can always blend more, but it’s difficult to reverse the effects of over-blending.”
You forget its money-saving abilities
All these homemade hacks can make a big difference in your overall grocery budget.
“If you’re into gluten free or Paleo baking, making the flours yourself can save you a lot money,” Bolling says.
DIY blender whipped cream, almond butter, and hummus are also way more affordable than their store-bought counterparts.
“With your blender and fresh, wholesome ingredients, you can replace purchased foods like soups and salad dressings that are not only more expensive, but also loaded with unnecessary sugar and sodium,” Ffrench says.
You don’t take a break
It’s wise to give the motor a moment during challenging jobs, including pastes, nut butters, and thick dips, Masters says.
“To prevent overheating your machine, process in short intervals of about 30 seconds,” she says.
If your blender makes a high-pitched or grinding noise or ingredients are spinning without blending, call a timeout and add more liquid if necessary.
“Press ‘stop’ and scrape down the sides of the container with a rubber spatula midway through processing. This makes sure that anything that gets stuck on the edges of the blender actually gets incorporated,” Bolling says.
You skip the soak
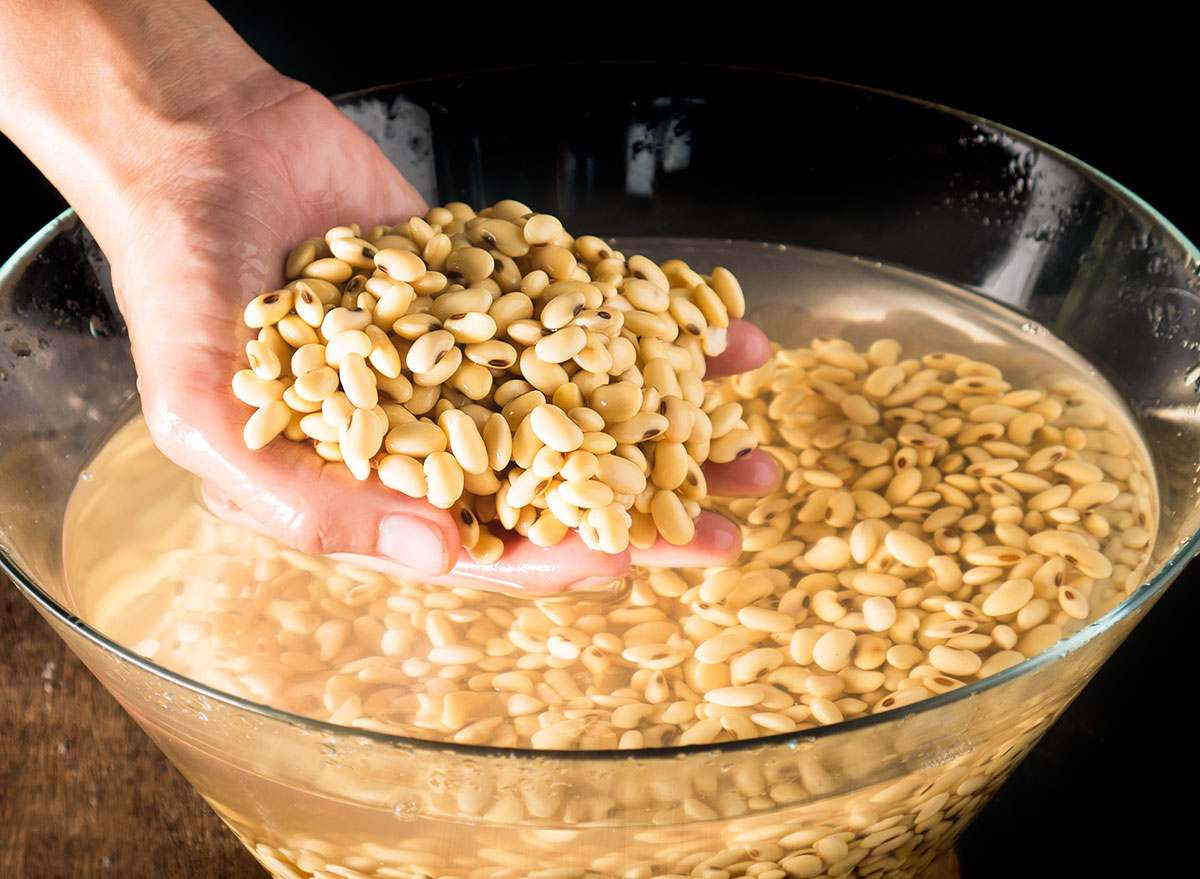
A little liquid is useful to soften too-tough ingredients before blending as well. Masters soaks everything from nuts to seeds to dried fruits “to spare the machine undue stress and enhance the texture of your finished dish,” she says.
For a vivid example of this strategy at work, blend soaked cashews with a fresh batch of water, a squeeze of lemon, a scoop of nutritional yeast and a clove or two of garlic and season to taste for an ultra-creamy vegan Alfredo swap.
You’re just too hot

Some like it hot; your blender does not. Allow scalding liquids (think: soup, cooked sauce) to cool down a bit before blending, then follow Masters’ secrets to success:
Fill container halfway.
Put lid on firmly.
Take off the removable center cap so steam can escape.
Cover open cap hole with a dish towel.
Start on low, then increase to high until at desired consistency.
You don’t use it as a barista
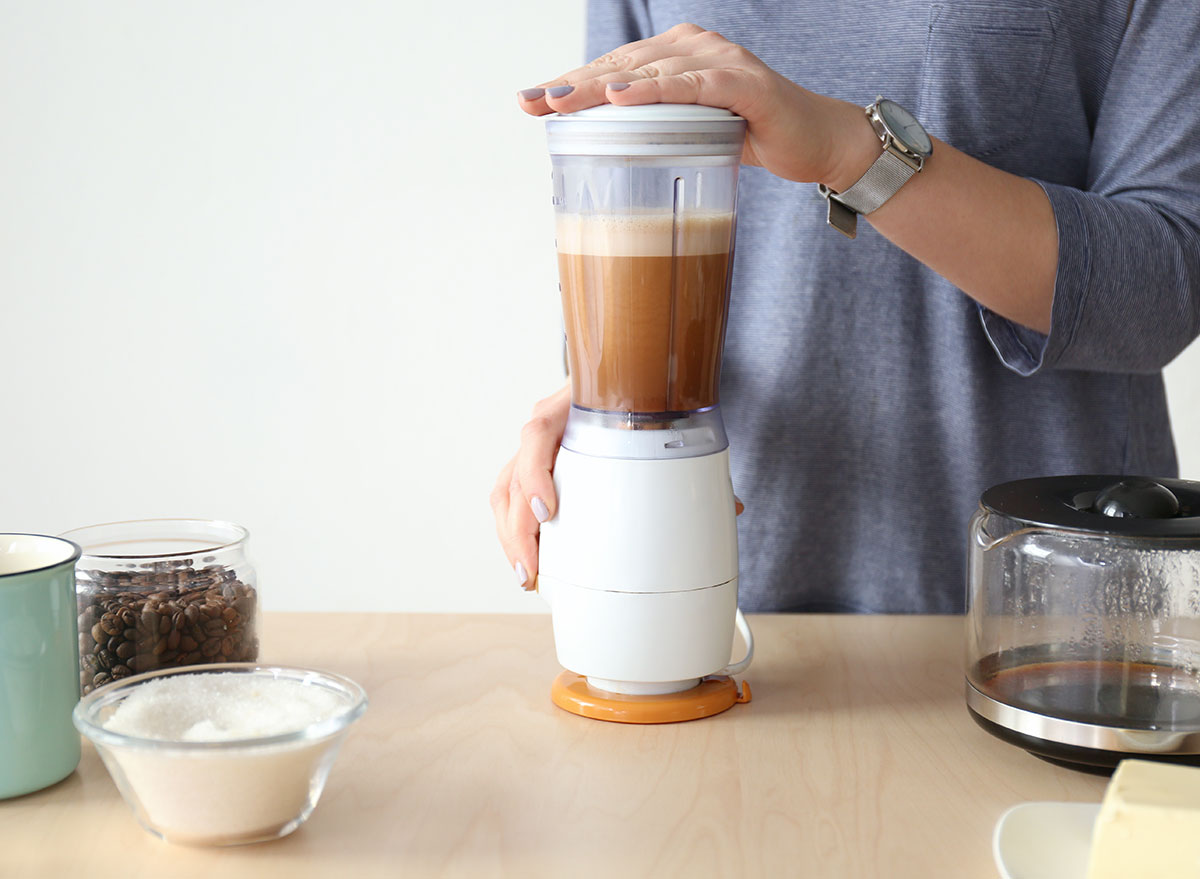
Watch out, Starbucks.
“Yes, you can whip coffee in a blender! Add 1/8 teaspoon xanthan gum to brewed coffee and blend it in a high-speed blender, and it will get foamy and creamy like a latte without any milk,” Bolling says.
Because it’s whipping your java with such force, the ingredients will naturally get warm, too. Masters also uses her turbocharged blender for creamy hot chocolate and foamy matcha tea.
You still use a churner—or buy pints—to get your ice cream fix

Ben and Jerry will find some competition from the blender, too.
Whether you go classic with a no-churn custard made from condensed milk, heavy cream, and vanilla or you lighten things up by using a frozen banana and a spoonful of nut butter, ice cream is easy with a blender in your corner.
You can also create dairy-free “cream” for drizzling over a bowl of fruit or a slice of pie or cake by blending cashews with water and vanilla, Masters says.
You clean it wrong

Now that you’ve mastered your blender recipe, follow French’s polishing game plan to get your new number-one kitchen tool squeaky clean in no time.
“Fill the container two-thirds of the way to the top with water, then add a few drops of dishwashing liquid. Run the blender on high for a minute or two, then rinse thoroughly, using a sponge to scrub off any food that sticks—although it rarely does if you clean it immediately,” Ffrench says.
If necessary, attack the grimiest jobs in all-natural fashion.
“For stubborn stains, soak the container in a solution of vinegar, lemon juice, or baking soda, then wash and rinse again. For residual smells, try rinsing with a mild solution made with water and a bit of vinegar or vanilla extract,” Masters says.