The 7-Day Heel Raise Challenge That Restores Calf Strength After 60
Calves rarely get the spotlight until walking starts to feel a little flat. The stride loses some snap. The foot lands, the body moves forward, and the push into the next step feels smaller than it used to. That missing push is exactly what heel raises train.
The exercise is almost comically simple, which is why it works so well for a short challenge. Rise up. Own the top position. Lower like you’re in control of the whole rep. After a few sets, the calves start doing the talking.
After 60, the best calf work should be easy to practice and easy to progress. A higher lift, a steadier ankle, a longer pause, or a smoother lower all tell you the lower legs are getting stronger. You can build plenty of useful work in just a few focused minutes.
This seven-day challenge gives that simple movement a plan. Each day changes one piece of the rep so your calves build strength without the routine feeling repetitive.
Before Day 1: Set Up Your Heel Raise
A basic heel raise trains your calves, ankles, and lower legs through the same push-off pattern you use when you walk. The goal is to rise with control, pause briefly, and lower without dropping. Use a counter, wall, or sturdy chair for light support so your balance doesn’t distract from the calf work.
Muscles Trained: Calves, ankles, lower legs, feet.
How to Do It:
- Stand tall near a counter, wall, or sturdy chair.
- Set your feet about hip-width apart.
- Rest your fingertips lightly on the support.
- Press through the balls of your feet to lift your heels.
- Pause briefly at the top.
- Lower your heels with control and repeat.
Recommended Sets and Reps: Follow the seven-day challenge below.
Best Variations: Seated heel raises, pause heel raises, slow-tempo heel raises.
Form Tip: Rise straight up and keep your ankles from rolling outward.
Day 1: Find Your Starting Point
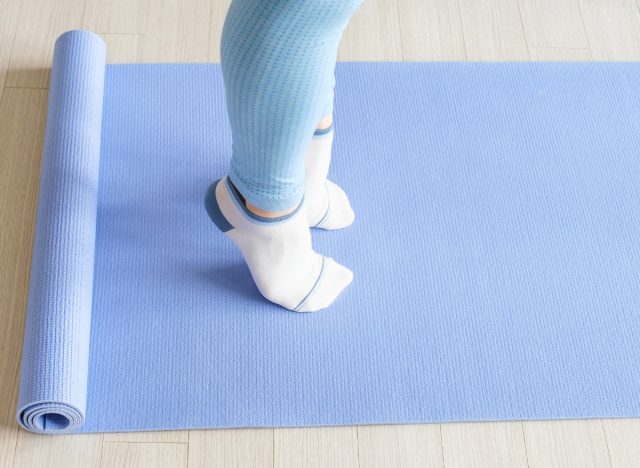
Perform 3 sets of 10 heel raises. Rest for 30 to 45 seconds between sets.
Keep the first day simple. Find a smooth rhythm, use light support, and pay attention to whether both calves work evenly. Every rep should finish with a controlled lower instead of a drop.
Day 2: Add the Top Hold
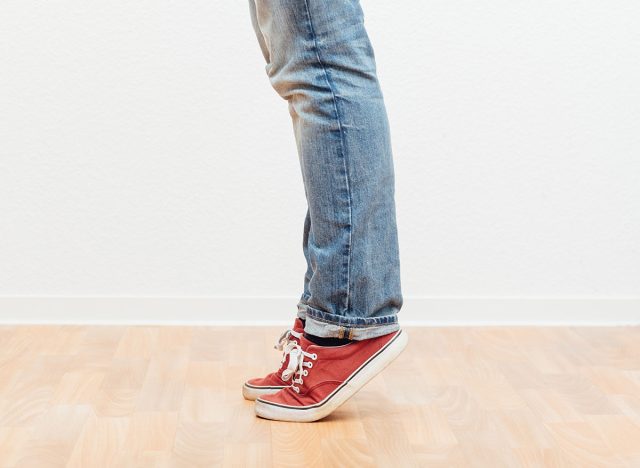
Perform 3 sets of 10 heel raises with a 2-second pause at the top. Rest for 30 to 45 seconds between sets.
The pause makes the calves work harder without adding more reps. Rise up, hold still, then lower slowly. If your ankles wobble at the top, keep your fingertips on the counter and slightly shorten the hold.
Day 3: Slow the Lowering Phase
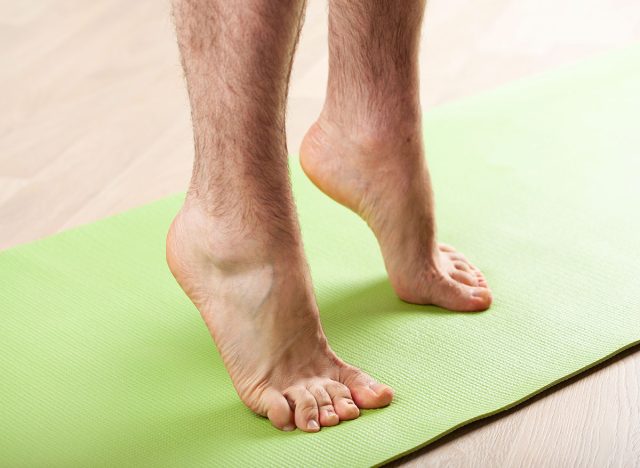
Perform 3 sets of 8 to 10 heel raises. Take 3 seconds to lower each rep. Rest for 45 seconds between sets.
The lowering phase builds control. Lift at a normal pace, then lower slowly enough that you feel the calves working all the way down. Keep your posture tall and avoid rushing the final inch.
Day 4: Train the Bent-Knee Version
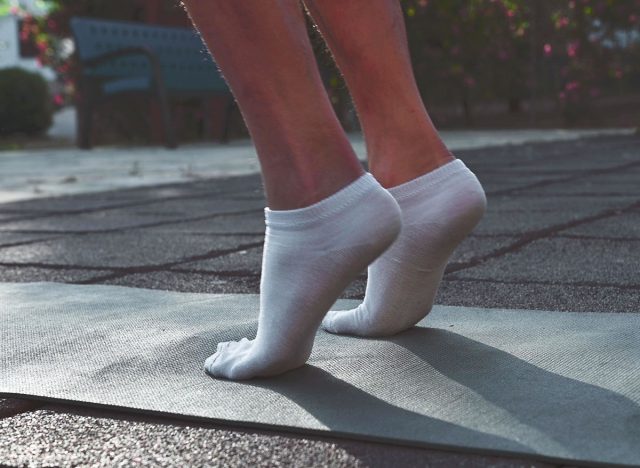
Perform 3 sets of 10 bent-knee heel raises. Rest for 30 to 45 seconds between sets.
Bend your knees slightly and keep them bent as you rise and lower. This version shifts more work toward the deeper calf muscle, which helps support walking endurance and ankle strength. The range may feel smaller, and that’s fine.
Shift More Work to One Side
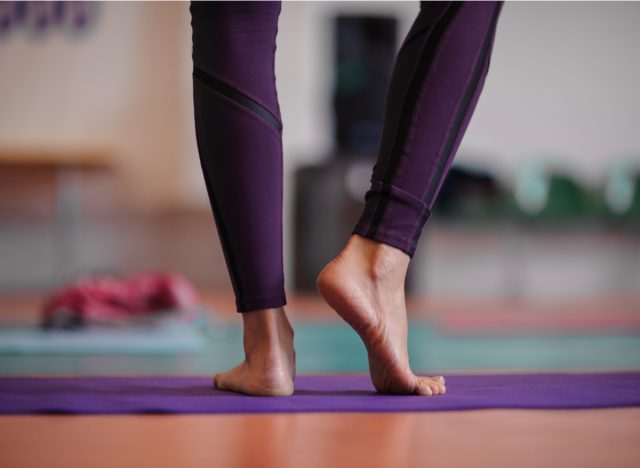
Perform 3 sets of 8 staggered-stance heel raises per side. Rest for 45 seconds between sides.
Place one foot slightly behind the other. Keep both feet on the floor, but let the back leg do more of the work as you lift your heels. This gives each calf a more challenging task before moving toward single-leg work.
Day 6: Use the Hold Ladder
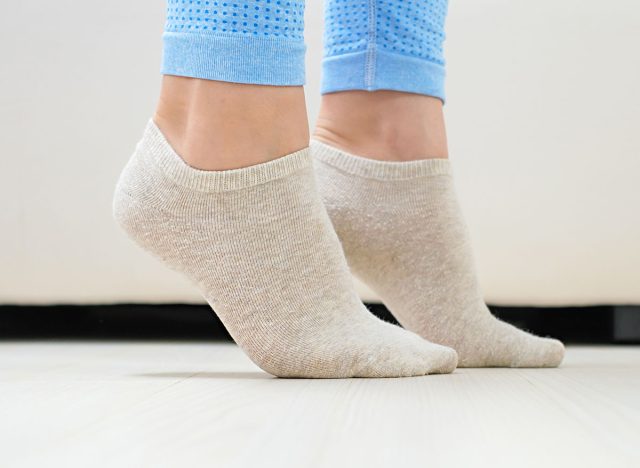
Perform the following sequence for 2 to 3 rounds:
- 5 heel raises.
- 5-second hold at the top.
- 5 more heel raises.
- 10-second hold at the top.
Rest for 45 to 60 seconds between rounds.
This day alternates reps and holds, which forces the calves to work in two different ways. Keep the holds steady and use the counter enough to stay tall. The goal is strong tension, not bouncing through the reps.
Day 7: Finish With a Calf Strength Check
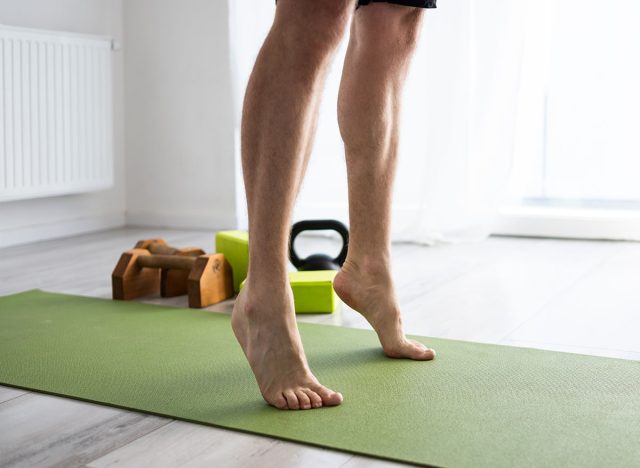
Perform 2 rounds of the following:
- 12 standard heel raises.
- 8 bent-knee heel raises.
- 10-second hold at the top.
Rest for 60 seconds between rounds.
The final day provides a clear comparison with Day 1. Your heels should rise with more control, your ankles should feel steadier, and the top position should feel easier to hold. Stay with two rounds if that feels like enough, or add a third round if your form still looks clean.
How to Keep Building Calf Strength After the Challenge
Seven days give your calves a strong starting point. Keep the exercise in your week so the progress continues.
- Repeat the challenge: Run the same seven days again, aiming for cleaner reps, stronger pauses, or less hand support.
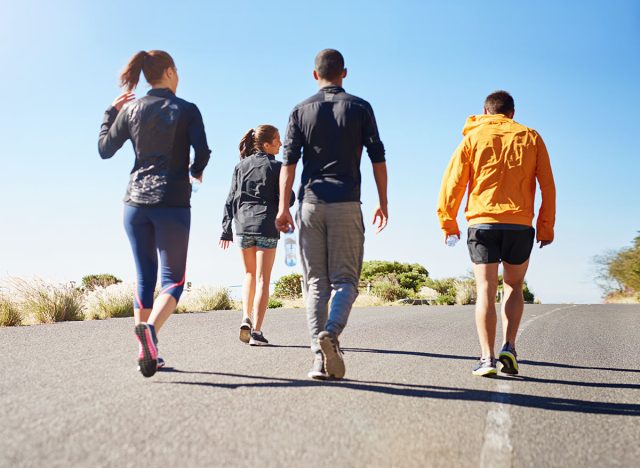
- Add walking: Calf strength shows up quickly when you pair heel raises with regular walks. The exercise builds the push-off, and walking gives you a chance to use it.
- Progress slowly: Add a few reps, extend the top hold, or move toward more staggered-stance work once the standard version feels strong.
- Train both knee positions: Straight-knee and bent-knee heel raises work the calves slightly differently. Keeping both in the plan gives your lower legs more complete strength.
- Pay attention to your ankles: The best reps rise straight up and lower under control. If your ankles roll out or your feet cramp, reduce the range and reset your foot pressure.
A stronger calf changes the way each step feels. Keep the reps controlled, give the holds real effort, and let this short challenge become a simple way to rebuild strength from the ground up.
References
- Waterval, Niels F. J., et al. “Compensations in Lower Limb Joint Work during Walking in Response to Unilateral Calf Muscle Weakness.” Gait & Posture, vol. 66, 2018, pp. 38–44. https://doi.org/10.1016/j.gaitpost.2018.08.016
- Ungvari, Zoltan et al. “The multifaceted benefits of walking for healthy aging: from Blue Zones to molecular mechanisms.” GeroScience vol. 45,6 (2023): 3211-3239. doi:10.1007/s11357-023-00873-8
- Kirk, Benjamin J C et al. “Effects of a daily, home-based, 5-minute eccentric exercise program on physical fitness, body composition, and health in sedentary individuals.” European journal of applied physiology vol. 125,8 (2025): 2241-2255. doi:10.1007/s00421-025-05757-7