4 Slow Exercises That Loosen Stiff Joints Better Than Jumping Jacks After 60

Stiff joints after 60 don’t usually need more impact; they need better coordination. As a movement specialist, I work with clients every day who think the answer is jumping into harder cardio when what their body actually needs is the opposite. Jumping jacks have their place, but if your sacrum isn’t moving the way it should, all that bouncing is just dumping force into joints that can’t absorb it. These four slow exercises restore the small, controlled movements your body needs to handle force properly, so you can move better without beating up your joints.
Why Jumping Jacks Aren’t the Answer Yet
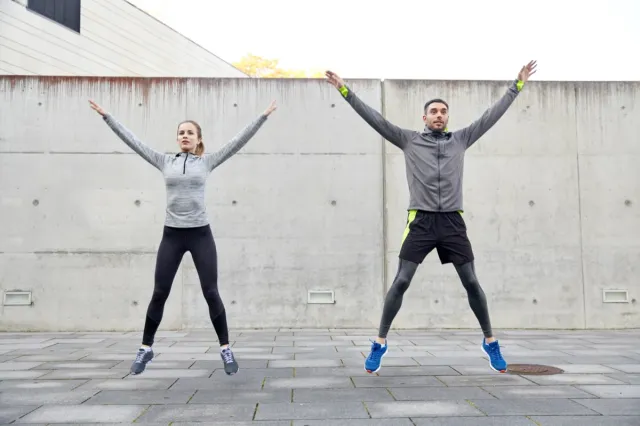
The question is, should you be doing jumping jacks as part of your fitness routine? I’d say yes, but maybe not quite yet. Jumping jacks are great for general cardiovascular fitness, they’re a gentle introduction to plyometric work, and they strengthen your body in the frontal plane.
However, jumping jacks create a lot of impact, and that force has to be distributed somewhere. Your joints are responsible for handling that force. So if you have poor proprioception, poor range of motion, or even poor alignment, you’re not distributing force; you’re dumping it into the joints. And that’s where the dysfunction starts.
The Sacrum Problem Nobody Talks About
One of the most important structures for handling forces in your body is your sacrum. Your sacrum is a triangle bone, and it sits at the base of your spine. It has four foramina, or holes, on each side where the nerves come out. These nerves feed into your pelvic floor and into your lower limbs. So the sacrum’s job is to distribute force from the ground up and from the top down.
The sacrum is suspended in a network of ligaments. They connect to your pelvis and to your lumbar spine. When I’m talking about the connections to the pelvis, I’m specifically referring to your ilium. This is called your SI joint, or your sacroiliac joint.
The sacrum doesn’t need big movement. It needs small, subtle, controlled motion, and we call these micro-movements. If you’ve been following me, you know that micro-movements determine the macro-movements. These small movements combined make the large movements of the body.
The Trampoline Analogy
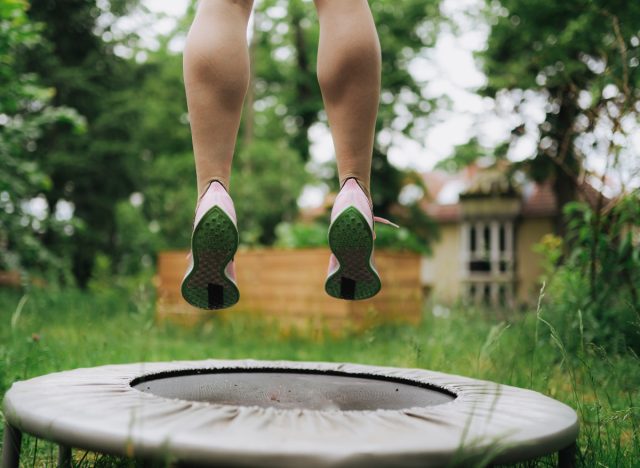
I like to think of the sacral area as a trampoline, where the sacrum itself is the part you jump on. The ligaments connecting the sacrum to the pelvis and the lower back are like the springs of the trampoline.
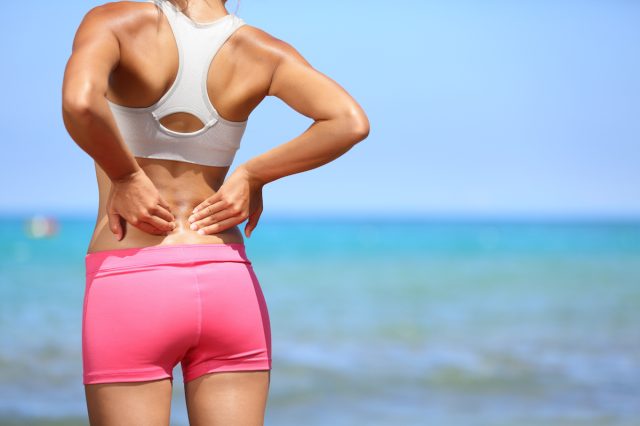
When it’s working well, it gives you resilience, spring, and efficient force transfer. But when the sacrum gets stuck, usually in a side bend or a rotation, it stops moving the way it should. Now, instead of just distributing force, it starts dumping that force into other areas of your body.
That’s when you start to see pain around the sacrum, hip discomfort, low back tightness, changes in gait, and sometimes even a functional short leg. Over time, that leads to joint breakdown, ligament and tendon strain, and increased stress on the lumbar spine.
How Your Pressure System Works
Here’s where people tend to miss it. The sacrum doesn’t work in isolation. It’s part of a pressure system. You have the diaphragm on top and your pelvic floor on the bottom. What sits in between those two main forces is the sacrum.
These structures work together to manage pressure in the body. There are ligamentous and fascial connections running from the pubic bone in the front to the coccyx or tailbone in the back. That ligament runs from the pubis all the way into the coccyx. Those structures integrate directly with your pelvic floor.
Remember, your pelvic floor is responsible for pressure regulation, bladder and bowel function, and support of your reproductive organs. So it has to be able to contract and relax at appropriate times.
If your sacrum gets stuck, it creates a torsion through that ligament and through those fascial connections. That torsion transfers directly into your pelvic floor, and now your pelvic floor can’t respond properly. At the same time, if your breathing is off, if your diaphragm isn’t moving well, you lose proper pressure control from the top down. Now you’ve got dysfunction from above and dysfunction from below. All of it meets right at the sacrum.
Now take that system and add jumping jacks. Repetitive, high impact, no control. That force is traveling straight through a system that already isn’t managing pressure well. It’s like jumping on a trampoline that’s uneven. If one side is too loose, you don’t get any rebound. If one side is too tight, you start stressing the springs. In your body, those springs are the ligaments. So instead of improving movement, you’re increasing stress, tension, and compensation.
Instead of starting with impact, here’s what I do with my clients. I remind them that the goal isn’t intensity. It’s restoring proprioception, restoring joint space, and pressure control. When your sacrum, diaphragm, and pelvic floor are all working together, your body can finally distribute force the way it was designed to. That’s what allows you to move well without beating up your joints.
Here are my four favorite exercises to restore sacral function and improve both your movement ability and your pelvic floor health.
Phase One: Hands and Feet Sacral Walk
This first phase teaches you to initiate movement from your sacrum and ilium rather than dragging your legs. You’re learning to lift, not slide, which is the foundation of everything that comes next.
Muscles Trained: Glutes, hip stabilizers, deep core, pelvic floor
How to Do It:
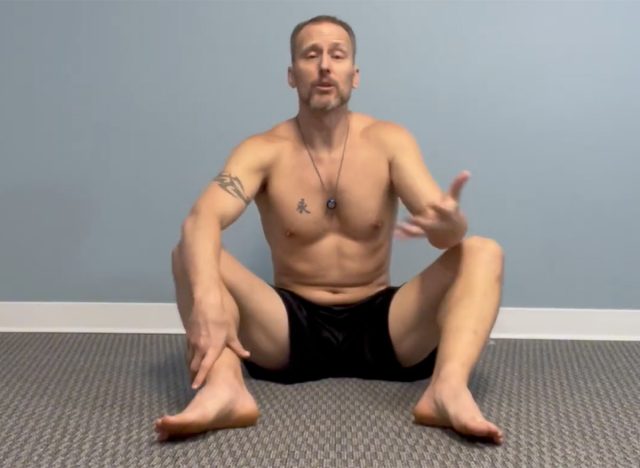
- Place both hands and feet on the floor in a seated position
- Lift your right butt cheek and move it forward
- Lift your left butt cheek and move it forward
- Don’t drag or slide, lift from your hip
- Use your hands for support as you clear space under the glute
- Continue shifting side to side for five to 10 paces forward
- Reverse direction and do the same thing, moving backward
Form Tip: Focus on lifting the hip, not pushing off with the foot. Your hands are there for support, not propulsion.
Phase Two: Hands-on Shins
Removing your hands from the floor takes away a layer of support and forces your sacrum and pelvic floor to do more of the work. Moving backward will feel harder than moving forward, and that’s normal.
Muscles Trained: Hip flexors, glutes, deep core, pelvic floor
How to Do It:
- Bring your hands off the floor and grab your shins
- Keep your legs roughly in line, don’t let them open
- Lift your right glute and foot, then move forward
- Lift your left glute and foot, then move forward
- Continue for five to 10 strides
- Repeat moving backward
Form Tip: If you feel yourself shifting or sliding a little, don’t worry about it. The goal is to gradually reduce that sliding as you build control.
Phase Three: No Hands Sacral Walk
Now you’re moving without the assistance of your arms at all. This is where you really start to feel whether you’ve built the control from the first two phases.
Muscles Trained: Glutes, hip stabilizers, deep core, pelvic floor, balance system
How to Do It:
- Release your legs and let your arms hang free
- Lift your right hip off the ground and move forward
- Lift your left hip off the ground and move forward
- Don’t scoot or slide, lift the hip with every motion
- Reverse direction once you’ve moved forward five to 10 paces
Form Tip: If you find yourself reaching for the floor or your shins, go back to phase two until the movement feels controlled.
Phase Four: Walking on Your Sits Bones
This is the most challenging of the four movements. You’re walking on your ilium, also called your sit bones, with no hands and no feet on the floor. Moving backward here is significantly harder than moving forward and demands real balance.
Muscles Trained: Deep core, pelvic floor, hip stabilizers, balance system
How to Do It:
- Sit upright with no hands and no feet on the floor
- Lift one sitting bone and move forward
- Lift the other side of the bone and move forward
- Build up to moving backward, which will feel much more out of balance
- Master the first three phases before attempting this one
Form Tip: Don’t rush into phase four. The backward direction, in particular, requires the foundation you built in phases one through three.
Avoid These Mistakes
- Don’t slide or drag your hips. The whole point is to lift from the sacrum, not scoot across the floor.
- Don’t skip the earlier phases. Phase four looks simple but it requires the control built in phases one through three.
- Don’t rush the backward direction. Moving backward is always harder and demands more proprioception. Build up to it.
- Don’t let your legs splay open in phase two. Keep them roughly in line so the work stays in your hips and sacrum.
- Don’t chase intensity. These are micro-movements. The goal is control, not effort.