5 Standing Exercises That Shrink Front Belly Bulge Faster Than Gym Sessions After 55
The body changes shape around the middle after 55 for reasons that have very little to do with how many sit-ups you’ve done. Hormones shift, muscle mass slips, sleep gets patchy, and fat that used to sit somewhere else starts settling at the front of the belly.
I’ve spent close to 40 years as a personal trainer and the last 20 running TRAINFITNESS. In that time I’ve learned that standing exercises, done four or five times a week alongside two or three small changes to what’s on the plate, can shift that front belly bulge more reliably than any amount of crunching.
These five standing exercises can help you do exactly that, without ever getting down on the floor.
Why Belly Fat Settles After 55
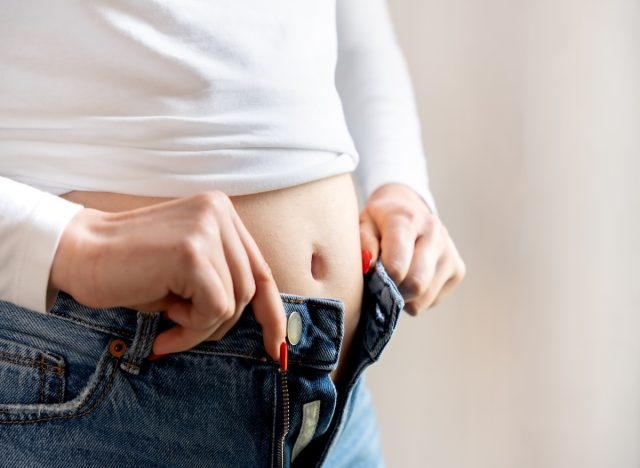
Several challenges come up time and again.
The first is hormonal. After 55, estrogen drops in women and testosterone slips in men, and the body tends to store fat around the middle rather than the hips or thighs. This isn’t a failure of willpower; it’s biology, and it doesn’t respond to the same approach that worked at 30.
The second is muscle loss. Most people over 55 have been losing muscle for years without noticing, and muscle is what burns calories at rest. Less muscle means a lower metabolic baseline, which means the same food that used to be fine now adds up. The fix is rebuilding muscle, not eating less.
The third is sleep and stress, which are both worse in this age group and both raise cortisol. High cortisol parks fat right in the belly. People who finally get their sleep sorted often lose belly fat without changing anything else about their food.
And under all of it sits the spot-reduction belief. You cannot crunch off front belly fat any more than you can crunch off bingo wings. You burn fat off the whole body and the belly comes down with the rest of it. Standing exercises that work big muscle groups are the most efficient way to make that happen.
Why Standing Beats Floor Work
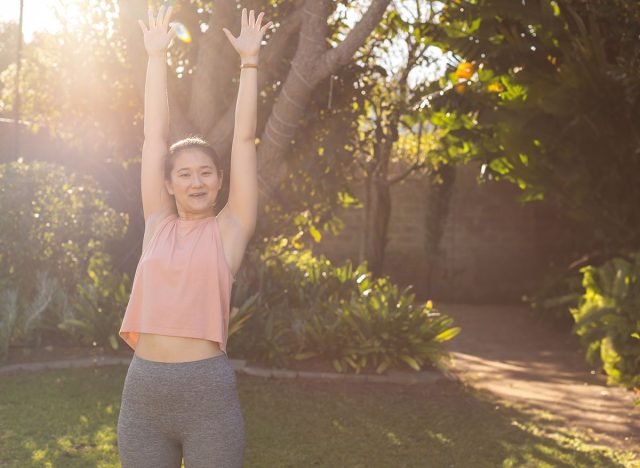
Standing exercises move more muscle at the same time, and more muscle equals more calories burned per minute. A standing squat with overhead reach involves your legs, glutes, back, shoulders and trunk. A floor crunch involves a strip of muscle the size of your hand. The maths is obvious.
There’s also the practical side. Getting up and down off the floor is one of the things that puts older adults off exercising. Standing routines stay in one position, which means people actually do them. The best program on paper is worthless if it doesn’t get done.
And the standing format trains the trunk in the way it was designed to work, which is to hold the spine in place while the rest of the body moves. Floor crunches train flexion of the spine, which most over-55s have plenty of anyway because they sit all day. Standing trunk work builds the strength that protects the back.
Machines have their place but tend to isolate single muscles, work you while you’re seated, and skip the whole-body coordination that produces the biggest calorie burn. For shifting belly fat, they’re the slowest tool in the box.
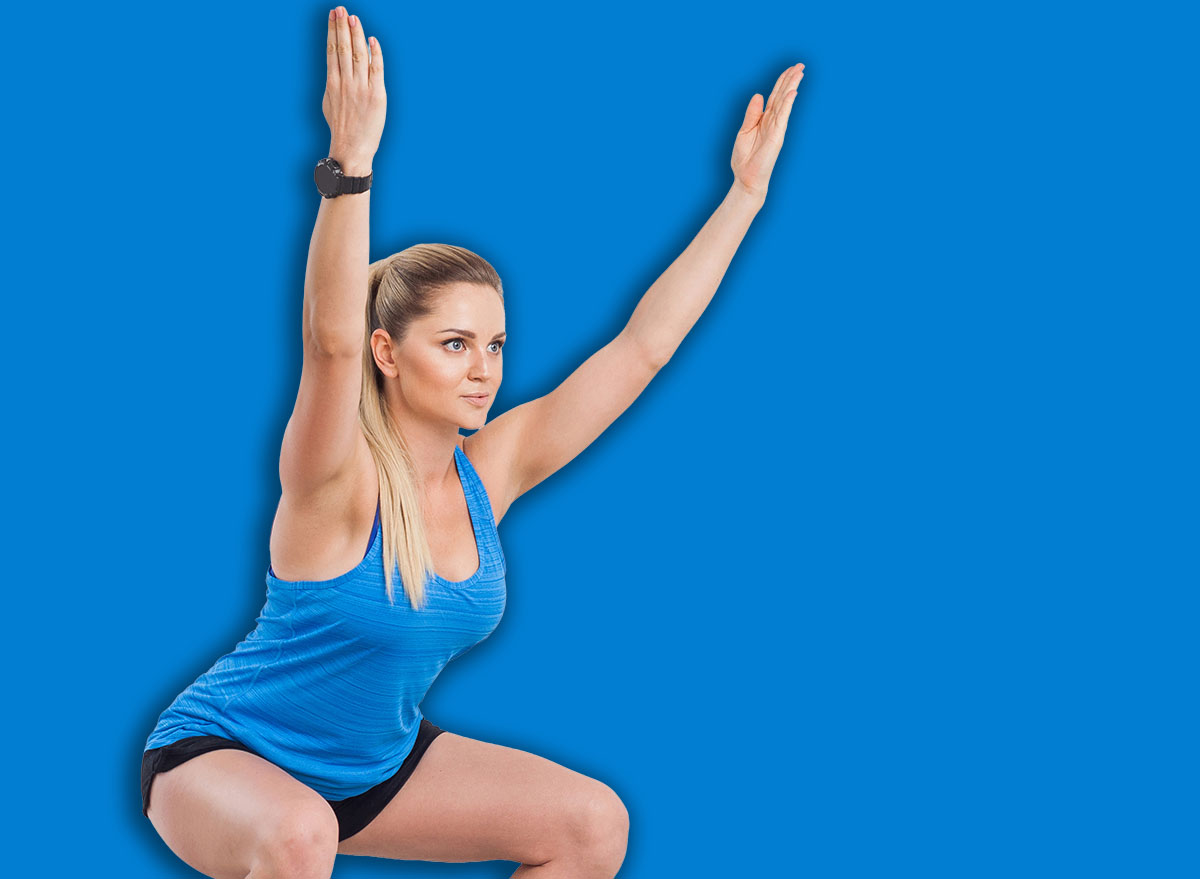
Squat to Overhead Reach
This works the legs, glutes, back and shoulders at the same time, which means a lot of muscle moving and a lot of calories used per minute. The overhead reach also extends the spine and opens the chest, which most over-55s desperately need from all the sitting they do.
How to Do It:
- Stand with feet hip-width apart, arms by your sides
- Push the hips back and bend the knees into a squat, lowering as far as comfortable
- As you stand back up, reach both arms overhead, palms facing each other
- Squeeze the bottom muscles and stand tall at the top
- Lower the arms as you sink into the next squat
- Do 12 to 15 reps
Avoid These Mistakes:
- Don’t let your heels lift off the floor
- Don’t reach overhead by arching the lower back; lift through the shoulders instead
- Don’t hunch forward on the way down.
Reverse Lunge With Arm Reach
This trains one leg at a time, which doubles the work per minute and rebuilds the balance that fades after 55. The overhead reach activates the trunk on the same side as the back leg, which is the muscle pattern that gives the waist its definition.
How to Do It:
- Stand tall, feet hip-width apart
- Step one foot back roughly two foot lengths and lower the back knee towards the floor
- As you lunge, reach the opposite arm overhead and slightly across the body
- Push back to standing through the front heel and lower the arm
- Alternate legs, aiming for 8 to 10 reps per side
Avoid These Mistakes:
- Don’t step back too short, which forces the front knee out over the toes
- Don’t reach the arm so far across that you twist the spine sharply
- Don’t let the torso fall forward.
Standing Knee to Opposite Elbow
This is the closest standing version of a bicycle crunch, without any floor work or spinal flexion. It trains the obliques, which run diagonally across the waist and are the muscles that pull the waist in when they have something to work against.
How to Do It:
- Stand tall with feet hip-width apart, hands behind the head, elbows wide
- Lift the right knee up and rotate the trunk to bring the left elbow towards the lifted knee
- Return to standing, then repeat on the other side
- Keep the lift smooth, the abdominals doing the work
- Aim for 10 reps per side
Avoid These Mistakes:
- Don’t pull the head down with the hands, which strains the neck
- Don’t bend sideways; rotate instead
- Don’t let the supporting knee lock out, which makes the balance harder.
Lateral Lunge With Side Reach
This works the hips and inner thighs in a sideways pattern that’s almost never trained in daily life, and adds a side bend that targets the obliques along the working side. After 55, the loss of side-to-side strength is one of the bits that keeps the waist looking thick.
How to Do It:
- Stand tall with feet together
- Step one foot wide to the side, two to three foot lengths
- Bend that knee and push the hips back, keeping the other leg straight
- As you lunge, reach the same-side arm down towards the lunging foot
- Push back to standing through the working heel and bring the arm back up
- Alternate sides, aiming for 8 to 10 reps per side
Avoid These Mistakes:
- Don’t let the working knee collapse inwards
- Don’t bend forwards from the lower back; push the hips back instead
- Don’t reach the arm so far down that the back rounds.
Standing March With Arm Punches
This adds the cardio component most over-55s need for fat loss. Marching on the spot with strong arm punches gets the heart rate up without any jumping or impact, and the rotational pull of the punches trains the trunk muscles that protect the lower back.
How to Do It:
- Stand tall with feet hip-width apart
- Lift one knee to hip height while punching the opposite arm out in front
- Lower, then repeat on the other side
- Keep the trunk tall, the punches controlled
- Aim for 60 seconds of continuous work
Avoid These Mistakes:
- Don’t hunch forwards as the knee comes up
- Don’t punch so hard the shoulder is yanked
- Don’t go so fast you lose form.
How to Fit This Into Your Week
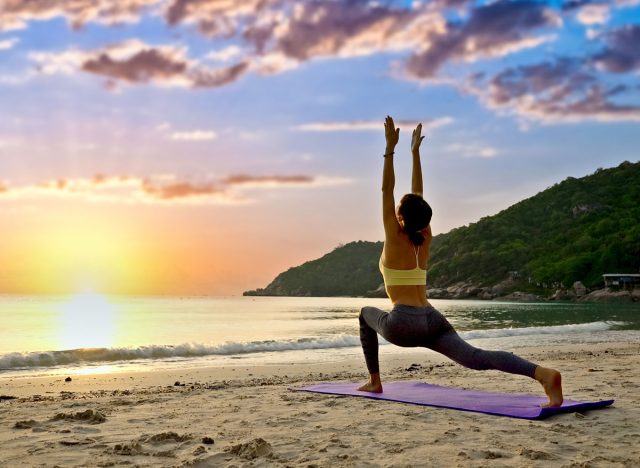
Run the five exercises in the order above, 45 seconds of work, 15 seconds of rest, for one round. That’s five minutes. Take a 30-second breather, then repeat the whole sequence twice more, for a total of around 18 minutes including rests. Most people find this enough.
Four to five days a week is the right target for fat loss at this age. Three is the minimum that produces change, and seven is fine if your recovery is good. If you’re sore the next day, take a day off, but try to keep at least three sessions in even in the early weeks.
Add a 30 to 45 minute walk on most days as well. Walking isn’t the engine of fat loss but it raises the daily total of energy used and keeps stress down, which both help the belly come in.
Two strength sessions a week on top, with squats, lunges, rows and presses, will accelerate everything. Muscle is what changes the metabolism over the months that follow.
Eating Changes That Help Most

Protein at every meal. This is the single change with the biggest effect for over-55s, and most people are well below where they need to be. Aim for 25 to 30 grams of protein at breakfast, lunch and dinner.
Eggs, Greek yogurt, tinned fish, chicken, beans and lentils all do the job. Protein fills you up, costs more calories to digest, and protects the muscle the standing workout is building.
Cut the ultra-processed snacks. Crisps, biscuits, the supermarket cake counter. These foods are designed to be over-eaten and add hundreds of calories in a sitting that don’t fill you up at all. Replace them with whole foods that take longer to eat. A handful of nuts, an apple, a slice of cheese.
Watch the alcohol. After 55, alcohol hits harder, hangs around longer, and parks calories right in the belly. Two or three small changes here, smaller glasses, fewer drinking days, or a switch to lower-alcohol options, often produce a more visible change in the waist than any food swap.
Don’t skip meals. The instinct after 55 is often to eat less to compensate for a slower metabolism, but skipping meals raises cortisol and ends in a hungry overshoot in the evening. Three meals a day, with protein at each, beats one big dinner.
What to Expect in 4 to 6 Weeks

By the end of the second week, most people notice their clothes fitting a little differently around the middle. The legs and waist often respond first because they’re carrying more inflammation and water than fat, and that drops quickly when you start moving and eating better.
By 4 weeks, the actual fat starts to come down. A pound a week is realistic and sustainable. Faster than that usually means losing muscle, which makes the body shape worse in the long run.
By 6 weeks, the belly looks meaningfully different. The waist drops half an inch to an inch or more, posture improves, and the trousers that have been a bit tight for a year start to fit again. Most people also report better energy, better sleep, and a noticeable improvement in mood.
The bit to be honest about is that this is the start, not the finish. Belly fat at 55 took years to settle in, and it comes off in months rather than weeks. The change at 6 weeks is enough to know it’s working and to keep going. The bigger change shows up between months 3 and 6.