Do These Yoga Exercises To Reduce Inflammation Fast, Says Trainer
Are you still feeling completely depleted from the summer and in serious need of a cleanse? I totally get it. Even as a trainer, I struggle to slow down come autumn. We’re all guilty of getting caught up in the hustle and bustle of the end of summer and beginning of fall activities, leaving us both mentally and physically exhausted. Why? First off, you’ve been dining out and socializing more, which means an increase in inflammatory foods and a decrease in mental energy. Second, you’ve been moving your body less due to limited time with a jam-packed social calendar. With little time to recharge, your body is now screaming at you to hit the “reset” button. So to help you out, we’ve rounded up the three best yoga exercises to reduce inflammation, release toxins, and reinvigorate strength and mobility back into your body.
How is yoga effective in reducing inflammation?
If you didn’t already know, yoga comes with a host of incredible benefits, including enhancing your flexibility, strengthening and toning your muscles, boosting your energy, helping you keep up a balanced metabolism, and enhancing your athletic performance. According to a study from Ohio State University, performing yoga exercises on a routine basis could also reduce the number of compounds in your blood and decrease inflammation that’s typically on the rise due to stress and aging. So keep reading to learn all about the three best yoga exercises to reduce inflammation.
Related: 5 Exercise Habits to Slow Muscle Aging, Trainer Reveals
Seated Spinal Twist
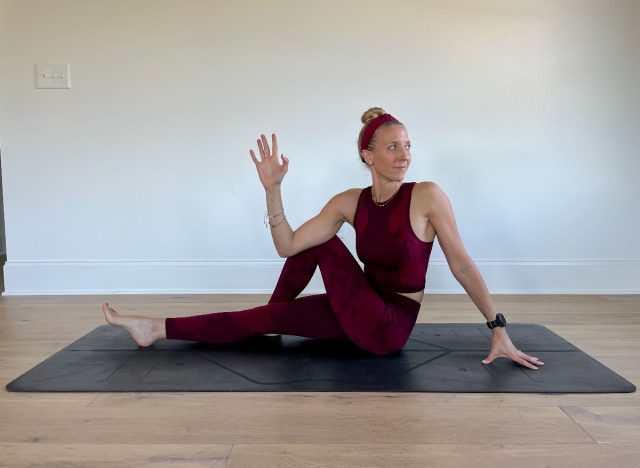
This first yoga pose massages your internal organs, improves the mobility of your spine, promotes digestion, and relieves lower back pain. To begin, sit on the floor with your legs straight out in front of you. Bend your right knee, and place your right foot on the mat next to your left knee. Bring your right arm up and around, and place your hand down on the mat behind you with your arm extended out, making sure to lift your upper body and maintain your posture. Then, inhale your left arm up; as you exhale, bend your elbow, and press it into the outside of your right knee as you rotate your torso and bring your gaze towards the back wall. Hold for 3 breaths while making sure to lift up on each inhale and rotate a little more on each exhale. Finish with a counter twist the other way, and repeat on the other side. *Note: If you are pregnant, you would do the counter twist instead with your shoulder and hips facing the same direction.
Related: The Best Exercises To Live to 100 and Beyond, Trainer Reveals
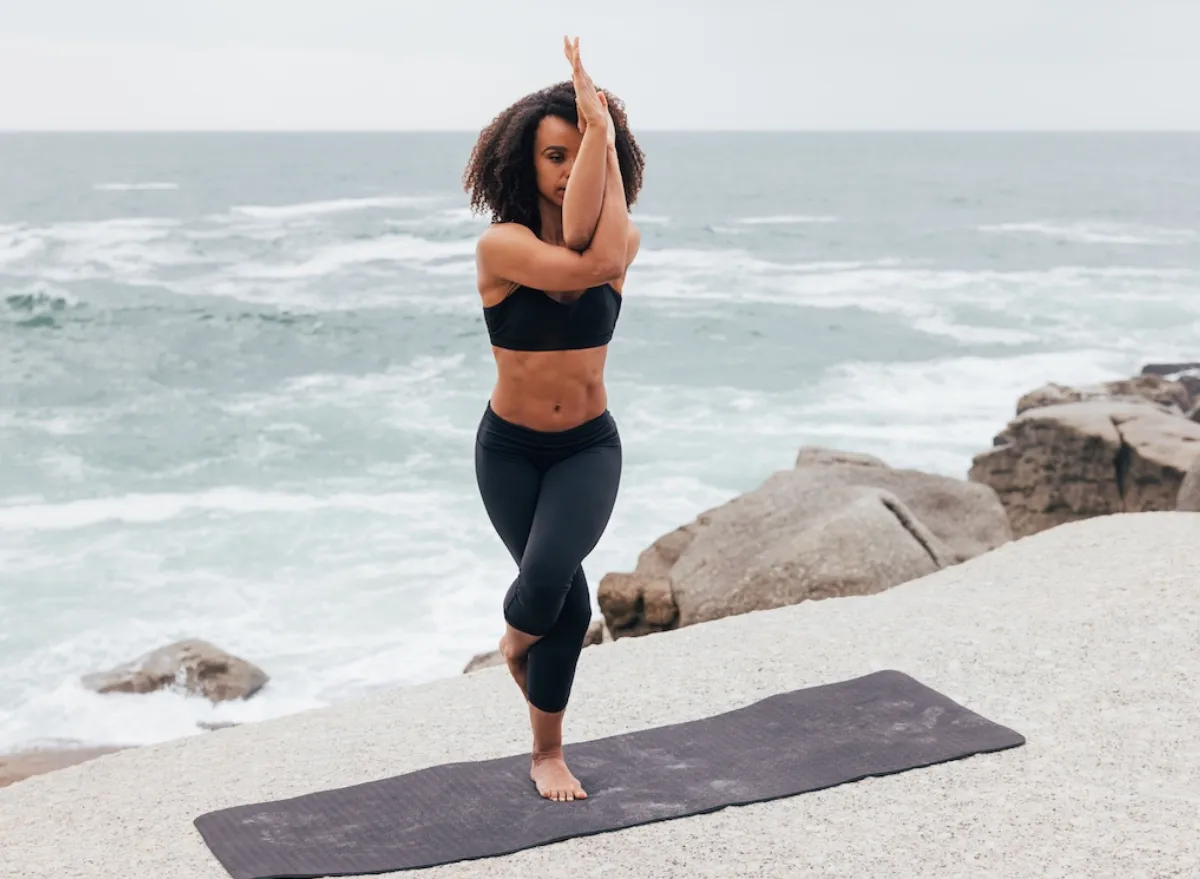
Eagle Pose
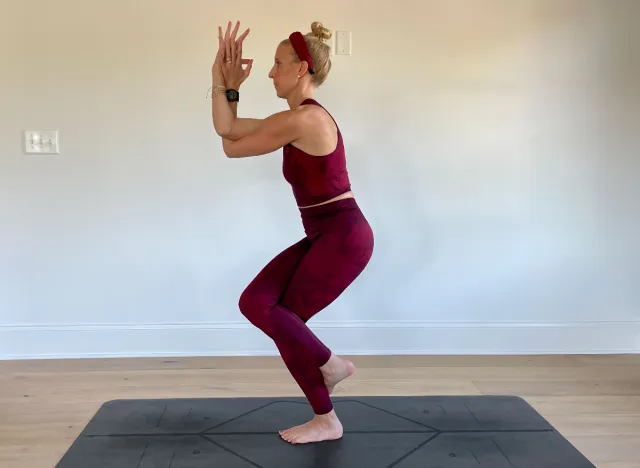
This pose not only improves your balance, focus, and body awareness, but it also opens up your chest and shoulders while strengthening your lower body and core. Start the movement by standing with your feet hip-width distance apart with a slight bend in your knees and your core engaged. Bring your hands to prayer, and press your weight into your right foot as you slowly lift your left thigh up and wrap it around your right leg 1 to 2 times. Once you feel stable with your lower body, extend your arms out, and wrap your left arm under your right until your palms are pressing together. Pull your elbows away from your body, and slowly start to do a small back bend before you sit deeper into your lower body and bring your elbows towards your knees. Engage your core, and hold for 3 breaths. When you’re done, slowly come out of it the same way you came into it. Repeat on the other side.
Legs Up The Wall
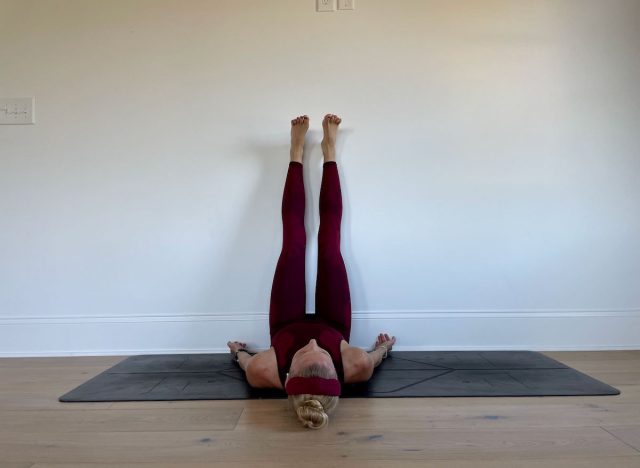
The last of the top three yoga exercises to reduce inflammation is Legs Up The Wall. This restorative pose is excellent for lymph flow, circulation, releasing tension in your back, stretching your legs, and relaxing your mind. To get into the proper position, sit with your right side next to the wall, and bend your knees with your feet flat on the floor. Then, slowly extend your legs up against the wall as you turn to lie on your back. Try to get as close to the wall as possible. Allow your upper body to melt into the mat, and relax your arms into any comfortable position. Hold for 10 minutes (with a maximum of 20 minutes). To get out of the pose, roll to one side to bring your legs down, and come into the fetus position before fully sitting back up. *Note: It is recommended to avoid this during your menstrual, or moon, cycle.
Now bring your hands to heart’s center to seal your practice. With health and happiness always, namaste!