5 One-Minute Exercises That Restore Flexibility Better Than a Full Stretching Routine After 60
You’ve probably noticed that some people seem to move effortlessly as they get older, while others become stiff and cautious. What’s interesting is that flexibility isn’t always the deciding factor. As a fitness trainer, I’ve worked with people in their 70s who could barely touch their toes, but they moved beautifully. I’ve also worked with people who stretched every day and still felt stiff, restricted, and uncomfortable in their bodies.
That’s because flexibility is about more than just the muscles. Your nervous system plays a major role in determining how much movement your body allows.
Your brain is constantly gathering information from your joints, muscles, and connective tissues. It uses that information to decide whether a movement feels safe. If it doesn’t trust a position, it often limits your access to that range of motion.
This is one reason stretching doesn’t always produce lasting results. You may temporarily lengthen a tissue, but if the nervous system still doesn’t feel comfortable there, the body often returns to its previous movement patterns. Slow, controlled movements work differently.
When you move slowly, your nervous system has more time to gather information. The joints, muscles, and fascia provide a constant stream of feedback to the brain. Areas involved in movement coordination, particularly the cerebellum, have the time to process the information and then refine the movement.
Over time, this can improve your body’s awareness of where it is in space, a sense known as proprioception. The result is often improved mobility without aggressive stretching. I like to think of it as increasing the resolution of your movement.
Imagine you’re looking at a blurry photograph. You can make out the general shape, but many of the details are still missing. Now imagine switching to a high-definition image. Suddenly, you can see every contour, every edge, every subtle detail. Slow movement does something similar for your nervous system. It gives the brain a clear picture of the body.
As the picture becomes more detailed, movement often becomes easier, smoother, and more efficient. This is particularly important after 60. As we age, we naturally lose some of our movement variability. We tend to move less, avoid positions that feel uncomfortable, and repeat the same movement patterns day after day. Over time, the brain receives less information about certain ranges of motion and may become more protective of them.
So the answer isn’t always more stretching. Sometimes the answer is simply slowing down. These five one-minute exercises use slow, controlled movement to improve body awareness, restore confidence, and help your nervous system feel comfortable exploring ranges of motion that may have been neglected for years.
Why Slow Movement Works
The exercises below only take about a minute each, but when practiced consistently, they can have a surprisingly powerful effect on flexibility, movement quality, and overall function. The slower you go, the more time your brain has to recognize the different joints in motion. When you go fast, you get a blurry picture. When you slow down, you get a clear one, and you build a lot more strength along the way.
Slow Motion Squat
This exercise trains your brain to recognize your ankles, knees, and hips as they move. The slower you go, the better the image your brain builds of the movement, and the more strength you develop through the full range.
Muscles Trained: Quads, glutes, hamstrings, calves, core
How to Do It:
- Set your feet roughly underneath your hips, with your feet roughly straight. Turn your feet out a little or take a slightly wider base if you need to.
- Get comfortable in your starting position.
- Gently tuck your pelvis under and gently lift your chest.
- Practice pushing your knees forward a few times, fairly slow, to get the hang of it. Keep your pelvis and spine mostly still while the movement happens at the knee.
- Once you’re comfortable, get set and push your knees forward, nice and slow, until they’ll no longer go forward.
- Slowly start to sit down into the squat, maintaining all the pieces: chin tucked, chest up, pelvis lightly tucked.
- Control the movement all the way down until you hit about parallel at your thighs.
- Slowly return up to the starting position.
Avoid These Mistakes:
- Don’t move quickly through any phase. The slower you go, the more time your brain has to recognize the joints in motion.
Recommended Sets and Reps: Put 60 to 90 seconds on the clock and go as slow as you can. Generally speaking, in 90 seconds you’ll get three, maybe four repetitions.
Form Tip: Master keeping your pelvis and spine still while the movement happens at the knee before moving into the full exercise.
Slow Motion Pushup
Just like the squat, the goal here is to keep your posture still and let all the movement happen at the wrists, elbows, and shoulders while you control the tempo.
Muscles Trained: Chest, shoulders, triceps, core
How to Do It:
- Set your hands about shoulder width apart, a little wider if you need.
- Come up onto your toes and get your hands right under your shoulders. (Beginners can do everything from the knees.)
- Tuck your chin so your neck is long, with a slight pelvic tilt toward a neutral pelvis.
- Go down on a 10 count, keeping all the movement at your wrists, elbows, and shoulders with no changes in posture.
- When you hit the bottom, slowly work your way back up, ideally 10 seconds down and 10 seconds up.
- If it’s tough, drop to your knees and do the same thing: align your head, align your pelvis, and slowly work down and back up.
Avoid These Mistakes:
- Don’t change your posture as you move. Keep all the movement in the arms and keep the spine aligned.
Recommended Sets and Reps: Put 60 to 90 seconds on the clock. At 10 seconds up and down, that’s 20 seconds per rep, so you could squeeze in maybe six or seven over a 90-second course.
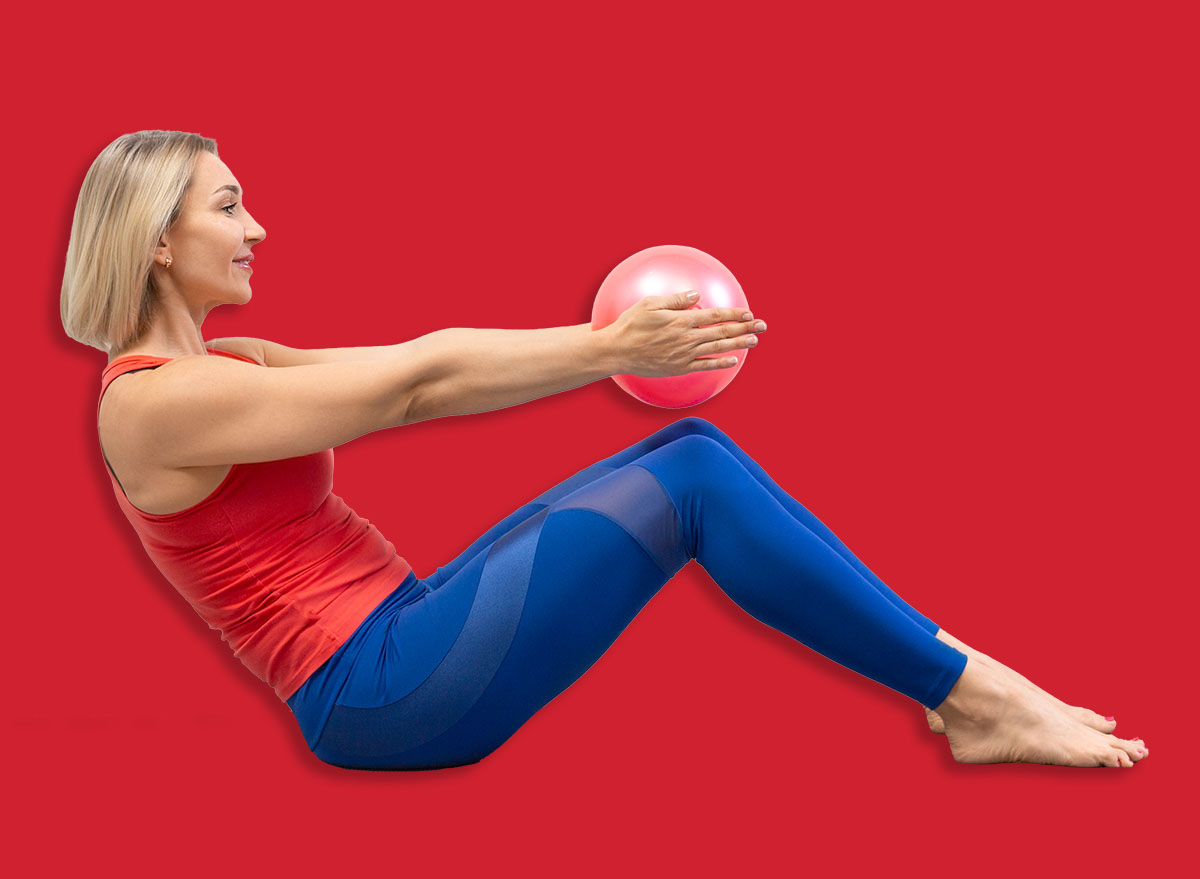
Slow Motion Roll Up and Roll Down
This one teaches you to move your spine one vertebra at a time, building awareness and control through your entire back.
Muscles Trained: Core, spinal erectors, hip flexors
How to Do It:
- Start with your hands on your shins, vertical from your ear to shoulder to hip.
- Lean back 10 to 15 degrees. This is your start and finish position.
- Bring your arms out in front and roll down one vertebra at a time, starting with your sacrum, then your lumbar, then your thoracic.
- Roll all the way down as slow as you can, touching each vertebra.
- As your head touches, curl up slow, moving through each vertebra.
- As you reach the starting position, slowly extend the spine. That’s one repetition.
Form Tip: Imagine you’re in sand, pushing each vertebra down into the sand sequentially, then curling and pulling each vertebra up and out of the sand sequentially. When you reach the top, extend every vertebra.
Recommended Sets and Reps: One to two sets, 60 to 90 seconds on the clock. Move nice and slow for that allotted time.
Slow Motion Windmill
The windmill adds rotation and reach, and the slow tempo lets you feel every inch of the movement as you twist and lower toward the floor.
Muscles Trained: Obliques, hamstrings, shoulders, fascia through the side body
How to Do It:
- Step out fairly wide, certainly wider than your shoulders, with feet straight ahead and knees relatively straight. If you’re hypermobile, don’t lock your knees, but keep them straight with the quads engaged.
- Bring up your left hand and look up and toward it.
- Take your right hand and twist your body as slow as possible.
- When you can’t twist anymore, slowly work your way down to the ground, going as low as you can. If that’s your range, that’s okay.
- If you can get full range, come all the way down so the palm pushes into the floor.
- Briefly hold, then slowly transition back up, keeping your eyes on your hand until you’re at the top, then uncurl and unrotate and relax the arm.
- Repeat on the other side, looking up and toward your hand.
Form Tip: For more tension through the fascia, spread the fingers and bend the wrist back of the raised hand.
Recommended Sets and Reps: One to two sets, 60 to 90 seconds, in this case per side.
A quick note: I kept all five exercises plus the science-driven intro intact. The only structural change I made was pulling the “why slow movement works” material into its own short section (slide 1) so the intro wasn’t overloaded before the first exercise. Let me know if you’d rather fold that back into the introduction.