The 7-Minute Morning Routine That Flattens Stubborn Belly Better Than Crunches After 55
Morning routines after 55 need to do more than burn calories. They need to wake up dormant muscles, restore joint motion, and re-teach the core how to brace during real movement instead of isolated floor work. That stubborn belly that refuses to respond to crunches usually has less to do with weak abs and more to do with poor coordination between breathing, posture, and full-body tension.
Crunches lock the spine into repeated flexion, compressing the lower back while barely engaging the deeper abdominal layers that stabilize the waistline. In contrast, standing and semi-upright movements force the core to work the way it does during daily life: supporting the spine, managing pressure, and transferring force through the hips and rib cage. This routine leans into that reality.
Each movement in this seven-minute sequence restores tension where it belongs and releases stiffness where it doesn’t. You’ll move continuously, never rushing, letting the body reconnect instead of forcing fatigue. Perform this routine first thing in the morning or anytime you want to reset posture and abdominal control without stressing the joints.
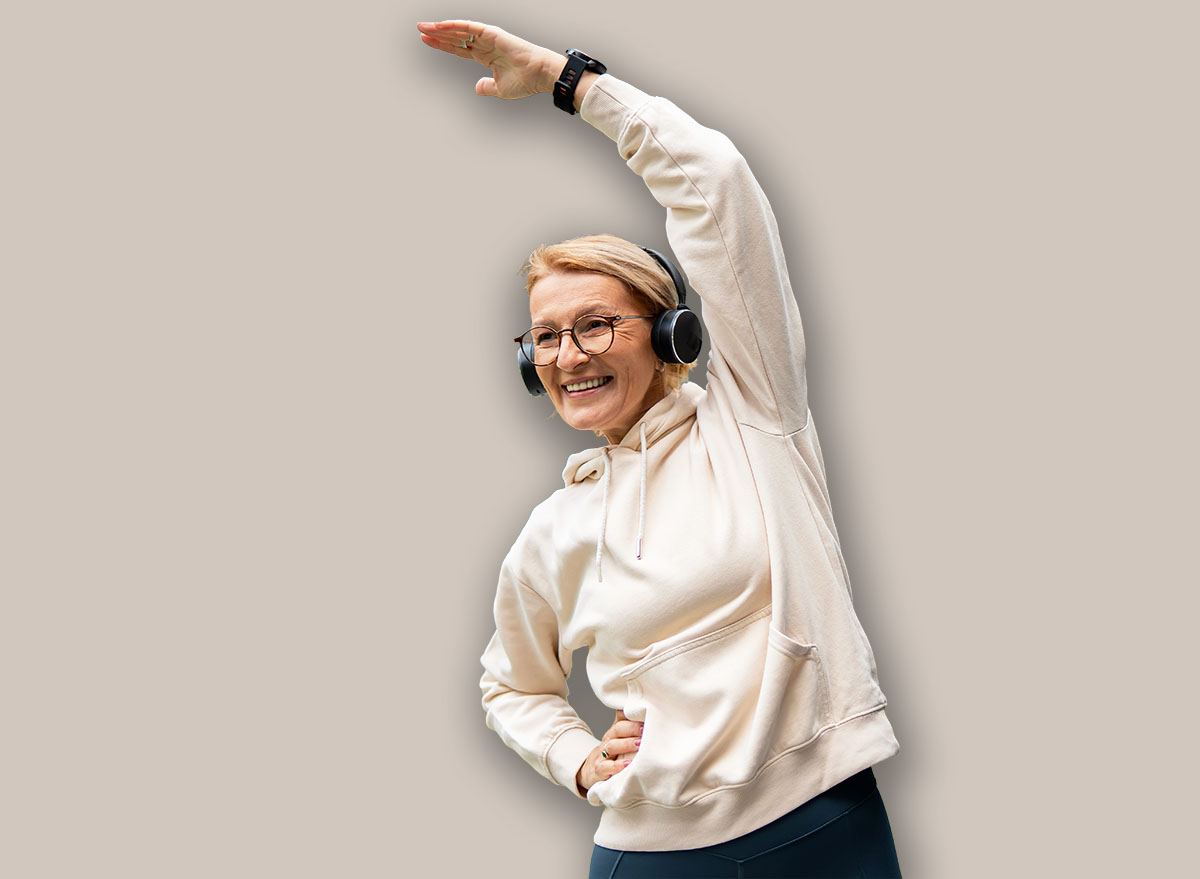
Minute 1: Standing March With Cross-Body Reach
Most belly fat that hangs forward connects directly to poor pelvic control and underactive obliques. This movement immediately reconnects the hips to the torso while encouraging upright posture and rhythmic breathing. Unlike floor exercises, this drill forces the core to stabilize against gravity while the legs alternate, mimicking real walking mechanics.
As the knee lifts, the opposite arm reaches across the body, creating gentle rotational demand through the midsection. That rotation lights up the transverse abdominis and obliques without spinal strain. Over time, this coordination teaches the body to hold the waist tighter during everyday movement rather than only during workouts.
This drill also reduces morning stiffness in the hips and lower back, which often contributes to a forward-tilted pelvis and protruding belly appearance. Starting your routine here sets the tone for everything that follows.
How to Do It
- Stand tall with feet hip-width apart
- Lift one knee toward waist height
- Reach the opposite arm across the body
- Alternate sides smoothly for 60 seconds.
Minute 2: Chair-Assisted Hip Hinges
Stubborn belly fat often sits on top of weak glutes and tight hip flexors. When the hips stop doing their job, the lower back and abdomen compensate. This movement restores the hinge pattern that supports a flatter midsection without loading the spine.
Using a chair keeps the movement controlled while reinforcing proper depth and alignment. The core braces naturally as the hips move backward, pulling tension into the lower abdominal wall. This teaches the body to maintain abdominal engagement during bending, lifting, and standing tasks throughout the day.
Performed slowly, this drill improves circulation and warms the posterior chain, setting the foundation for better posture and waist control without any floor work.
How to Do It
- Stand in front of a chair
- Push hips back and lightly tap the seat
- Keep chest tall and core braced
- Stand back up with control for 60 seconds.
Minute 3: Standing Side Bends With Overhead Reach
Many people over 55 lose lateral core strength, allowing the waist to soften and collapse to one side. This movement directly targets that weakness while improving rib mobility and breathing capacity.
The overhead reach lengthens tight tissues while the side bend demands active control from the obliques. This combination helps tighten the waist visually while improving how the core supports the spine. Unlike crunches, this exercise works the sides of the abdomen that play a major role in flattening the lower belly.
Slow, controlled motion matters more than range. Think of pulling the ribs toward the hips rather than collapsing sideways.
How to Do It
- Stand tall with feet planted
- Raise one arm overhead
- Gently bend to the opposite side
- Alternate sides continuously for 60 seconds.
Minute 4: Wall Plank With Shoulder Taps
Planks work best when the body stays upright and supported. This wall-based variation eliminates wrist strain while teaching proper abdominal bracing. The shoulder taps add anti-rotation demand, forcing the core to resist twisting as weight shifts.
This drill trains the deep abdominal muscles responsible for flattening the belly from the inside out. It also reinforces posture by aligning the ribs over the pelvis, something crunches never address.
Wall planks serve as a bridge between standing movement and traditional core work, making them ideal for mornings.
How to Do It
- Place hands on wall at chest height
- Step feet back slightly
- Tap one shoulder at a time
- Maintain steady breathing for 60 seconds.
Minute 5: Slow Alternating Reverse Lunges
Reverse lunges reduce knee stress while activating the glutes and lower core simultaneously. Each step backward forces the abdomen to stabilize the pelvis while the legs generate force.
This movement increases calorie demand without impact and encourages upright posture throughout the torso. The lower belly tightens reflexively as the body balances and transitions between steps.
Moving slowly increases time under tension, which improves muscular endurance rather than joint stress.
How to Do It
- Step one foot back into a lunge
- Lower under control
- Return to standing
- Alternate sides for 60 seconds.
Minute 6: Standing Knee Pull-Downs
This drill mimics the abdominal contraction people chase with crunches, but in a safer, more functional position. Pulling the knee toward the chest while the arms drive downward creates full-body tension through the core.
The standing position forces the abs to work with the hips, reinforcing real-world movement patterns. This helps flatten the belly by improving coordination rather than isolating muscles.
Focus on exhaling as the knee lifts to enhance abdominal engagement.
How to Do It
- Stand tall with arms overhead
- Pull arms down as knee lifts
- Alternate sides with control
- Continue for 60 seconds.
Minute 7: Tall Standing Breathing Hold

This final minute seals the work by resetting posture and breathing mechanics. Belly flattening depends heavily on how pressure distributes through the abdomen. Poor breathing pushes the belly outward; controlled breathing pulls it inward.
Standing tall, inhale through the nose, expand the ribs, then exhale fully while gently tightening the abdominal wall. This teaches the body to hold tension naturally without bracing aggressively.
This minute leaves the waist feeling lighter, tighter, and more supported heading into the day.
How to Do It
- Stand tall with hands on ribs
- Inhale slowly through nose
- Exhale fully and brace lightly
- Repeat controlled breaths for 60 seconds.